 |
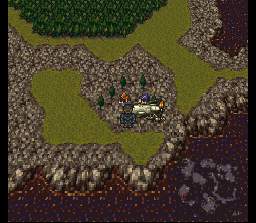
Head off to Jidoor. This town is now located in the northwest of the world, just south of Zozo. |
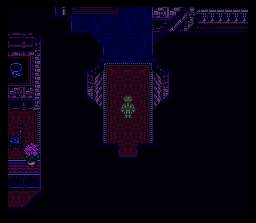
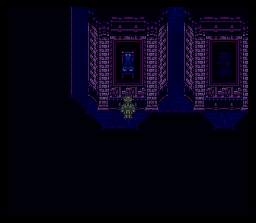
| Heat all the way up to the top of the town and enter the big mansion where you found the letter from the Impresario in the World of Balance. You'll find that it's pretty dark in this place, so if you're feeling a little lonely... |
 |
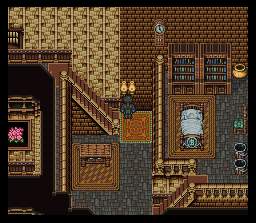 |
Don't even think about it. You'll want to turn the lights on with this switch here. |
| Head to this place at the bottom left of the room. Click on the painting and it will come alive and attack you. The battle is easy, however, and after you whomp the floor with the enemies, a door will appear. |
 |
 |
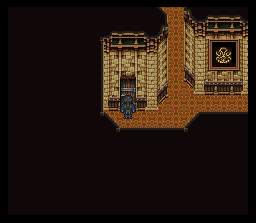
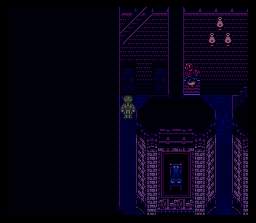
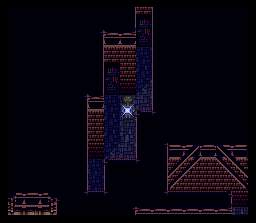
This door will lead you to the basement, which is once again very dark. This time there is no light switch, so make sure your shoes are tied. When you try to walk past this painting of a chair with a lady in it, the lady will come alive and attack you (notice a pattern here?). Once again, not a hard battle. Smack that bitch up, and now the painting is just of a boring chair. |
| Continue on and you'll come to two doors. Take the one on the left first to get a moogle suit, then exit and take the right door. |
 |
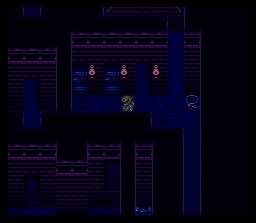 |
This door will lead you to a room with three doors instead of two. First grab the relic ring from the chest hidden above the doors, then change up the doors so the opening is on the left door, and go in. The other two will just take you back to the room you were in. |
| This next room contains three floating chests and another living painting. Attacking the chests will win you three crappy items (though the middle one does contain a semi-useful ether). Whether you want to waste your time on them probably depends on how much of a completist RPG nerd you are. Not that there's anything wrong with that...just keep telling yourself that, kiddo. |
 |
 |
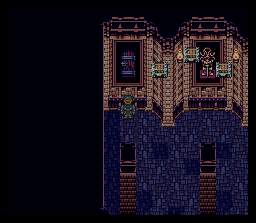
To get out of this room, attack the painting of armor. You'll find this guy, who might seem hard at first, cause he casts a countdown move on you. However, his life is so low that it just doesn't matter. |
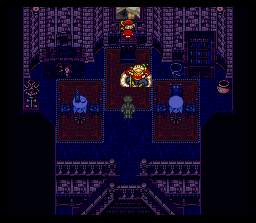
| The next room contains a save spot. Use it if you aren't using an emulator (you cheating bastard! I only use it to make this walkthrough. Really.). Don't bother with the first door, and head on up to the second door on the right. |
 |
 |
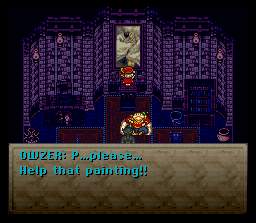
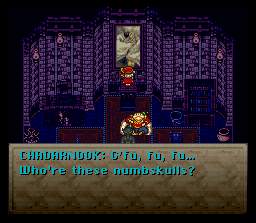
Isn't that Relm you see up there painting that picture? And who's that fat guy? Why are pedophiles always fat, pretend-art-lovers anyway? I mean, judging by this guy's choice in artwork, I think he's got a few problems. |
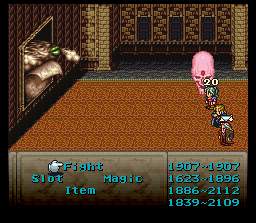
| Uh oh. Haunted painting boss! Didn't see that one coming... |
 |
 |
You'll have to excuse me. I only laugh like this because my mouth is merely a 2D representation of its real 3D existence. Silly human. |
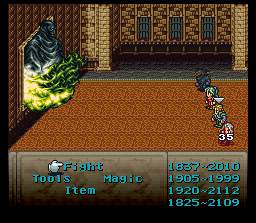
| This boss isn't too bad. She switches back and forth between her human and demon form, each with their own attacks. Use your strongest fire attacks on both. If Terra is with you, don't forget to morph her. Watch out for the human side's charm and sleep attacks. Other than that, you shouldn't have too many problems. Reccomended Level: 36 |
 |
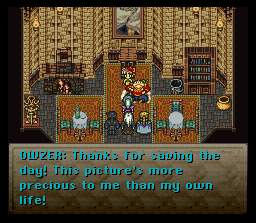 |
This girl...I mean picture is more precious to me...It's a gland problem, I swear. |
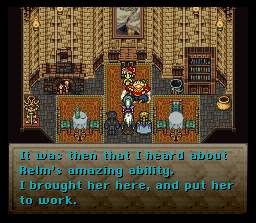
| Her amazing "ability" eh? This scene really makes me wonder what the text originally was, before it was butchered in translation. Not that this kind of thing interests me or anything...it's just curiosity. |
 |
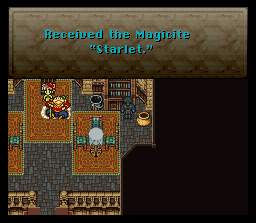 |
So yeah...anyway, make sure to grab the magicite from the bookcase, as Starlet lets you learn the invaluable Cure 3. Then grab Relm and get her some clothes other than that princess leia getup this fatso has got her in. Poor Relm. |


