 |
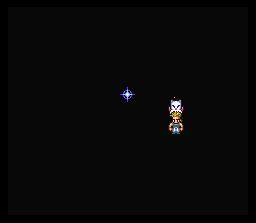
There is only one scenario left to choose. Unless you just want to stand around and bask in Mog's utter awesomeness, I'd suggest you choose it. |
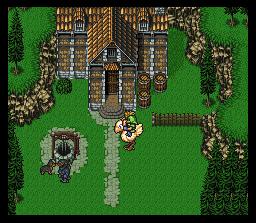
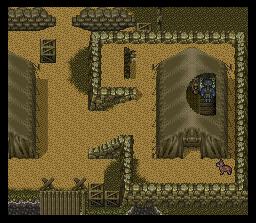
| The first thing you will see is a house above you and to the left. Go to it. First, talk to the guy on the chocobo who sells items. Buy whatever you need, and I'd strongly recommend another pair of sprint shoes if you don't have any left. Make sure to get shurikens too, because they will be handly very soon once you get Shadow. |
 |
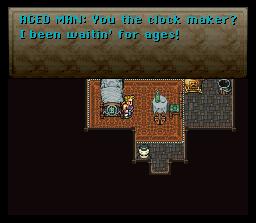 |
You don't have to do this, but if you go in the house, you'll see a really absurd scene with an old man. There is lots of weird, abusrd, wacky humor (most of which is foreshadowing to something) in this scenario, which is why it is my favorite. |
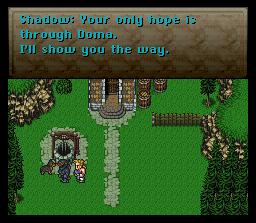
| Now, make sure you talk to Shadow. You're not going to want to go through the scenario without him, cause he's all cool and stuff. He says he'll show you the way to Narshe. He has the tendency to run away on you, however, so if you like him (And it's hard not to), save often, so you can restart if you lose him. |
 |
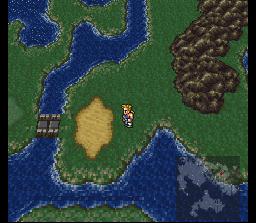 |
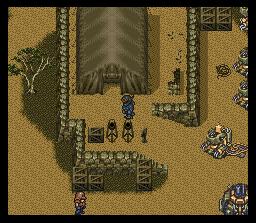
The next part is pretty straightforward. Just head south and east from the house, fighting scourges of pathetic enemies, until you get to this little patch of desert. Walk into the patch of desert (bet you didn't see that coming). |
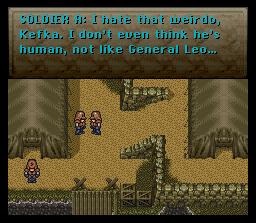
| Ah ha! It's an imperial hideout. You'll listen to some brilliant dialogue spoken between some guards, then learn that this place called Doma is about to be attacked. Then you'll see Doma attacked. They certainly didn't spare any time. |
 |
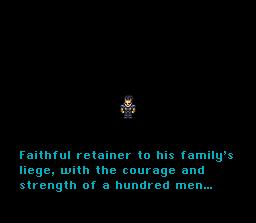 |
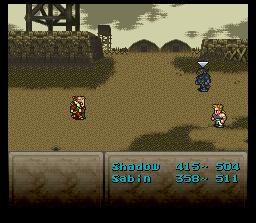
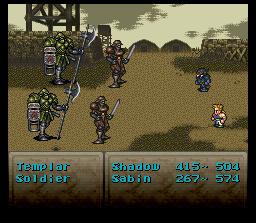
This is where you will be introduced to Cyan, if you ask me, one of the most useless characters in the entire game (though I'd appreciate it if I didn't get any more flames about this...I've gotten enough, and I don't care you think that CYAN RULX0RS!). And he's barely stronger than my Grandma (and she's dead). |
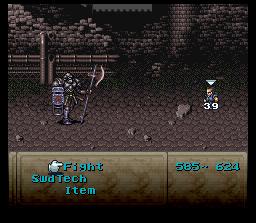
| I find this fight scene particularly funny. He is the general of this huge attack group, but if you use your first swdtech ability, you will kill him in one hit. Crazy stuff. |
 |
 |
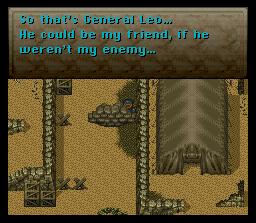
Back to Sabin and Shadow. Search the tent on the right for a treasure chest. If you "hit it", you will fight the dog. If you "kick it", you will scare guards away by meowing. Yet another little absurdity thrown into this scenario. Goodness me, how I love it all. |
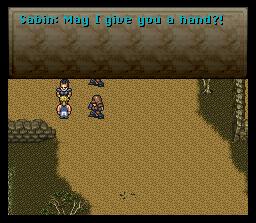
| "So that's General Leo. He could be my friend, if he weren't my enemy." I pray nightly that this is a translation error. |
 |
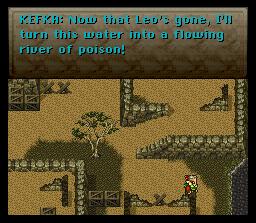 |
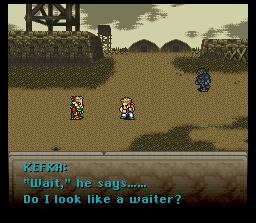
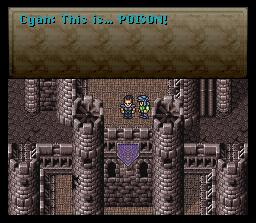
Lots of cutscenes in this part of the game. Kefka returns for his second appearance, and this time he's out for death. He is going to poison Doma. Well, you certainly can't let him do that. |
| So you fight him, and he'll run away after one hit. Are we noticing a pattern here? |
 |
 |
It's been a few walkthrough sections without a quality "Woolsey-ism". So here is one for you. |
| You have to run after Kefka and fight him again, but before you do so, go past him to this tent. You'll fight a telstar to get a green beret (a nifty hat that raises your maximum HP). After you get that, head back to fight Kefka again. |
 |
 |
Kefka will once again run off, but this time he will hide behind his lackeys. Nothing to worry about here though. A fire blitz should take care of all of them. |
| Now it's back to Cyan for more Doma action. Perhaps it's just the cynicsm that has built up during the course of my 19 years of existence on this planet, or perhaps it's my general apathy toward life, but I laugh out loud every time I see that soldier fall of the wall to his bloody death. |
 |
 |
I think I've ruined enough of the story for you already, so I'll just let you experience the cut scene by yourself. Anyway, it was bound to happen that Sabin and Shadow would meet up with Cyan eventually, and what better place to do so than on the battlefield? Wipe the floor with these pathetic enemies...fire blitzes will kill them all in one hit. |
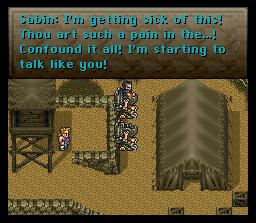
| Two wolsey-isms in one section. Damn, I'm good. High tail it out of the camp the same way you came in, mopping the floor with the magitek armor suits you used in the beginning of the game with Terra. Take advantage of the heal force technique...so you can be refreshed by the time you make it out of the camp. |
 |
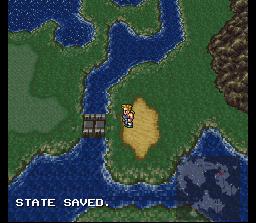 |
Once you're out of the camp, there is no going back in. Head south following the river. If you somehow find your way to Doma Castle, you'll notice imperial guards are blocking the way, so there is no getting passed. |
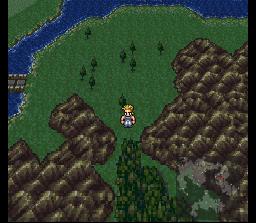
| Finally you'll come to this forest...and you won't find out what happens til the next section! A ha ha ha...ha! |
 |
