 |
Get on the frigging airship already, loser. Haven't you figured out the drill by now? Reccomended Level: 38 |
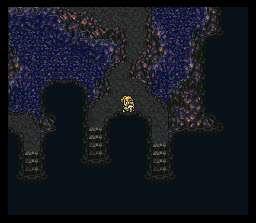
| This is my attempt at modern art. This picture has nothing to do with this walkthrough. It is simply here for you to make your own meaning of it. And no, this is not my attempt to cover up the fact I accidentally took this picture and forgot to delete it. It's art. |
 |
 |
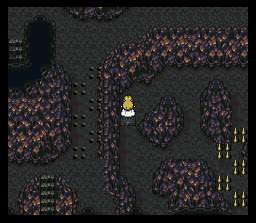
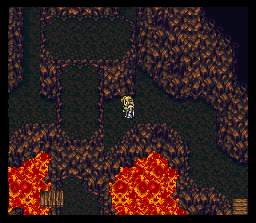
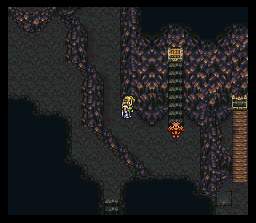
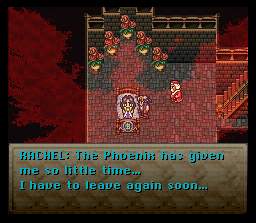
We are now headed to the phoenix cave, one of the more challenging levels in this game. The Phoenix Cave is located north of the town of Tzen on the Southern continent, where you encountered Sabin. For this map, you will not use but one party... |
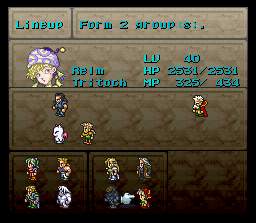
| You must use two! I hope you took the time to level up more than just your dream team of 4 characters. Split your best characters up amongst the parties...try to split up your heavy physical damage users like Sabin and Shadow. |
 |
 |
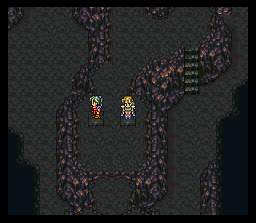
From here on out, I will refer to Celes' group as Group A, and Terra's group as Group B. Keep in mind that Group A will fight the boss in this level, though both groups will get a pretty much even amount of regular fighting. To switch between groups, use the Y button. You can also use a trick if you like, of unequipping your good equipment each time you switch groups so that one group doesn't end up with crappier equipment. This is sort of time consuming though. Start with Group A, head up and step on this panel to open a door. Keep Group A on the panel and switch groups. |
| Head through the now-opened door with Group B into this room. Ignore the chest on the left and step on this panel to open up a door for Group A. Switch. |
 |
 |
Head through the newly opened door with Group A and step on this panel to get rid of the spikes. These puzzles are pretty difficult, aren't they? Don't worry, the switching gets a bit less infrequent later on. Switch again. |
| Head up past the spikes with Group B and turn right at the fork in the road. Go down and step on the panel. Switch. |
 |
 |
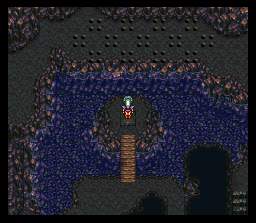
Continue heading forward with Group A. When you get to this chest, you'll find that it is....EMPTY! Hah, perhaps that modern art joke I made earlier was more applicable than you thought. Think of the meaning... |
| Continue down into the room with the lava. Follow the one-way path until you come to this panel. Step on it to uncover some rocks in the lava. You won't be switching after this panel, however. Keep on truckin'... |
 |
 |
Until you get to THIS panel. Step on it to reveal a path for Group B. Switch. |
| Head back to the fork with Group B, but go down the stairs this time. |
 |
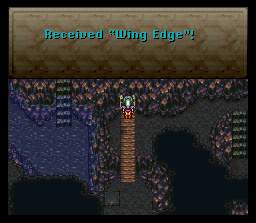 |
Make sure to grab this chest along the way. Remember how I told you not to get it before? You tried to get it anyway, didn't you? But you couldn't, could you? You miserable, worthless failure. I'm almost ashamed I'm telling you how to get it now. Just extend this path up to grab the wing edge, an item for Locke. Wait, Locke? He's not in our group yet, is he?!?!?! (ominous foreshadowing) |
| It's a good thing you revealed those stepping stones, huh? You can now jump across them. Head through the opening you made and step on the panel to create the path for Group A. Switch. |
 |
 |
Go around the corner here with Group A to find the next panel. Switch. |
| Head forward with group B to this panel. Switch. |
 |
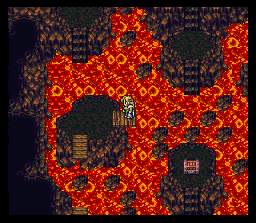 |
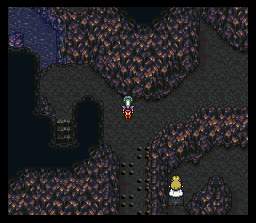
Now head around these newly-dropped spikes with Group A, until you get to another lava room. Don't worry about that chest for now. For now, just jump along the stones and continue to the next room. |
| When you get here, press this switch. It will drain the water into the lava, cooling it off. Now head down. |
 |
 |
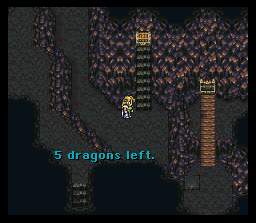
Looks like it's time to kick some dragon ass. Engage a fight with it, though you should probably heal up first. This boss is too easy. Seriously, it's pathetic. Just use your strongest ice attacks. Hopefully Celes will have Ice 3. Use Ice 2 with everyone else. Ice 2 will still do MEGA damage to this guy, though. He goes down for the count in no time at all. You'll even get a Strato, Cyan's second-strongest sword, for your troubles! |
| After wiping the floor with his slimy guts, go and grab the dragon horn from the chest. This item is more of a novelty than anything useful, as it allows everyone in your party to jump instead of attack. Yay? |
 |
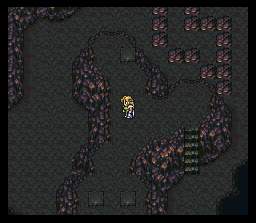 |
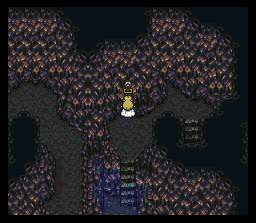
Now walk up and stand on the panel above you. Switch. |
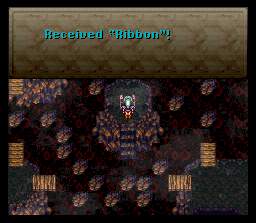
| Move forward with group B into this room which used to be covered in laval. You can now grab the ribbon from this chest. |
 |
 |
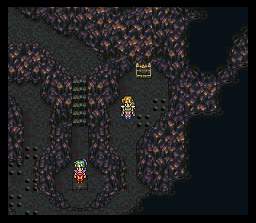
Head up and around through here. |
| You'll come out in the same room. Together at last! Have both groups stand on these two panels down here to open up the final passage. |
 |
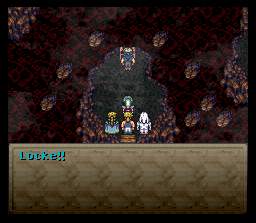 |
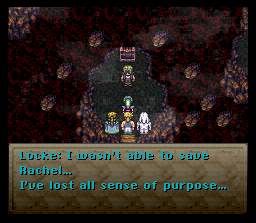
Go through and you'll find...Locke! OMG! Never saw that one coming! |
| Dude, are you still ragging on the dead bitch? Get on with it, man. Seriously, there's at least two girls in this party who'd jump your bones anyday... |
 |
 |
Anyway, I'll leave the rest of this tear-jerking scene for you to discover by yourself. |
| Yeah, he's back. But more importantly, he gives you some FREE ITEMS! HELL YEAH! FREE STUFF! |
 |
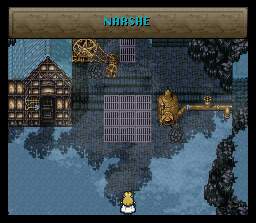 |
Oh wait, you're not actually done yet. With Locke in your party now, head back to Narshe. You can now unlock those doors in Narshe. |
| There's only two houses you need to go to. First, head to the weapons shop. |
 |
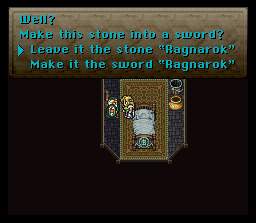 |
The guy down here will offer you either the ragnarok sword or ragnarok esper. Only one. The advantage to the esper is that you get to learn ultima. However, you can also learn Ultima with the Paladin Shield, which I will explain in a moment. I usually take the Ragnarok sword, for you can turn it into the Illumina sword at the colloseum, and it's RIDICULOUSLY powerful. Ultimately, the choice is up to you, and either choice is a good pick. For a completist, however, you'll probably want the sword, since you can get the sword AND learn ultima, the best spell in the game. |
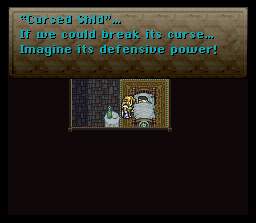
| The second house you want to go to is the house on the hill. Here, you will get a cursed shield, which sucks ass. However, if you fight about 255 battles with it equipped, this shield will turn into the paladin shield, the best shield in the game that also teaches the magic spell Ultima. Make sure to equip a ribbon to cancel out the status effects caused by the cursed shield, though you can never get rid of countdown, so don't equip it in boss battles. |
 |

