 |
Ah ah! Don't leave Narshe yet, at least if you are interested in getting Final Fantasy VI's most slam-dancingest moogle. If you're confused by me having Celes in my group, don't be. You can actually get Mog at any part of the game between this walkthrough section and the final part of the world of balance. I simply chose to do it later in the game. |
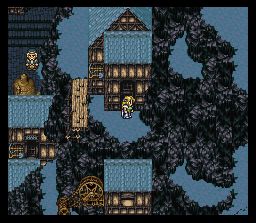
| First, you're going to want to head to the house right beneath Arvis' house. It's the one in the southeastern corner of Narshe. |
 |
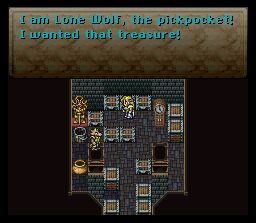 |
Here you'll meet Lone Wolf, everyone's favorite and furriest thief. He'll complain cause he wanted the treasure for himself. Grab it for yourself, then head out of the house. |
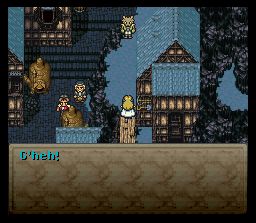
| You'll see Lone Wolf again coming out of the house here. If you don't get it, it means you're supposed to follow him. |
 |
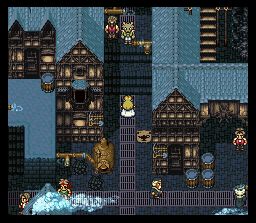 |
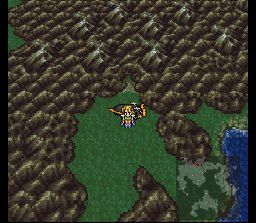
Head north out of town toward the cave you went to in the very beginning of the game with Terra. |
| If you keep your eyes peeled, you just might see a sasquatch here! |
 |
 |
Inside the cave, you're going to turn right here instead of going straight. |
| The rest of the caves are completely straightforward. There is only one way to go. Eventually you'll get back here. Remember this place? It's where you first wasted Kefka's ass. |
 |
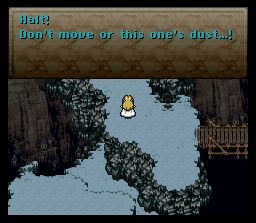 |
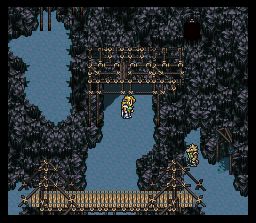
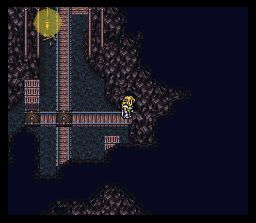
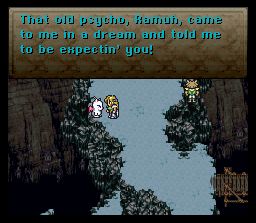
Walk north out of the battlefield to find a bridge. Cross the bridge and you'll see Lone Wolf holding a moogle hostage. |
| Turn away from them and just sit still. Eventually, Mog will act on his own and... |
 |
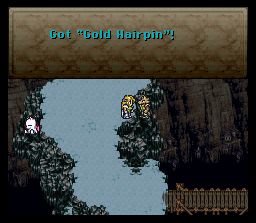 |
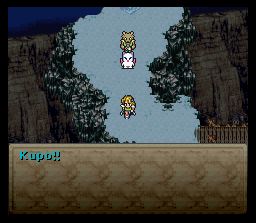
you have to make a decision. You can either go to Mog or Lone Wolf. If you go to Lone Wolf, he'll give you a Gold Hairpin, a nice little relic which halves magic usage. You can still get Mog in the World of Ruin by doing this, but you won't be able to learn the Water Rondo dance. You can get another Gold Hairpin in the game. |
| You know you want Mog. He's just so...moogle-tastic. |
 |
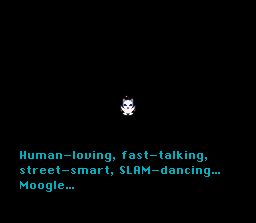 |
Not to mention slam dancing. |
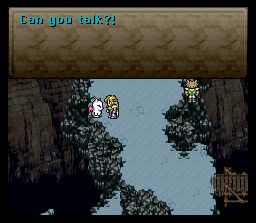
| You know you've made the right decision. Besides, who wouldn't pass up the oppurtunity to see Lone Wolf committ suicide? |
 |
