 |
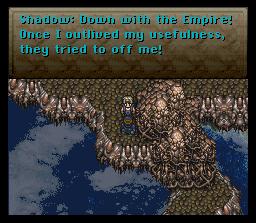
And so now you see why you only got to choose 3 party members. Everybody's favorite masked crusader Shadow decides to join the crew! Did you really think he could die that easily? He's Shadow for God's sake. |
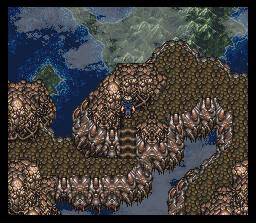
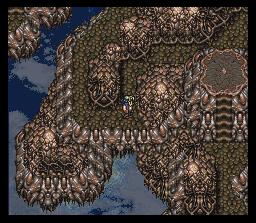
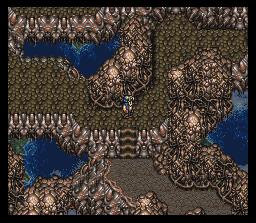
| Most of this level is pretty straightforward. The only trick is that you'll often have to run into inlets in the wall to discover the path to the next section. |
 |
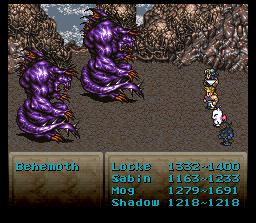 |
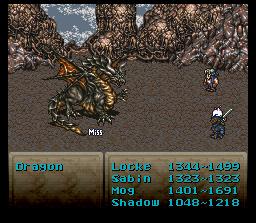
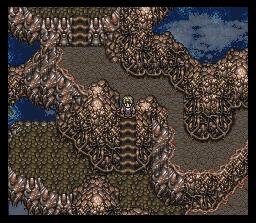
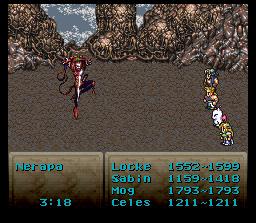
The enemies here are nothing to laugh at unlike most of the enemies you are used to. Some of them can be very powerful, especially these behemoths. Make sure to keep yourself decently healed at all time. |
| Just to remind you...those inlets in the wall often disappear if you run into them! |
 |
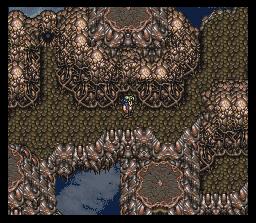 |
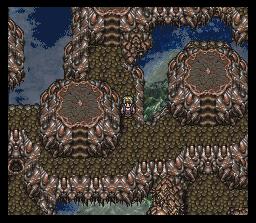
When you get here you'll run into your first split in the path. If you're feeling lucky, head down to the right to the blue treasure box. |
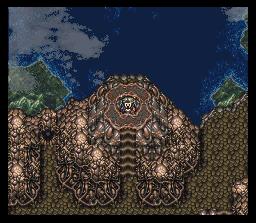
| They look like this on this silly continent |
 |
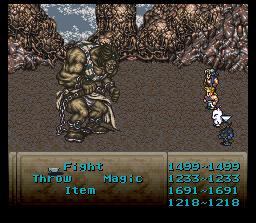 |
You'll have to fight Gigantos...and this bastard is strong. He counter-attacks you every time for up to 1000 damage! Use your most powerful attacks and hope to waste him quick. You'll get a Hardened, a better dirk for Shadow, as your reward. |
| Now head back to that weird looking mound thing. They just happen to be transportation devices. Despite Locke's scared fast, we assure you he was not harmed in this production. |
 |
 |
You'll end up in a new area of the floating continent a la the transportation thing-a-ma-bobber-mazoo. Head down that ladder and to the right... |
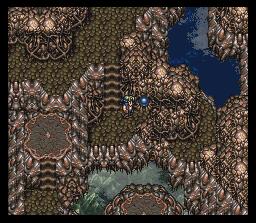
| When you get here, you'll want to take the middle road. No living on the edge here. |
 |
 |
Just a note. If you run into this enemy and have Locke in your party, you can steal a genji glove from it. Very rare and good item indeed! |
| Once again, two decisions to make here. Don't bother going in the transportation device on the right. It just leads to a dead end. Take the one on the left. |
 |
 |
Make sure to hit both switches, and you'll end up back at the place where you took the middle road before. This time you're going to take the low road (I'll take the high road). |
| One more split in the path. If you want to save and use a tent, head down to the right. Once you're all refreshed, hit the switch to open up the last area. |
 |
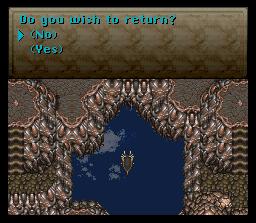 |
Before you reach the end, you're given the option to return to the airship. Unless you're crazy and a massochist, just keep going for God's sakes! Reccomended Level: 29 |
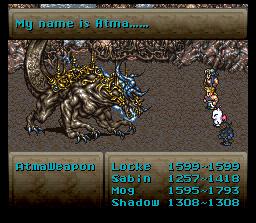
| You killed my father. Prepare to die. Time to fight the boss: Atma Weapon. This guy is by no means easy. Make sure to keep yourself nice and healed. He has some powerful attacks, and attacks often. If you're using my party, have Shadow throw shurikens or weapons, have Sabin use aura bolt, have Mog use his Earth Dance, and have Locke steal and heal. |
 |
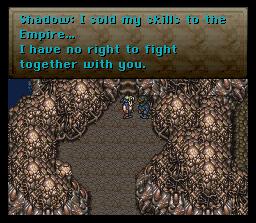 |
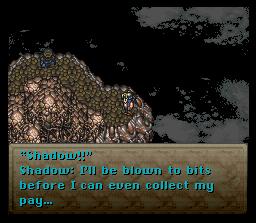
After the battle, Shadow gets all self-reproachful and stuff so he decides to leave. Head on up those stairs anyway. Be strong! I won't ruin the following plot sequence for you, as it's one of the best in the whole game ;-) |
| Shadow returns to buy you some time! You better hurry. |
 |
 |
You've got six minutes to get to the airship. You shouldn't have any problems accomplishing this. When fighting the enemies here, if you have Sabin with you, use Aura Bolt and attack with the rest of your party. |
| When you get here, don't bother going down. Head over to the ladder. |
 |
 |
You're going to have to take the long way around here. Make sure to head back and get the treasure chest though. |
| I don't really consider this a boss. He condems you, only giving you a limited time to kill him, but he has so little HP that it doesn't even factor into the battle. Just attack his ass. |
 |
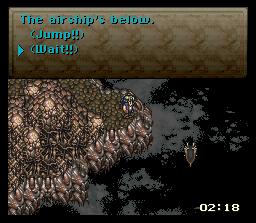 |
And so you're at the end, probably with time to spare. In order to keep Shadow in your party for the rest of the game, however, opt to Wait instead of jump. If you hate Shadow and you're a horrible, immoral person, then by all means jump. And we all hope you fall and break a leg. |
| And with six seconds left, Shadow shows up! Told you say. Time to haul ass. |
 |
 |
But it's all for naught, because the world blows up and everyone dies. The end. Go home. Shows over. No refunds.
just kidding |