 |
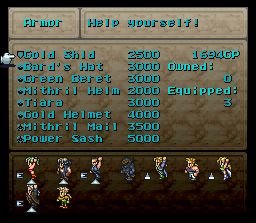
Before leaving Narshe, make sure to stop by the weapon and armor shops, for they have restocked their shelves. You'll definitely want some of this new equipment. If you can't afford it all, you can always go and get some money. You might want to gain a couple of levels before heading to the Sealed Gate anyhow. |
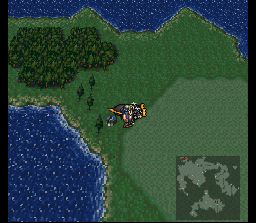
| Now head to this little house on the far northwestern corner of the world map (it's just a ways above Kohlingen). Why would you go here? |
 |
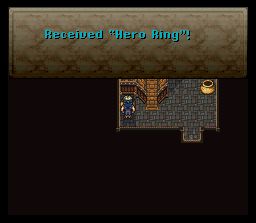 |
Because you can get a Hero Ring here, a nice little item which raises fight and magic damage. Also, though this guy might appear crazy, you just never know if his dream might come true... |
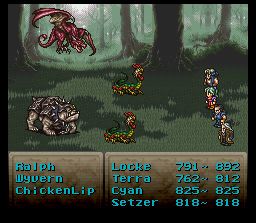
| Now, if I were you, I'd take some time off to gain some levels and magic before heading to the Sealed Gate. I like to get all my characters to at least level 24 before heading in. The best place to gain levels for now is in the forest just east of Miranda. You get 2 to 3 magic points per level (not bad at all), and 250-300 experience points per battle, not to mention 1000+ gold. |
 |
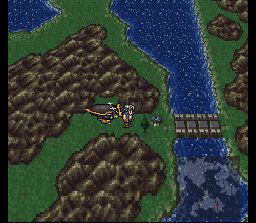 |
Once you've gained a couple of levels, head to the sealed gate. You have to travel through this imperial fortress that is on the east side of the dessert across from Albrook. Don't worry, there aren't any Imperial soldiers here. Terra has to be in your group, or else you will end up at the sealed gate and won't be able to communicate with the espers. Recommended Level: 24 |
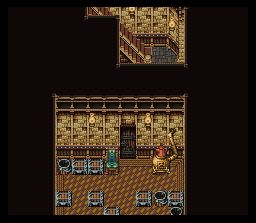
| Don't bother heading into the house for now, because the door to the treasure room is locked. You can unlock it later, however. |
 |
 |
Now head out of the fortress on the other side and into the cave across the bridge. There are a couple of easy to spot treasure chests in the first couple of rooms. The enemies aren't too bad yet. If Sabin is in your group, use aura bolt. If Edgar is in your group, use Flash. Else, just use strong physical attacks. |
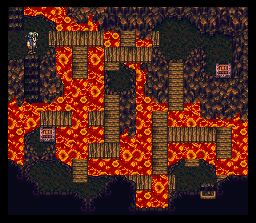
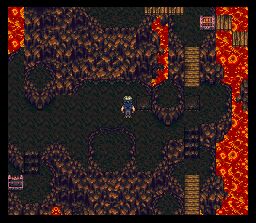
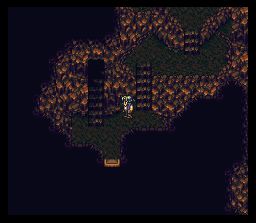
| The trick to this room is to head out on the planks to the edges and wait. If you'll notice different bridges appear at certain intervals. The shift appears to be completely random, so just experiment. Make sure to grab both trasure chests, as they contain an X-potion and a Coin Toss respectively. |
 |
 |
After exiting this room, the enemies get noticeably harder. You'll fight lots of Ings and Zombones. Watch out for the Ings. Make sure to kill them quick, or they'll use Lifeshaver and suck up all your XP. And kill those Zombones before they have a chance to turn your characters into Zombies. At this first fork, head right before heading down the stairs to grab an Ether. |
| When you push this switch, the bridge underneath you will break. Head left and up to find a chest containing a Genji Glove (a very kick ass relic indeed!) Then continue heading right. |
 |
 |
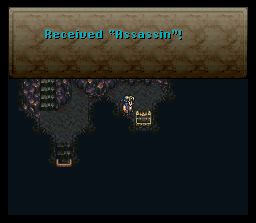
When you get to this point, if you need to save your game or rest up, hit the switch on the left to open up a room with a save point. If Locke is in your room, I would recommend hitting the switch on the right. You'll have to fight a ninja, but you can steal a Cherub Down from him. Then, head right to the bridge and hit the third switch. |
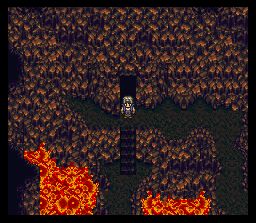
| Before heading into the cave on your right, make sure to pick up the Ether in the chest there. You won't be able to see where you are going when you are in the cave, but just keep heading up until you stop, then head left or right until you can go up again. |
 |
 |
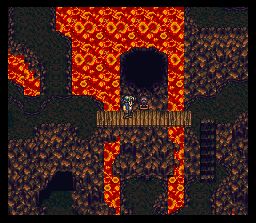
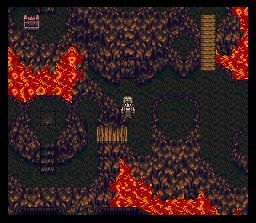
Don't bother trying to get that chest up there yet. You'll want to just go ahead and head down the stairs first. Make sure to hit the switch on the left side of the rock first. |
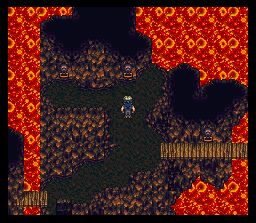
| Hit the switch here to open up a secret room that leads to some very nice treasure. Inside you'll find two Magicite items, an Ether, and an Atma Weapon (arguably the best sword in the game much later on). |
 |
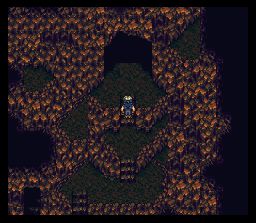 |
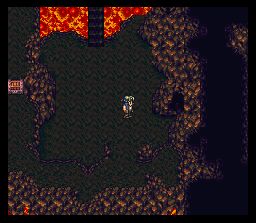
Now head right and go up another pair of stairs. You can grab that chest now. There is nothing else to get here now. Head right to find the entrance out of the room, then climb up the stairs until you see this large entrance. Inside is the Sealed Gate. |
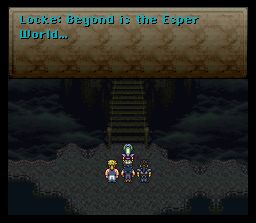
| So there you are. Guess Locke said it better than I could. |
 |
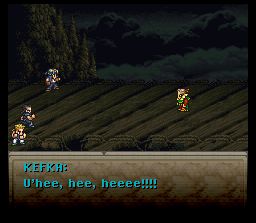 |
But, of course, like everything else, it just isn't that easy. Looks like Kefka followed you all the way through the cave. The bastard. Don't worry about this fight...it isn't much of a fight really. While you're busy holding him off, the espers break out of the cave and run a rampage, knocking Kefka far, far away. |
| Now head back out of the cave. There is a new door here which will lead you quickly and painlessly back to the entrance of the cave. |
 |
