 |
It's time to get the hell out of this stinkin' town. Grab your airship and head into the bowels. |
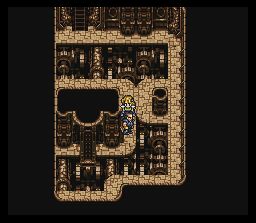
| You'll be wanting to change your party at this moment, and the only place you can do so is in the engine room by talking to Cyan. Don't worry though, you won't be adding this useless old man to your party... |
 |
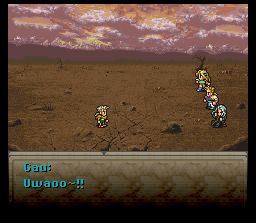 |
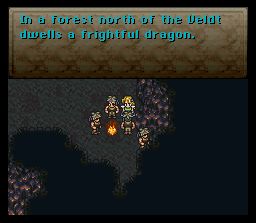
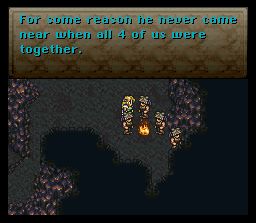
Instead, you'll be removing a member of your party. As you can see, I got rid of Edgar, cause he's just a horny pervert, but by all means feel free to remove whoever you think is the most useless. The next place you'll be heading to is the Veldt to reunite with Gau (remember that clue in Miranda?). Unfortunately, Gau will only join your party if there are three people in it, hence the removal. Fight around randomly on the Veldt for a while and he'll appear and join your party again whether you want him to or not. |
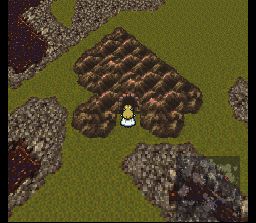
| You can fight around here some more and get some of Gau's rages if you really care, or you can head into this cave here at the bottom of the Veldt. You can remove Gau from your party now, if you want to. He is not necessary for the next part. Even though he is probably more useless than Cyan, I was too lazy to return to the Airship and do all that work, so I kept him along for the ride. |
 |
 |
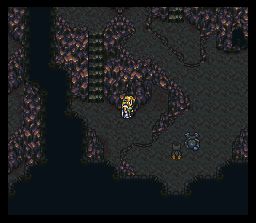
Inside the cave, you'll have a run-in with your old bow-wow friend Interceptor. Before you have a chance to toss him a bone, he goes running off into the cave. You'll want to follow him, because obviously Timmy got stuck in the well again (why do kids named Timmy always play around wells anyway?), and you've gotta haul his ass out. |
| Inside the cave, you'll see a lovely-looking group of young chaps curled around a fire rolling some strange looking herbs. What's that strange smell anyway? Feel...so....happy. Dragon? Hee hee hee. |
 |
 |
Don't you feel like you're missing out on something by reading this walkthrough? You know, that whole sense of adventure, finding things out on your own, making your own decisions. Oh...what am I saying. Who's interested in those things anyway? |
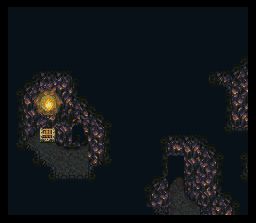
| Head north from these strapping fellows and you'll come to a room with a treasure chest that seems impossible to get to in this same dimensional fabric. Unfortunately for you, the game player, you are stuck viewing the world from a top-down view, like God would see things. Unfortunately for your deity-like self, you can't see the hidden passage that leads to this chest. Option? Randomly walk around until you find it. |
 |
 |
It don't always come so easy. You'll have to fight for this treasure. Word to the wise: Don't use doom on him, for he is undead. Regular attacks are the best, along with MAGICK! |
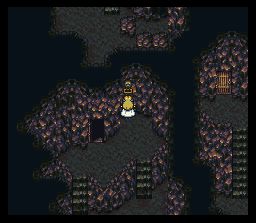
| Now head down from this treasure chest to come to a room with a very obviously-placed switch. Hit the switch to move the very obvious block that is obviously moved by hitting this obvious switch. Obviously, you'll be wanting to head through this newly opened passage. How obvious was that? |
 |
 |
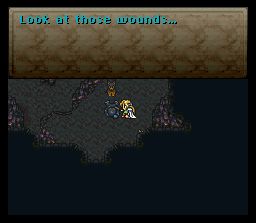
Not all of you will see this scene here. If you didn't save Shadow, cause you didn't listen to me and are thus a stupid moron head, you'll see Relm instead. But I know you're too cool not to have saved Shadow, so if you didn't, well, go find another walkthrough. |
| Clearly this is the work of some new breed of cave-dwelling, ninja-attacking, slam-dancing, mr. thou, owauuuuuuuuuu, son of a submariner, thingamabobber. |
 |
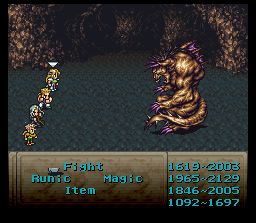 |
Or this weird boss thing. This image is of the boss, Sr. Behemoth, in his second form. In his first form, use physical attacks with Sabin (bum rush, obviously), and ice magic with everyone else. After defeating the first form, he'll knock you to the other side, and come at you in his menacing undead form. If you're a cheap-ass like me, just cast life on him or use a fenix down on his second form to KO this chump in one go. Or, for the more stoic, the same techniques as the first form will work. I offer you no remedy for the extra minute of your life you could have spent staring at nudey pictures on the internet. Reccomended Level: 35 |
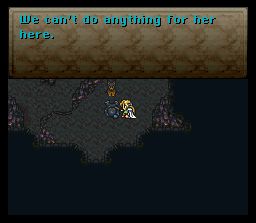
| Hmm. Apparently that gaping hole in his crotch area wasn't a wound after all. But how will we explain this revelation to Interceptor? |
 |
 |
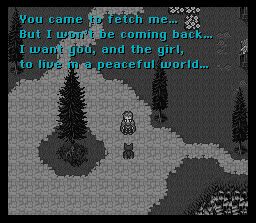
So you mean this isn't Canada? Well, that's a relief. |
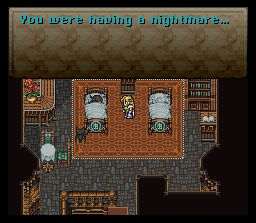
| Cue Shadow flashback. There are 6 more dreams you can have with Shadow, if you want to catch more random glimpses of his past. I won't spoil them for you. All you have to do is go and sleep with Shadow in your party, and they'll randomly appear. Cake! |
 |
 |
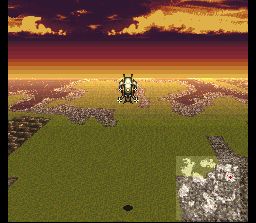
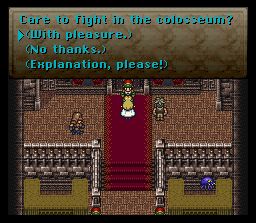
But what is this? He's gone again. Those crazy ninjas, always appearing and disappearing like...ninjas. Well, head off in your airship to the far northwestern tip of the world. |
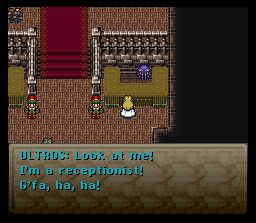
| Walk inside, journey around, have a chat with some old octopi friends, but you'll ultimately want to talk to this dude right here, who will allow you to participate in the wonderful events that take place inside. Bet the striker you just found in the cave. |
 |
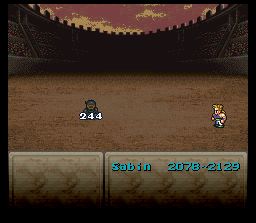 |
And you'll come up in a fight against Shadow. Here in the colloseum, you have no control over your fighter, but this battle is cake anyhow. For further colloseum strategies, go to the colloseum section. Anyway, you'll beat the crap out of Shadow no problem. |
| In return, he will join your group for good, and even strike a pose for you. How cute. |
 |
 |
The wonders of personality reconditioning. Is that Beethoven's Ninth I hear? |


