|
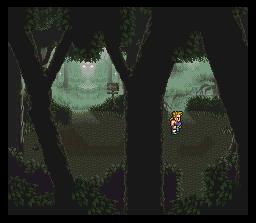
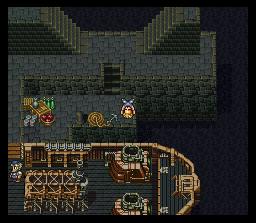
The first area of interest you will come upon is a recovery spring. These things always come in handy. The enemies around here aren't all that tough, but occassionally the ghosts will fry your ass with lots of fire, so you can come back to this point and use the recovery spring anytime you need to. |
| For the most part, the forest is straightforward, but there are some areas you can take a wrong turn at. If you take the wrong turn, you'll end up back at the beginning of the forest. The first area you come to with multiple roads will look like this. Go up the path where you see Sabin standing if you want to go the right way. |
 |
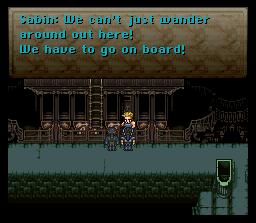 |
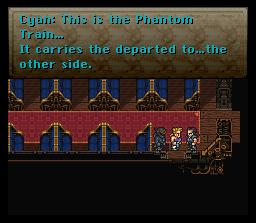
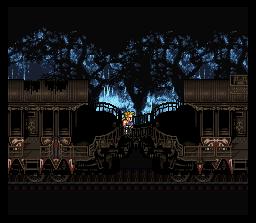
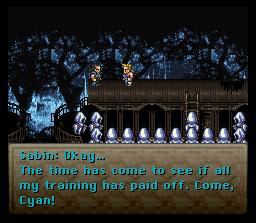
Okay, I lied. That's the only fork in the road. After one more area, you'll come to a train. Sabin and Cyan will bicker like an old married couple, and Cyan is a bit afraid to get on the train because... |
| *Gasp!* Hold me. |
 |
 |
Now you've got no choice but to stop the blimey train. First, go out the door on the right and head into the car at the end of the train. Watch out for the enemies on the outside of the train. Whispers like to use Demi which can halve your HP. It gets pretty annoying after a while. |
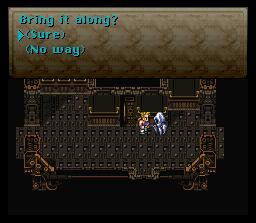
| If you talk to the ghost in this car you can have it journey with you on the train. For the most part it is horribly useless, but it's pretty funny to watch him make a surprised face later in the scenario, which is the only reason I ever take him along. |
 |
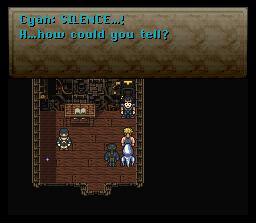 |
There's a really creepy guy in this room in the last car. I still can't figure out why he's in here, or why the hell his name is IMPRESARIO. Ted Woolsey must have been a tad drunk when he translated this portion of the game. Isn't Cyan cute when he's scared? |
| Once you're done in this compartment, head back left and you'll notice there's all sorts of ghosties roaming about. Most of the ghosts are enemies, but will only attack you if you try and converse with them. Occasionally one of the ghosts will have items to sell (why?), so if you're desperate for some potions, talk to all the ghosts you can. |
 |
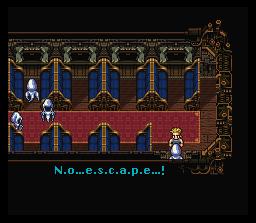 |
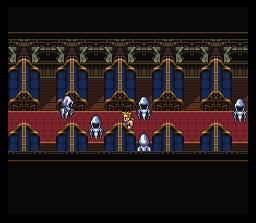
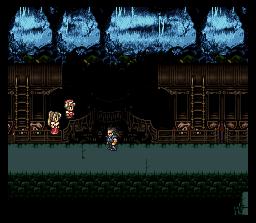
Keep moving toward the front of the train until you run into a room where you can't escape. See, you can't escape. NO E.S.C.A.P.E. I'm not sure if he means escape, or if it's an abbreviation for something, but either way you're gonna have to fight your way out. |
| I'm...not going to say anything about this. |
 |
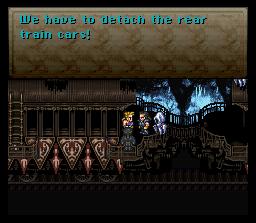 |
Do what the man says! Run into the car on the left and hit the switch to detach the train cars. (By the way, this is where the ghost makes its surprised face. Watch for it!) |
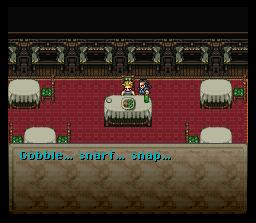
| One more delay thwarted...keep moving left yet again. Eventually you'll reach the dining car where you can eat to refill your HP/MP. Why ghosts would have real food is beyond me. You get a different scene if you eat with different people, so if you have no life like me, you can do this scene four times (or three, if you killed off Mr. Ghost). |
 |
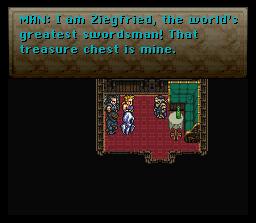 |
Blah blah blah. Keep going left. At the front side of the dining car is a treasure chest with an Earring. Grab it. In the next car will be a room with a treasure chest. If you try to take it, some loser named Ziegfried will attack you. |
| What the HELL does this mean? ARGGGGHHHHHH!!!!!! Anyway, one hit should kill this guy and make him run away with his head between his asscheeks. |
 |
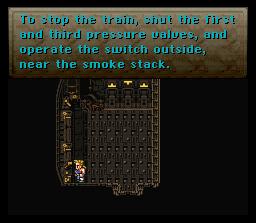 |
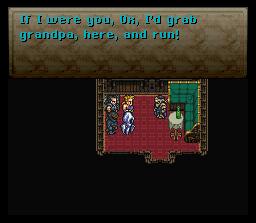
Finally you get to stop the train. Just do what the book says folks. If it's in a book, it MUST be true. |
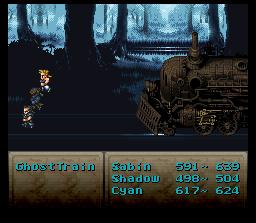
| Run to the top of the train and hit the final switch. Then, because this entire scenario was obviously LSD-induced, the train will attack you, WHILE you are running away from it. It's really funny to watch your little characters run from the train. I'm a sick, sick man. This train is weak: just use blitzes, swdtech, and shurikens. |
 |
 |
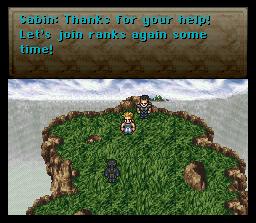
Since you somehow managed to beat the crap out of a train, it will ph33r you and drop you off at the next train stop in the middle of nowhere. A cutscene with Cyan ensues...blah blah blah, when will this damn scenario ever end? |
| Not soon enough, apparently. Leave the forest, and walk east to a little cave area (it's not too far.) Shadow leaves your group here, so if you want to take his equipment (Ninja Gear is good for this part of the game), unequip him before you go to this area. Then you'll jump into the falls like a bunch of madmen and attack waterfall piranhas (I told you, LSD-induced man). Just use fire dance to roast them all. |
 |
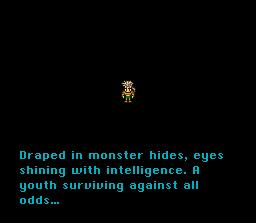 |
Ahh! The next character introduction. This young chap discovers your tattered body on the shore, but once you try to talk to him, he'll run away. We'll get back to Gau later....first it's off to Mobliz, the city on the veldt. |
| There's a couple things to do in this town. First, stock up on equipment and the sort (this is the second to last chance to purchase equipment before everyone is reunited). Make sure to buy some Dried Meat at the item shop, you'll need it to get Gau in your party. Also, you can sleep for free at the Relic shop, so don't waste your money at the inn. |
 |
 |
There's one other thing to do here. You can get a tintinabar (a very useful relic) by doing a few tasks. Here is what you do: talk to the dying soldier, read the letter, go to the carrier pigeon guy, send out a letter, then talk to the guy who shows you the map of the underwater passage. Keep doing this process about 5 or 6 times to get the tintinabar. |
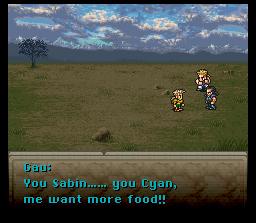
| Once you have dried meat, start fighting on the veldt until Gau appears. Use a dried meat on him. A really annoying cutscene ensues. |
 |
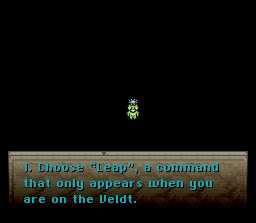 |
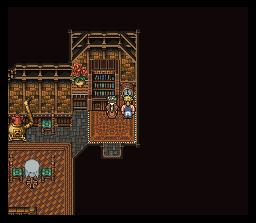
This weird little guy tells you how to use Gau's special abilities. Pay attention if you don't already know how. Aren't you paying attention? Hello? |
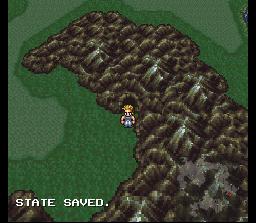
| Once you've gotten enough rages with Gau to whet your whistle, head down to this cave where Gau will take you to SHINY THING! |
 |
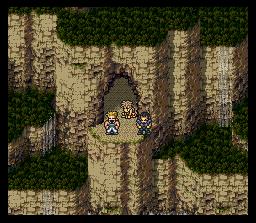 |
Which happens to be an underwater breathing device! Why, that's more convenient than the comedy setups in a Zucker movie. Guess it's time to take a dive, eh? |
| This passage is once again filled with pretty pathetic enemies. There will be two forks in the road. If you want to get the items this passage has to offer, make sure you stay right (I'd reccomend this, as you can get another Green Beret). When you come to, you'll be at the port of Nikeah. |
 |
 |
There's even less to do in this town. There is the "licentous howler" scene in the bar, good for a few laughs, some items to buy, and an elixir to find at the inn. And that's it. |
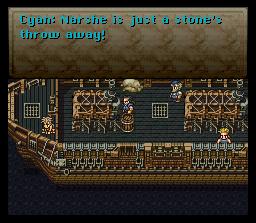
| And then you're finally able to leave this damned scenario. This scenario was longer than my...well, you get the point. Go down to the port and talk to the guy at the ship to head back to Narshe. And I leave you with a Woolsey-ism. |
 |