
 |
|
|
Chapter 7
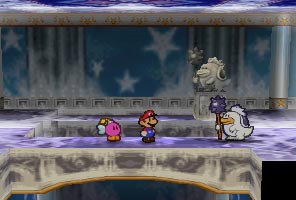 |
Go to the right and you'll find this room. You won't be able to get past the statues on the far side, so go in the near side and fight the White Clubbas. Every time you defeat a party of them, a statue will disappear on the far side. Defeat them all, enter the room on the far side, and go to the next room. |
| In this room, there will be a "swivel door" that is activated by a switch. But first, blast the wall on the right side (even though it's not cracked). In that room, you'll find the Triple Dip Badge. | 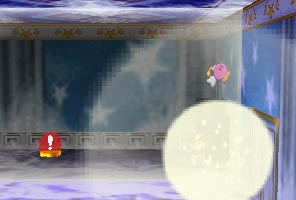 |
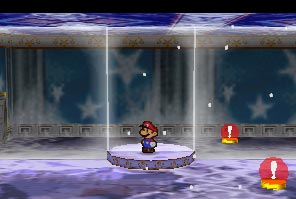 |
Go back into the swivel door room. Light Bombette's fuse and run onto the swiveling platform to get across to the near side. |
| Walk to the right until you see a small hole in the wall. Kick Kooper into the wall, and more Duplighosts claiming to be Kooper will appear. These Duplighosts haven't been doing their homework though...^^ Smash all of them except Kooper, and continue to the right. |  |
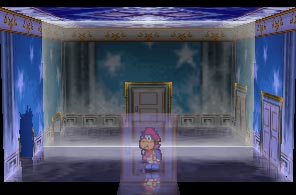 |
This is the room just to the right of the fake Koopers. Taking the lower path just leads to a dead-end for now, so head off to the right. |
| Even though there is no switch on the near side, there is on the far side, so use Kooper here, and if your reflection hits the switch, you will be able to cross. | 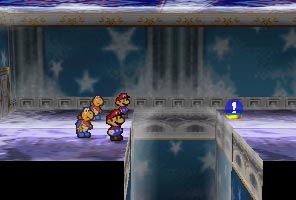 |
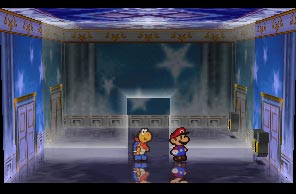 |
Keep heading right until you reach this dead end. Now go into the far side, and head left, until you reach the room where you can go up. |
| Take the northern path and push this Rhino statue, which will reveal a hole. | 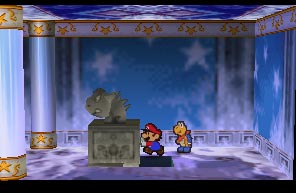 |
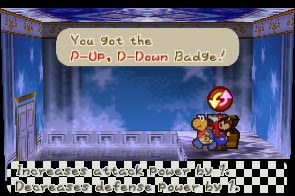 |
Down the hole, you will find the P-Up, D-Down Badge. |
| Also in the room with the Rhino statue is a hidden block containing a Jammin' Jelly. | 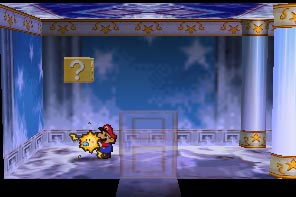 |
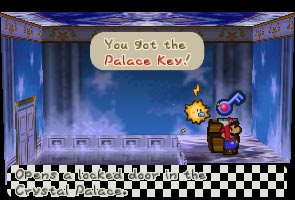 |
Go back to the near side, and head left to the room that was a dead end earlier (it is the near side's equivilent of the room with the small rhino statue you pushed to reveal a hole). The large Rhino statue will be moved out of the way, revealing another hole. Go down the hole and you can find the Palace Key. |
| Go back to the right to the locked doors, and unlock them with the key. In this room, you have to move all the rhinos onto the panels. Moving the statues will also move the rhinos, but you can only push the statues forward. Luckily, you can change which direction the statues face by talking to the corresponding rhino. After all the rhinos are on panels, a doorway will open up. | 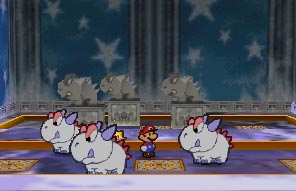 |
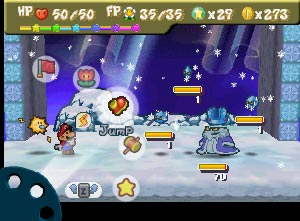 |
Now, continue on until you reach the Crystal King. He attacks by spitting out the Crystal Bits. But if you destroy all the Crystal Bits, he'll employ a stronger attack. He also has a high defense, so Watt is a good choice here. Since he heals himself for 20 HP TWICE, this can be a long battle. |
| After defeating the Crystal King, you'll rescue the final Star Spirit, Kalmar, and you'll have finished Chapter 7. |  |