
 |
|
|
Stage
3: Shehaqim
 |
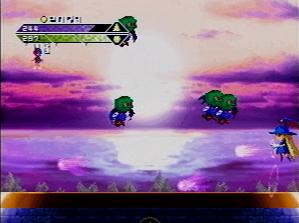
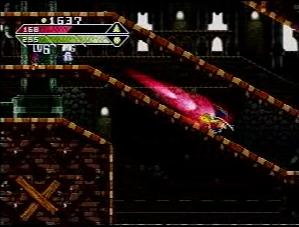
One of the shortest stages of
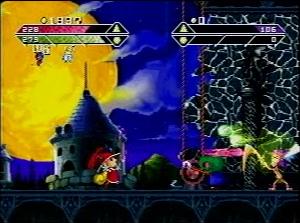
the game, but it has a challenge or two in store. As you begin, you'll be attacked by flying Specters, while Polly Peepers in the background throw grenades at you. You won't be able to harm the Pollies, so you'll have to dodge both attributes at once. Just try to stay in the air as you take down the Specters. |
| Once they're all defeated,
you'll move on to the top of the dome. There aren't any Pollies
to contend with this time, but there are some more flying
Specters. You can Cash Bash them in peace, but be sure to leave
to take the last one out as you're standing on the left edge of the
screen; the roof of the dome collapses as you defeat the last one,
which will dump you into the next stage, whether you want to do so or
not. |
 |
 |
If you stayed on the left end,
you'll be able to go down the left side of
the dome, where another combination of bomb-lobbing Pollies and flying
Specters
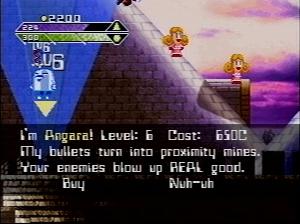
await. However, there is also a shop down here that sells Level 6
Angara! Get it if you wish, then take out all the enemies and
jump into the hole in the dome. (Save Point)
|
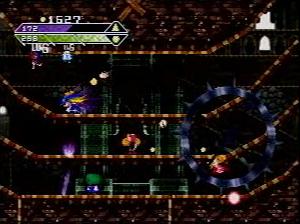
| Now you'll end up in a section
where
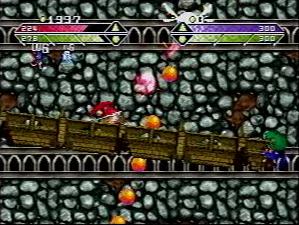
you'll be pursued by a giant, spiked wheel. Several enemies await
on the track, but you don't want them slowing you down. Use the
Crouch Dash to jet over to the left, plowing through anything in your
path. Hop on the small ledge here to find refuge from the wheel
as it crashes through the floor. |
 |
 |
From here, you have the choice
of whether to go
up or down. If you want Level 6 Rasti, you'll have to go
down. If you just want to get out of here, take the upper path
and Crouch Dash to the right; you can take refuge from the wheel in a
small nook by jumping through a thin floor. |
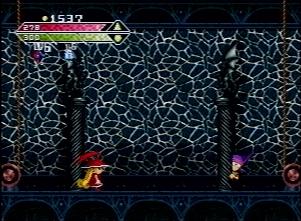
| If you decided to go after
Rasti, here's the means to get it:
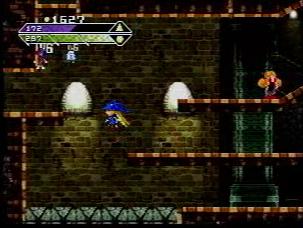
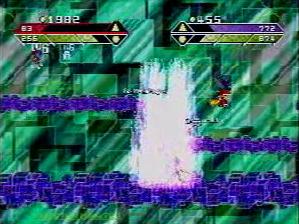
First, drop down and head right. When you come to a sudden
drop-off in the floor (pictured to the right), stop, jump down there,
and drop through the thin
floor. This will lead you to a third section with a wheel.
Head to the
left again, and when you reach the end of the section jump up to reach
a nook in the ceiling where the shop awaits. In any case, after reaching the end of your respective sections you will move on to the next portion of the stage. (Save Point)
|
 |
 |
The next section just consists
of a
shop and you meeting up with Pablo. Turn away until he peeks
out from behind the pillar, then turn around and stop at the point
pictured and he'll come out
to talk to you. He'll hand over an item (either a large Mana or
Fatima). |
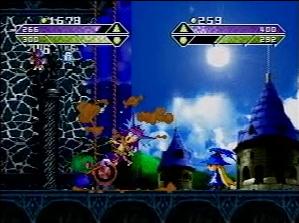
| Shortly after doing so,
though, some
Specters will appear and knock the wall down, causing Pablo to turn
into a werewolf! He'll immediately go on the attack. Attribute: Silhouette Life: 400 Spirit: 400 Credits: 400 Pablo is agile and has a few powerful and quick attacks, including a dashing uppercut, a claw dive, and an energy ball. His attacks are moderately powerful (though you can Reflect his energy ball), and his speed makes him tough to hit. |
 |
 |
There's a trick that you
can do during this battle; if you use the Grudge Grab, then toss Pablo
into the ground several times, the moon painting in the background will
fall down, turning Pablo back to normal. He won't attack you in
this form unless you fire a parasite at him, so it's a good opportunity
to Cash Bash him. The Specters will put the backdrop back up
after a few seconds, returning him to werewolf form. |
| You can go on the offensive
against Pablo in his human form, but be sure to only attack him after
throwing him; if you try to shoot him while he's standing, he'll start
swinging a sword around, which will deflect your shots right back at
you. However, you can deflect them back as well and damage him if
you're far enough away. After defeating Pablo, this portion of the stage will end. (Save Point) |
 |
 |
The next section is also very
short. There's a shop, and a small hole in the floor. Drop
through and Malak will appear, and after a short sequence you'll be
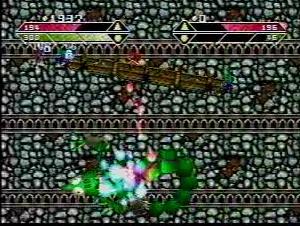
stuck fighting him atop a platform held up by two Specters. Attribute: Normal HP: 300 Spirit: 300 Credits: 0 Shoot at the smiley-face with attributes of one color. After taking a few shots, it will begin to glow the color of that attribute, and then a giant chameleon will uncloak itself. |
| The chameleon fires shots of
the
attribute you used against the smiley, and it acts as if it were the
same attribute that you fired at the smiley-face. Like Dynamis,
you can absorb Spirit from Malak indefinitely. Deflect its attacks back whenever possible, and pelt the center of its body with attacks. Avoid the tail, though, as it will damage you on contact and deflect back any shots that strike it. After a little while the smiley portion of Malak will appear again; repeat the process until he's defeated. (Save Point) |
 |
 |
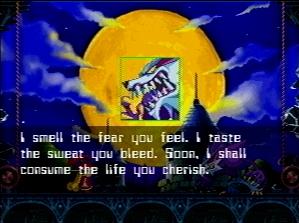
You're not out of the clear
yet. As you're speaking to Bug in
the after-stage dialog, Zohar will cut in and draw you into his
nexus. Then he'll go on the attack once again. |
| Attribute: Silhouette / Mirage Life: 1000 Spirit: 1000 Credits: 500 Zohar is mostly the same as last time, except that he adds a few new attacks into the mix: An energy wave from his sword that extends about 1/3 of a screen's distance in one direction, a spinning slash, and, in Sandalphon form, a Mirage-attribute "lightning chain" that trails behind Zohar for several seconds and even remains when Zohar changes attributes. The first two are fairly easy to avoid, but the last can be a huge pain; use your Reflect Attack on the balls at the end of each "chain" to get rid of them as soon as possible. After another unsuccessful attempt to take you out, the stage will end. |
 |
| To Stage 4: Machonom | |
|
|