
 |
|
|
Thru the Eyes of an Amethyst
 |
Crawl into the Sandworm just like you would enter a town. At the end of the path, you'll find a single man occupying it. Talk to him, and after an interesting schpiel on his part, answer "yes" to his question 3 times to get a Book of Strim, Stylish Bow and, more importantly, the Amethyst! |
| Go back to Essencia now. You can talk to people and show off the Amethyst, but that won't do any good. Just "use" it, like you would any other item, and watch the greenery sprout! | 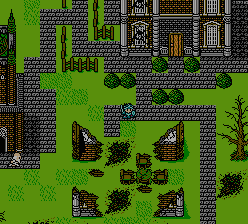 |
 |
Now go back to Lydia and talk to her. She'll take the Amethyst from you, and promise to repay her debt to you later on. Suuuuuuuurrrre... |
| The guard blocking the southern exit of the town is now missing, so feel free to leave and go on with the game. | 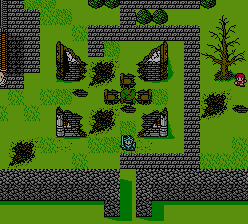 |
18th Battle
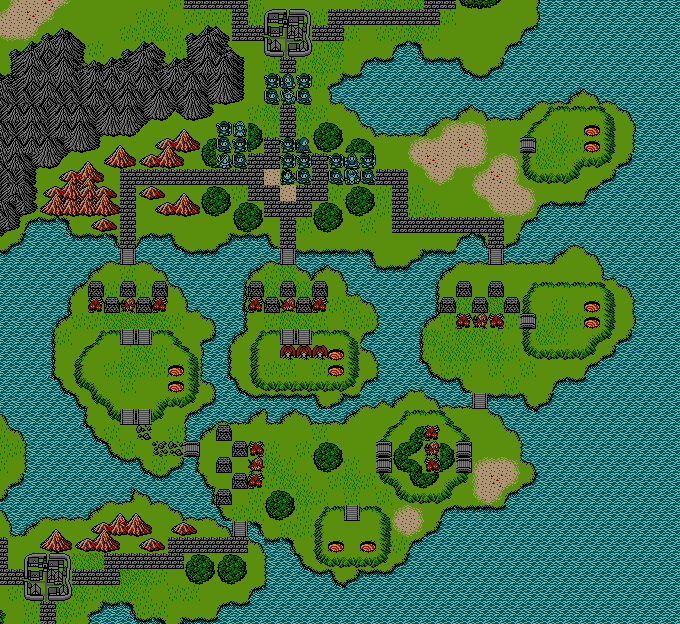
Raptor x3
Hellfire x10
Basilisk x5
Monster Den (Biggsley) x2
Monster Den (Raptor) x8
| PICTURE | NAME | HP | MP | AP | DP | EXP | G |
 |
Biggsley | 79 | 0 | 43 | 33 | 57 | 122 |
 |
Raptor | 57 | 0 | 41 | 20 | 57 | 154 |
 |
Basilisk | 85 | 6 | 20 | 41 | 90 | 204 |
 |
Hellfire | 93 | 0 | 33 | 33 | 120 | 264 |
OK, this battle can get tricky. Most of the enemies can attack from a long distance, and to make matters worse, they protect themselves behind barriers! Add in 10 Monster Dens, and the fact that the Hellfires can cast Burlaiz as often as they want, and you've got a potentially fatal battle on your hands.
First thing's first, split up your armies. One army should go do battle against the enemies on the left, one should go straight down, and one should head for the Monster Dens in the upper-right corner. The last army should head to the right too. The upper-right Monster Dens spawn tons of Biggsleys, and start spawning rather quickly, so you'll want to close them off as quickly as possible. The Biggsleys will likely block the bridge leading to their dens, so put all your firepower into defeating them quickly and getting past them to unarm the dens. Burlaiz is a big help.
The rest of the armies should be fighting the enemies behind the barriers. The barriers can be destroyed by attacking them three times, and spear-users can attack an enemy directly on the other side of the barrier, but more importantly, you need to take out the Hellfires before they wipe your troops out. Fire-based spells aren't much help, but other spells like Krulaiz work nicely. Concentrate on taking out the Hellfires first, and try not to group your troops tightly in a way where Burlaiz will hit all of them. Boomerangs are nice for this, since you don't need to be directly in front of the Hellfires to attack them. The sooner the Hellfires are gone, the greater your chances of surviving. You might also want to consider casting Maccuum on the Basilisks to preven them from casting Toromar.
After taking out the Hellfires, concentrate on getting rid of the Basilisks and breaking through the barriers. Get to the the Monster Dens as quickly as possible, as after a while, they start spawning Raptors, which makes things much tougher. The army on the left should continue on their path and go to the bottom part of the battle that route, the armies on the right should continue on that route, so that the southern enemies are attacked on each side. The army that went to the central island can go either route after unarming the Monster Dens. If you plan carefully, you should be able to succeed in this battle.
|
|