
 |
|
|
Shake It Up
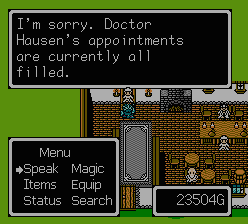 |
Here you are in Kaefner, home of the world famous Dr. Hausen, who can apparently cure you of your paralysis. You don't really have to cure your paralysis now, but you will eventually, and it's soooo annoying to have to deal with that paralysis, so you might as well just do it now. But when you head to the hospital, he's too booked to take a new appointment...asshole... |
| You can force him to treat you though, if you go into the basement of the house on the east side of town. The old geezer there will be able to convince his daughter in law, the Hausen's nurse, to let you through. | 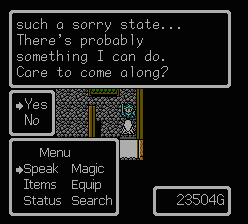 |
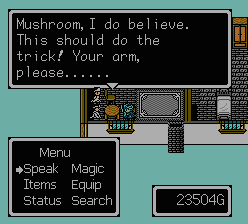 |
It only takes the doc about 5 seconds to cure you. Yeah, he must have been REALLY busy... |
| Anyway, after the hero is healed, bring Rolan up to him and get him healed to. Now Orlof... well, it seems Orlof ate a bit too much (Remember, he ate Hans' portion too), so he's going to be out of comission for a while. That sucks... Oh well, nothing you can do about it now. Although, if you wanna be kind of cheap, you can just cure Rolan and Hero, and leave Orlof paralyzed so he'll stay in your party. You can return here via Strim later to cure him. But the battle's coming up are designed so that you don't need Orlof's assistance. Anyway, revive any dead characters, sleep at the inn, and upgrade your armor. Now exit west of town and head to your next battle. |  |
15th Battle
Python x6
Stirge x2
Biggsley x4
Ghost x2
Phaun x2
Monster Den (Stirge) x6
Monster Den (Biggsley) x2
Monster Den (Phaun) x2
Monster Den (Ghost) x2
| PICTURE | NAME | HP | MP | AP | DP | EXP | G |
 |
Python | 59 | 0 | 41 | 20 | 20 | 50 |
 |
Stirge | 57 | 0 | 38 | 20 | 45 | 114 |
 |
Biggsley | 79 | 0 | 43 | 33 | 57 | 122 |
 |
Ghost | 41 | 43 | 12 | 18 | 57 | 114 |
 |
Phaun | 41 | 37 | 12 | 18 | 47 | 94 |
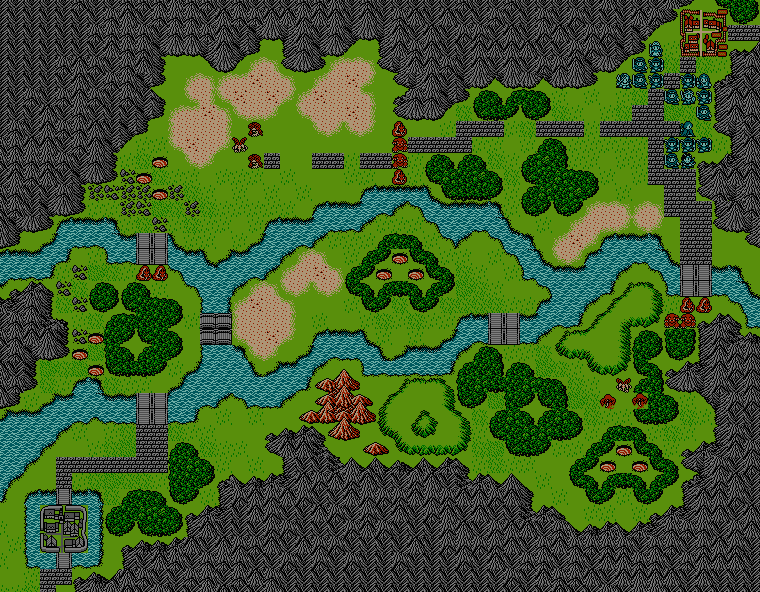
Strategically, there's not much to this battle. There are two main paths to take, and there are Monster Dens along each path, which are arranged in groups of 3. The northwest and western Dens contain a Biggsley, a Faun and a Stirge. The southeastern and central Dens contain two Stirges and Ghost.
Since you only have two armies for this battle, you'll have to decide if you want to take two armies along the northern route or the southern route. It really doesn't matter too much... either way, the army you sent alone will have the most difficulty. The northern route has Dens that spawn Biggsleys, though, so you might want to take two armies that way.
The most difficult part of this battle may be the beginning. You don't want to spend too much time fighting the enemies that rush you, because you want to close off the Dens before they start spewing out monsters. It's almost best to have an army confront each group of enemies, and then have the Hero's army sort of in the center, so Araund can be cast on either group of enemies as needed.
|
|