 |
|
|
My Little Chicken
 |
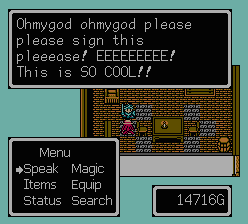
Welcome to Mahle, town of chicken dinners and hero-worship. As you see, the people here are really excited to have you visit. In fact, there are statues of you and your companions in the plaza in the center of town. But more on that later. Go to the Inn and Hospital. You can buy some Steel Swords if you want, just keep their short range in mind. |
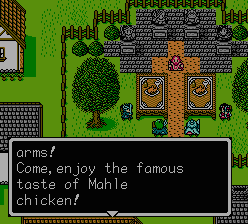
| Now, Mahle has prepared a sumptuous banquet for you to feast upon, so you might as well take advantage of it. To do so, just sit your ass down in this chair right here. |  |
 |
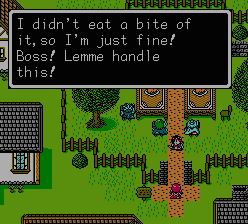
Of course, like usual, it wasn't just normal chicken, it was MAGIC POISONOUS PARALYZING CHICKEN made by the evil bad guy dude. This will affect all your generals, except for Hans, because the fatass Orlof ate his share. Luckily, this means Hans will be able to save your asses. But you're all still paralyzed... Nothing you can do about it now, except head to the next battle by exiting west of town. |
14th Battle

Python x8
Moird x6
Stirge x5
Biggsley x2
Monster Den (Stirge) x2
Monster Den (Biggsley) x2
Monster Den (????) x2
| PICTURE | NAME | HP | MP | AP | DP | EXP | G |
 |
Python | 59 | 0 | 41 | 20 | 20 | 50 |
 |
Stirge | 57 | 0 | 38 | 20 | 45 | 114 |
 |
Moird | 59 | 0 | 43 | 20 | 57 | 114 |
 |
Biggsley | 79 | 0 | 43 | 33 | 57 | 122 |
The thing that complicates this battle is that three of your generals are still paralyzed. This doesn't mean they can't fight, though. What it means is that sometimes when you select that army, all the characters will act on their own. If there are enemies around, this will usually result in all of them approaching the closest enemy and attacking it. If not, they all will just huddle around their general.
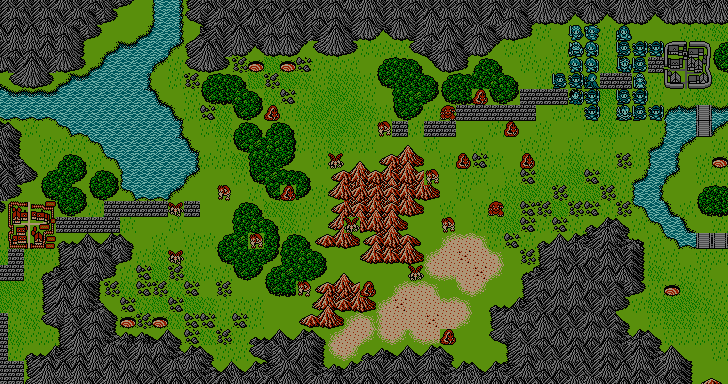
There are a couple things misleading about this battle. First, there are the two Monster Dens just south of time. I've never actually had these spawn off any enemies. Maybe they're just there as a decoy? In any case, I'd just ignore them, because if you go to unarm them, all you'll be doing is leaving one army out of the battle. The second is that it may seem like a good idea to split your armies up and send some to the northern Dens and the rest to the southern Dens. However, the southern Dens are difficult to reach by the southern route, due to the mountains and the desert, so that will slow them down significantly, and since they're not going the northern route, those armies taking that route will be without backup.
Therefore, what I suggest is that you keep all four armies together, the best you can. Sometimes armies just stay paralyzed, but there's nothing really you can do about that. Keep everyone together, make your way to the northern Dens, close them, then head to the southern Dens and do the same. The Dens will be spawning off plenty of Biggsleys and Stirges, so you'll have your work cut out for you. I cannot overstate the importance of multi-attacking spells... there's nothing more satisfying than seeing Fribane take out an entire screen of enemies. And Orlof, with his Jupiter Halberd, will be quite handy too... when he will actually obey your commands...
|
|