
 |
|
|
Town Connection and the Jupiter Halberd
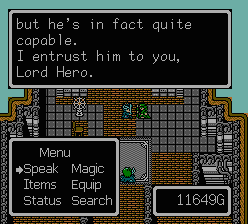 |
After your battle, you'll end up back at the Winga Village. To advance the story, go up to the top floor and talk to the Winga Chief again. Hans will volunteer himself to your cause. Hurray! |
| Go back downstairs to have Hans OFFICIALLY join your party, then he'll suggest you return to the last battlefield to search for a way across the wall. Of course, the plan will run into a hitch when a Garp shows up and blows everybody up. | 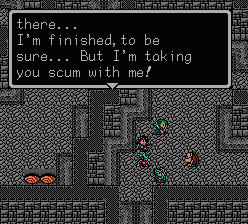 |
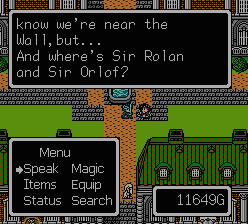 |
The Hero and Hans will end up in Messalia, a town located on the Wall, but where are Rolan and Orlof? *DRAMA* |
| Going around town, you can learn that there's a town on the opposite side of the Wall from Messalia, called Cassalia, and there's a pigeon-carrying service to communicate with Cassalia. The Pigeon Place is located on the west side of town. Enter it, go upstairs and talk to the guy that sends letters to his girlfriend, then leave the building, and a pigeon will fly down. Use the Search Command on the Pigeon to find a letter written by Rolan and Orlof. Guess they're in Cassalia. What a huge surprise... | 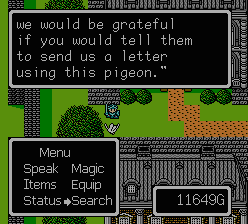 |
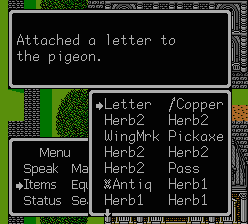 |
To send a letter, go back to the Pigeon Place and talk to the guy behind the counter, then pay him 100G. When the letter is finished, go outside, approach the pigeon again, then select "Letter" from your item menu to send the letter. |
| Walk toward the center of town, and you'll find another pigeon. Search this one, and Orlof and Rolan will want some Oil... Now where can we get that? | 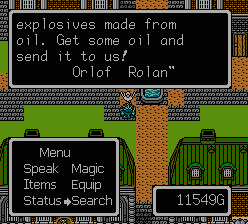 |
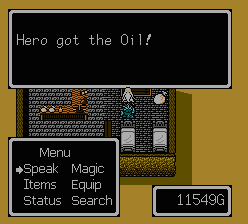 |
Return to Susandna again, and talk to the Elder one more time. By some miracle, he's still alive, but at least he'll give you some Oil without making you go on a bunch of fetch-quests again. |
| Go back to Messalia. The Pigeon Place doesn't have any pigeons big enough to carry an oilcan, but the guy in the building just to the south has bred a fat-ass pigeon that might do the trick. Donate 80G to the cause of "animal-love" (*snicker*), and he'll allow the services of his pigeon... but for Oil-carrying, not animal love... Sickos... |  |
 |
After attaching the Oil to the giant pigeon, look for Hans. He's usually in the southeast part of town. Looks like some crazy pigeon is following him around. Search the pigeon and you'll find some explosives! Yay! |
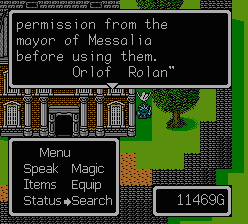
| You can't actually blow up the wall until you get permission from the mayor, who is in the building in the center of town. He'll let you blow up the wall as long as you don't harm any of his statues. The place pictured is the only spot that will work, so use the Explosives here. | 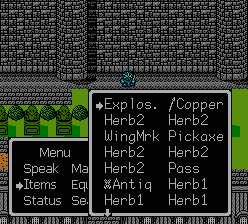 |
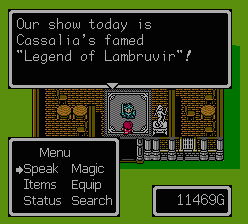 |
You'll make it to Cassalia, where Rolan and Orlof await! In Cassalia, there are puppet shows, one that shows how you reunited the two towns, and another that gives important backstory. These are in buildings in the south side of town. You really should watch the backstory one, about Lambruvir. |
| After the play, talk to Orlof, who wants to join you in search of more information. You can get more information from the puppet-maker, who is hanging out on the second floor of the weapon shop. Talk to her and she'll tell you about some badass weapon kept east of town. |  |
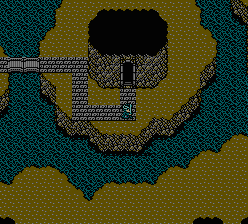 |
East of town, there's a cave. Inside the cave, you'll find some treasure chests, which can be opened with the search command. A Horma Ring and a Krunas Doll... not bad! In the center of the cave, enter this sub-cave and get ready to battle... |
13th Battle
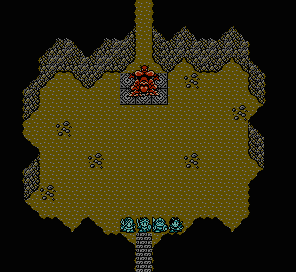
BigStone x1
| PICTURE | NAME | HP | MP | AP | DP | EXP | G |
 |
BigStone | 175 | 0 | 69 | 61 | 167 | 342 |
This battle looks easy, and is actually even easier than it looks. Have Rolan, Hero and Orlof cast Gesarch EVERY round. Have Hans cast Horpha on whoever got attacked in the last round. You'll be victorious in about 3 rounds.
Intermission
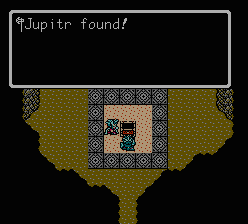 |
The prize for defeating the BigStone is the Jupiter Halberd, and holy crap, does it ever kick ass! Orlof's the only guy that can equip it, so give it to him, and watch his attack power soar! Also, note that the Jupiter Halberd does not behave like a regular weapon. Attacking with it will attack all enemies within a one-space radius from Orlof... meaning you can attack up to 8 enemies with a single strike! Excellent! |
| Take care of any shopping or anything else that you need to do in Messalia/Cassalia, then head north of Cassalia to this chapter's REAL battle. |  |
13th Battle (Part 2)
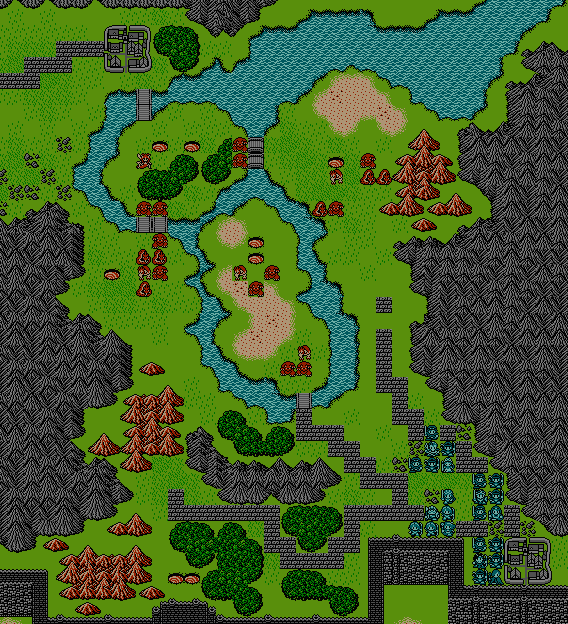
Python x6
Skaerie x1
Moird x3
Biggsley x12
Monster Den (Python) x2
Monster Den (Stirge) x6
| PICTURE | NAME | HP | MP | AP | DP | EXP | G |
 |
Python | 59 | 0 | 41 | 20 | 20 | 50 |
 |
Skaerie | 47 | 25 | 25 | 20 | 37 | 78 |
 |
Stirge | 57 | 0 | 38 | 20 | 45 | 114 |
 |
Moird | 59 | 0 | 43 | 20 | 57 | 114 |
 |
Biggsley | 79 | 0 | 43 | 33 | 57 | 122 |
Alright, this battle's not as easy as the last one. The Boirds are slightly more annoying than the Pythons, and there are plenty of Biggsleys as well... And all of the Monster Dens (aside from the two closest to your destination) spawn Stirges, which fly, attack from a distance, and can drain your HP... Yikes! You'll want to have some LifeHerbs on hand, because you'll probably lose a few troops (mostly due to enemies attacking the same character 2-3 times a round), and Arienas costs a LOT of MP. Also, Orlof should have the Jupiter Halberd... and he's your most powerful weapon in this battle by far. He's a tank defensively, and he's almost unstoppable offensively with the Jupiter Halberd. Whenever you get the chance, send him into a group of enemies and take them all out at once with the Jupiter Halberd.
There are three paths, and you'll want to take an army along each one. But there are four armies you have to work with... I take one army along the southern path, south of the mountains (to unarm the two dens down there), and start another along the eastern path. Have both of the other armies start fighting all the enemies that end up just south of the first bridge. Once these enemies are taken care of, send on of these two armies north onto the island to unarm the monster dens, and send the other along the eastern path.
The army along the southern path may have the most difficult time. After taking care of the monster dens, you probably don't want to send them north to the enemies above them, since they'll likely get slaughtered. It's better to wait for the two eastern armies to cut a path to the northern part of the battlefield, so you can surround the enemies. Also, if the army that closed off the dens in the island gets done quickly enough, you can see if they can hurry up and join your western army, but usually, they won't have time too. They can support the other armies by attacking with magic and their archers, though. But even if you sustain some troop casualties, you should be able to make it through this battle.
|
|