
 |
|
|
The Wall
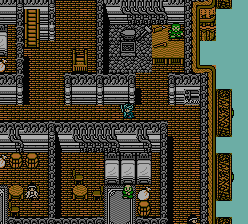 |
Welcome to the Winga Village. It looks a little different than what you're used to, but just like always, you'll want to go to the inn and hospital, as needed. You can also go to the Weapon Shop and buy some Iron Spears. They're pretty expensive, but oh-so-nice! |
| On the second floor, talk to the guy in green, and he'll ask you to ally with Winga. Of course, you'll want to say yes. | 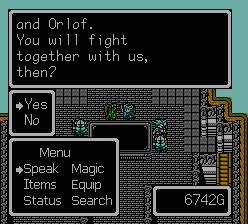 |
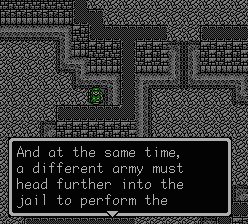 |
Now he'll start explaining the method of attack. You should probably pay attention to him now so that you'll know what exactly you'll have to do in your next battle. |
| After he's done explaining, the lecherous Hans will burst in. The promise of comely lasses convinces him to join your party. Hurray! | 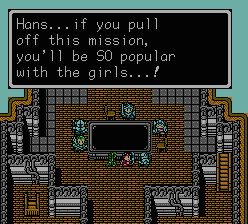 |
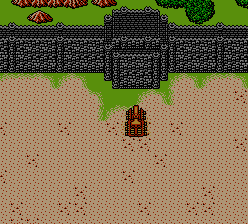 |
When you're ready, go to the top floor of the Village, and stand in the chair in front of the steering wheel. You're controlling the village! Ride around for a while, and when you're ready, burst into the wall right here to start the battle. |
12th Battle
Skeleton x2
Falconer x8
Jark x5
Monster Den (Skeleton) x14
Monster Den (Falconer) x2
| PICTURE | NAME | HP | MP | AP | DP | EXP | G |
 |
Skeleton | 49 | 0 | 27 | 16 | 12 | 40 |
 |
Falconer | 53 | 0 | 25 | 15 | 47 | 70 |
 |
Jark | 69 | 0 | 37 | 41 | 47 | 94 |
 |
Garp | 77 | 27 | 31 | 25 | 39 | 74 |
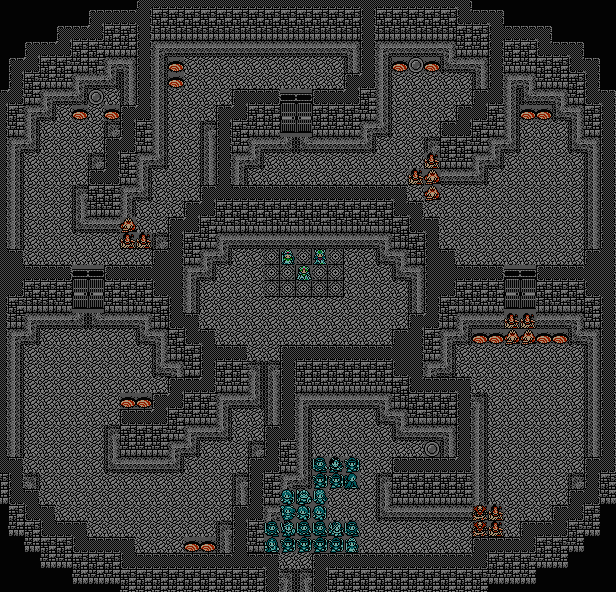
This battle is long, arduous, and the most difficult battle you've faced up to this point. There will be three gates, and to get past each one, you'll need to have somebody standing on one of the switches, that means that you'll have to leave an army behind each time you pass a gate. And with no less than 16 Monster Dens, you'll be battling for a long time...
The first thing you'll need to do is open up the first gate. I always have a member from Hans' army step on the switch, then have the rest of his army join the fray. Feel free to use Hans' troops' MP liberally, since they'll become useless as soon as you pass the gate, so use the MP while you have the chance. Skeletons will be pouring out of the dens at an extremely fast rate, so try to close them off ASAP! Also, try to stay in close groups, so that enemies won't gang up on a single character. If you have multi-attack spells like Araund, Burlaiz and Fribane, they are extremely helpful, if not necessary, in clearing out groups of Skeletons.
Fight your way through the first gate, then rush toward the two dens above you before going after the Jarks and Falconers. Make your way past them like the last ones, then make your way to the next dens and switch. Decide who you want to leave behind (if any particular army is decimated, it's a good idea to leave them behind). In the meantime, you can take Hans and his troops near the entrance. There'll be Skeletons spawning at the dens across the wall, and Hans' army can pick them off for easy experience. You should be able to kill off a single Skeleton every round (two bowshots, one boomerang hit).
Past the third gate, close off the dens, then attack the Jarks and Falconers, then go up the dens and last switch. Decide who your weakest remaining army is, and leave them at the switch.
The first set of Monster Dens beyond the final gate release Falconers instead of Skeletons, but that shouldn't be too much of a problem, since they tend to stand on the dens, stopping any more from spawning. Fight your way to the Priestesses, which may seem hard, since you only have a single army left, but it's not as bad as it seems. Hans' army picking off Skeletons also comes in handy now for more than Exp and G, since the Skeletons they kill won't be able to attack you since they'll be dead... again...
When you reach the Priestesses, you'll find out that they weren't priestesses at all, but hideous Garps! That sucks... The Garps cast Toromar, Marrow and Horma, but are generally not even as much of a threat as a Jark. The army you left at the second gate can assist you with magic and its archers, so keep that in mind (having them cast Toromar or Macuum is very handy). Concentrate on one Garp at a time and keep your HP up and you should prevail.
|
|