
 |
|
|
 |
The Fire Medallion
 |
Head back to the Temple of Time and you will meet Sheik again. He says that to awaken the other Sages, you must travel over mountains, under water, and through time. He then notes that to travel back in time 7 years to return the Master Sword to the pedistal and teaches Link the Prelude of Light, which will warp him back to the Temple of Time. Sheik then disappears. For now, head to the pedistal and place the Master Sword back in. |
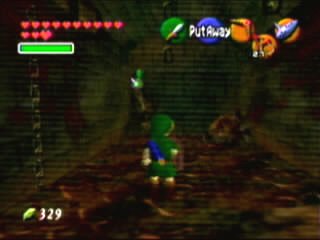
| As a kid, go to the Windmill in Kakariko and play the Song of Storms to the man in there. The Windmill will act wierd and drain the water from the well. Now, jump in the well and into the area. This is the Bottom of the Well, and this area is pretty tough until you get the Lens of Truth. Kill the Big Skulltula and it will look like you are at a dead end. In fact, the wall in front of you is false, and you can walk right through it. Make sure to equip the Hylian Shield. |
 |
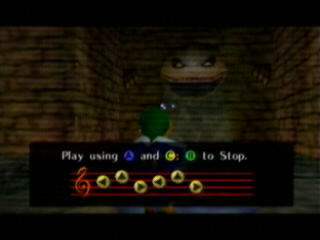 |
You will now be in the inner area with a small river of water. Follow the river until you see a Triforce Mark near where the flow is. Play Zelda's Lullabye and the water will lower. Make your way back to where you started (follow the dried up river) and you will notice that the water is gone and a small hole will allow Link to crawl through. Crawl through. Kill the Big Skulltula, climb the wall, and open the door. |
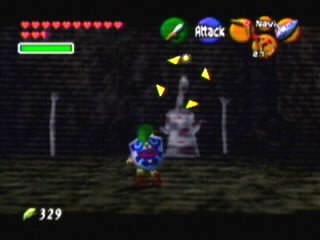
| You will now be in a big room with 4 arms sticking out. Get close to one and it will grab Link, and reveal the boss for this level, the Dead Hand. Get out your sword and when it lowers its head, do a jump attack. When it turns away, stand back, as it will disappear. Purposely have an arm grab you again and the Dead Hand will appear again. Slash it when the head is down and it will retreat again. Repeat until it is dead, and then you will get the Lens of Truth. (use the Lens of Truth and behind the chest is a chest with a Gold Rupee). Exit the well, unless you feel like searching. |
 |
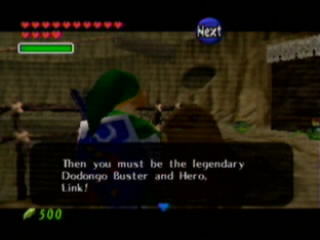 |
Go back to the Temple of Time and pull the Master Sword. As Adult Link, head to Goron City. Go to where that huge goron was rolling and you will see a smaller, faster moving goron there. Stop his movement with a bomb. He will stop and say that his name is Link, hero of the Gorons. Ah, an imposter. Talk to him and he will explain that he is Darunia's son and that Ganondorf took all of the Gorons to feed to Volvagia, the Dragon. He then mentions something about a hammer. Remember it. He then gives Link a Goron's Tunic, so that the heat will not bother up. Everything then opens up. |
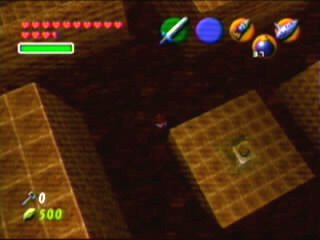
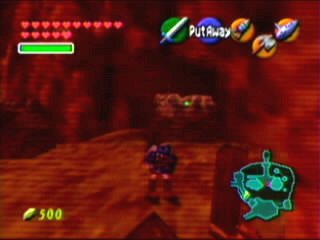
| Head to where Darunia used to be and pull on the wall that looks like a Goron. It will open the path to Death Mountain Crater, the lower part. Go left and Hookshot across the bridge. Keep going and you will run into Sheik, who will teach Link the Bolero of Fire (guess where this will warp you). Sheik then disappears behind a wall of fire. Now, go left and into the pit. This will take you to the Fire Temple. |
 |
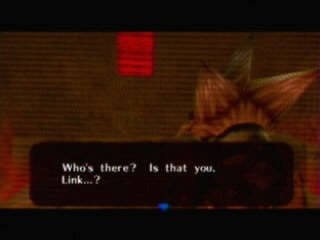 |
Go up the stairs and take the left door. You will immediatly meet Darunia. He says that he is going to try to seal the Dragon before it escapes and goes into Hyrule and burns it up. Although he doesn't have the hammer, he has no choice. He asks Link to free is people. And then Darunia said unto Ganondorf, 'Let my people go!'. Anyways, Darunia goes into Volvagia's lair. Time to get into action. Start pillar hoping to the left and push the button to release the Goron (though it will talk to you). Take the Key and head back to the entrance room. |
| Unlock the door on the right and you will now be in a huge room. Go to the left side and open the door. Push the button inside to release the Goron. Grab the Key and go back outside. Go directly across from where you are now and blow up the false wall. Open the door, free the Goron, and grab the Key. Go back out and go right. Unlock the door. |
 |
 |
On the other side, climb the side right of the
opening. Kill the Keese, jump down to where the block is, and push the block over the edge. While the fire is out, jump on the block and the flames will propel Link to the 2nd floor. Unlock the door. On the other side, you will see a cell with a Goron inside. There is nothing you can do just yet. Go left and climb up. Jump across to where the block is and push the block over the edge. Jump down and pull the block to the end. Climb it and jump to the fence and climb that. Set a bomb to the Crystal and start for the flames. The flames will go down and you can climb. |
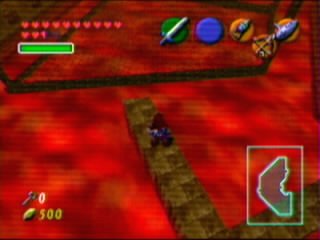
| At the top, open the door. You will now be in a maze with moving boulders. From the door, head left and around to a door. Go in, free the Goron, and grab the Key. Go out and run straight across and search for a button. Push it to release the Goron and grab a Key. Now follow the side that rounds off a bit to where there is a locked door. Open it. Shoot the eye just above and too the right to open the door to the right. Carefully walk across and go to get the Map. Return and go right to the locked door. Open it. |
 |
 |
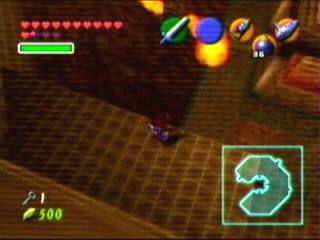
Jump onto the fence floor and you will soon be followed by a wall of fire. Make your way to the other side and up. Open the door and you will now be on top of the Maze. Jump across and blow up the floor with a crack in it. Go down, press the button to release the Goron, and grab the Key. Head back up to above the Maze. Jump over and press the button. Hop over to where the door opened and grab the Key. Now head back to the door. Open it and jump down to the fence floor again. The flames will come from behind again. Run over to the right and jump on the platform. Unlock the door. |
| From the other side, go right and avoid the flame walls to the door. On the other side is the Compass. Go back to the door and go left. Remember the large pillar in the middle in the floor. Make your way around the flame maze to the locked door. Unlock it. Go through to the other side and open the door. Work around the flame maze and press the button. This will lower the firewall. Quickly make your way past the wall to the other side. Do not open the door. Bomb it, because it is a fake and will fall on you. Once bombed it will reveal a new door. Open that one. |
 |
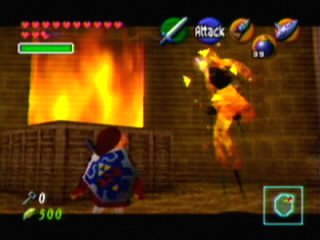 |
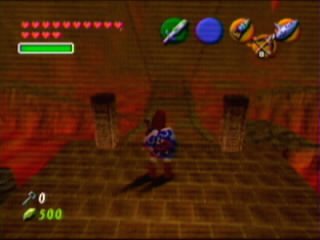
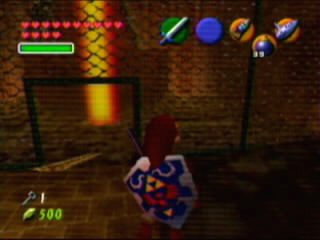
On the other side is a Flare Dancer. Not too tough. Navi will target the center. Use the Hookshot to remove the center, then start attacking it. It will run for a bit and then jump back into the fire. It will then jump back out and do the same thing. Keep it up and it will soon die. The fire will lower and the elevating platform is free to use. Use it to go up and open the door. Climb up the wall and at the top, drop a Bomb on the Crystal and run for the flames. Like last time, the flames will lower. Quickly climb up the wall and open the door. |
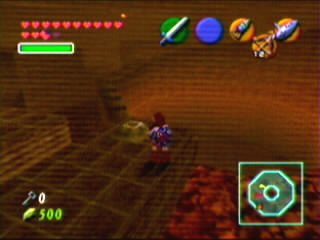
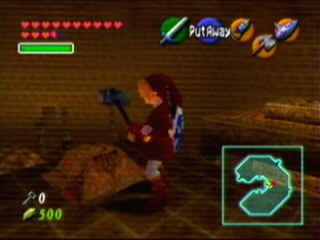
| Ok, now you need to be quick and careful. Shoot down the Fire Keese, or you will regret it. Press the button which will release the fire around the chest. Run quickly before the fire comes back. Open the chest and the Megaton Hammer is yours. Go back to where the button was and near it should be a small platform. Hit it with the hammer and it will fall to the lower level. Jump down and smash the statue with the hammer to reveal a door. Go in, smash the pillar with the hammer to lower the floor to a doorway. Take one of the boxes and place it on the blue switch at the bottom. Open the door. |
 |
 |
Hit the small pillar with the hammer. It will fall to
the lower floor. You will now be back where the flame mazes where. From the fallen pillar, climb the wall and Navi will point out a rusted switch. Hit it with the Hammer to open the door. Play the Song of Time when you see the block of Time. Jump across, hit the rusted switch and another Goron will be freed. Grab the key and go back to the door from where you came from. Now, remember that pillar I told you to remember? Hit it with the hammer and it will fall to the room where you met Darunia. Make your way back to the entrance room again. |
| Smash the statue and unlock the door. Kill all of the monsters to open the door. Ignore the next room and go through the door. You will fight another Flare Dancer. Kill it the same way you did last time. Grab the chest, exit through the other door, hit the rusted switch, release the Goron, and grab the Boss Key. Now, you are ready. Head back to the room where you met Darunia and hop over to the other side and unlock the big door. |
 |
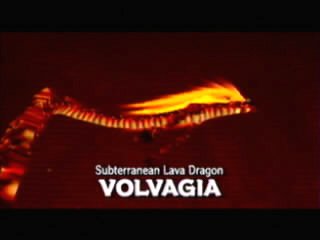 |
Jump to the center island. The pillar that you just came from will disappear and Volvagia will come right out of the ground. Looks like this will be a tough one. Get the hammer ready as well as your arrows. Its head will pop out of a hole. Hit it with the hammer at this time, then strike it again (if you have the Biggoron Sword, a jump slash will help you out). It will dive back in and come out flying. Target it and shoot it with an Arrow. It will come right back down on a direct hit. Repeat the first part with the hammer and then it will start to fly and drop rocks. Start moving when it does and it will fly back down. |
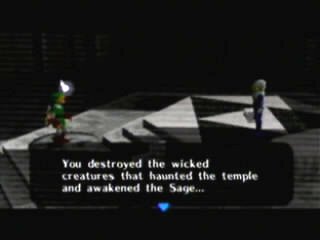
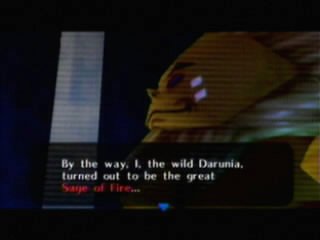
| Repeat for a while and it will finally die off,
leaving its skeleton. Grab the Heart and take the warp. You will arrive at the Chamber of Sages, where Darunia stands at the Red platform as the Sage of Fire. He thanks Link and gives him the Fire Medallion and will be warped outside the Fire Temple. |
 |
 |
Once outside, head over to the right of where you entered Death Mountain Crater from Goron City. Smash the rocks with the Megaton Hammer to reveal an entrance. This is another Great Fairy. This one will double your magic meter (yay!). Navi will soon mention something about an arctic wind at Zora's Domain. Looks like you know where to go next. |