
 |
|
|
 |
Death Mountain to Zora's River
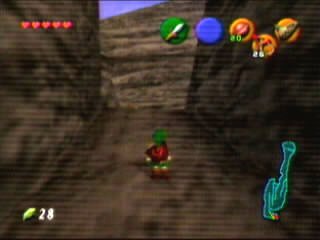 |
Now that you are in Death Mountain, you must head to Goron City. Beware the Tecktiles and quickly dispose of them. Goron City is not too far up the mountain. Signs will point to your direction. |
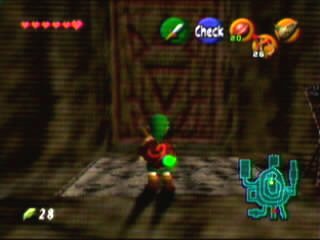
| Goron City can be pretty complex. But first things first, you have to see the leader of the Goron's first. Jump down to the bottom and go to the closed door with the carpet in front of it. Play Zelda's Lullibye and the door will open. Run in and speak to the leader, Darunia. He will be very upset that the messenger from the royal family is but a boy. He then goes on to explain why he is in a bad mood. |
 |
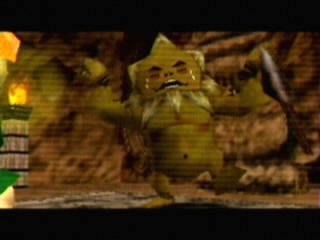 |
Well, looks like you are not going to get anywhere. Try to cheer him up though. Play Saria's Song and watch his foul mood go away. He will then introduce himself to Link and will give the Goron's Ruby to Link if he can rid of the monsters in Dodongo's Cavern. He then gives Link the Goron's Bracelet, which will allow Link to pick up Bomb Flowers. So, what else is there to do here? Not much. There is a place that is blocked off by boulders that you can hear Saria's Song being played. Blow them up with a Bomb Flower to open the path to the Lost Woods. |
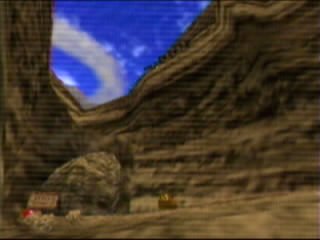
| Get out of Goron City and head right from there. You will see a Goron and a Bomb Flower. Pick up the Bomb Flower and throw it over the edge. It should blow up that huge boulder in front of the Cavern. Enter Dodongo's Cavern. |
 |
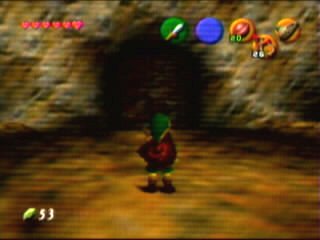 |
Ok, you are now in the Cavern. Start off by blowing up this wall with a Bomb Flower. Then enter what is the inside of Dodongo's Cavern. Remember to have your Hylian Shield equipped, or this could get costly. |
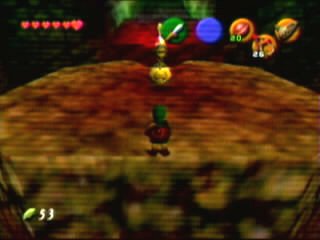
| From the center of the cavern, go left. Watch out for the Beamos, as it can really put a hurting on Link. Blow up the middle door with a Bomb Flower and take the Dungeon Map. Jump back to the middle and over to the right side of the room. |
 |
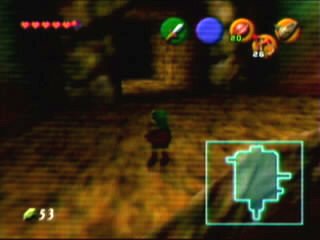 |
On the left side, take a Bomb Flower, target the Beamos on that side and chuck the Bomb at it. If you hit it or get near it, the Beamos will explode and be destroyed. Take another Bomb Flower and bomb the wall that blocks the door beside of the Beamos. |
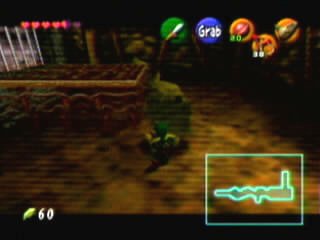
| The next room is can get rough. Baby Dodongos come up from the ground and attack. It takes one hit to kill them, but when they die, they explode. At the end of the area, there is a blue button that does not stay down. Move one of the statues onto the button to keep it down. The door will open. Go through it. Kill the Keese on the other side, pick up the hearts in here, and move on. |
 |
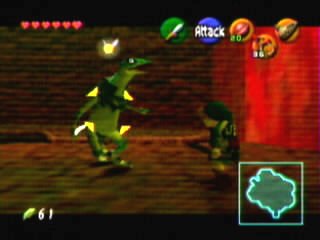 |
You had best have the Hylian Shield on. You now have to fight 2 Lizalfos, which can be a challenge. When it attacks, duck down using the R button. The attack will hit the shield. This allows an opening. Use the Jump Attack to deal out some damage. Once one Lizalfo has taken 3 hits (or 2 Jumps), it will run and the other Lizalfo will attack. Continue until both are defeated. Once both are dead, the doors will open. Go through it. |
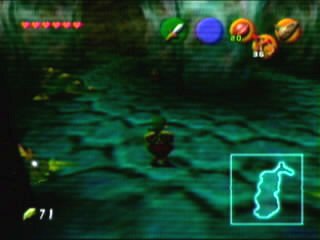
| One the other side is a room with Dodongos in them. These are harder than Baby Dodongos, but shouldn't be too much of a problem. Hit their tail, and it will swing around and breathe fire. Move around it and keep attacking the tail. Do this 3 times and it will die. But just like the Baby Dodongos, these explode as well. Kill the 3 Dodongos in the room, and light the torches to open the door. On the other side is a button that will open the door on the other side of the Main room. |
 |
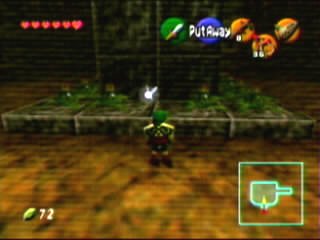 |
Go through the door on the west side of the Main Room. You will now be in a room with a lot of Bomb Flowers. But for now, use the lone Bomb Flower to blow up the wall to the Compass. To get the compass, awaken an Armos, and blow it up with a Bomb Flower. Now, back to the room with the many Bomb Flowers. Take the lone Bomb Flower and place in between the gap of Bomb Flowers. It will cause a chain reaction and lower the pillar to make a stairwell. Climb the stairs and exit out the door. |
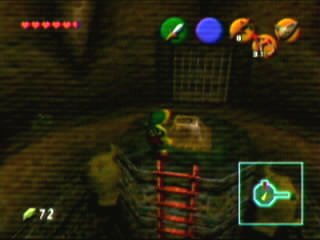
| This room is locked, has a few Fire Keese, and some Armos. Kill the Fire Keese and go to the Armos with the Ladder behind it. This is actually a statue, and can be moved. Move it, press the button, and exit out the other door. |
 |
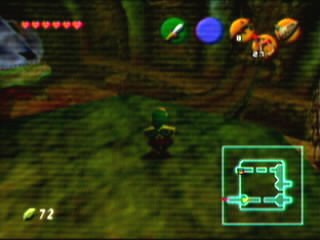 |
You are now above the Main Room. Cross the bridge and open the door. |
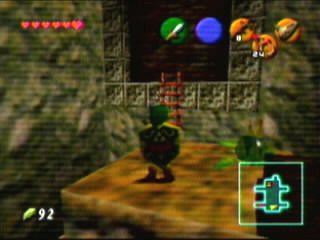
| In this room, there are a lot of spikes. Avoid them and make your way over to the ladder on the other side. Climb up onto the ledge and jump across. Now, here is the tricky part, you have to take the Bomb Flower and throw it at the wall as the Bomb Flower is about to explode. I wait about 8 seconds before I throw it. That buys enough time to take aim. Once the wall is destroyed, go down the hallway into the next room. |
 |
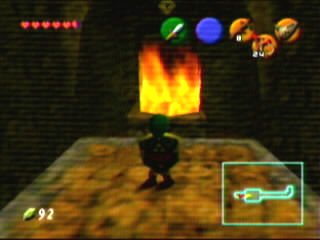 |
Another problem that can easily be solved. Just above and beyond the flames is an eye. Shoot it to remove the flames. Now quickly make your way over to the other side. Follow the path, killing the Baby Dodongos, and open the door. You will now have to fight 2 more Lizalfos. Kill them like you did the other ones and open the other door. You will then have to deal with more flames. Shoot the eye above and beyond like last time, but you will notice another flame. Jump onto the ledge, look left, and shoot the eye. Jump over to the other side. |
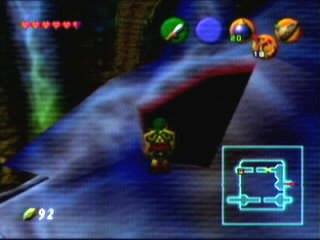
| In the next room, you will find your Bomb Bag. Finally, no more Bomb Flowers. You can blow up what you want, when you want. Continue on back to the Main Room. Press the button to raise the pillar (this is in case you fall, so you won't have to go through the whole thing again). Read the stone in front of the button. It mentions about Dead Dodongo seeing red. Well, here is how to do it. Jump down onto the head from the bridge. Place a bomb in the eye and watch it explode and turn red. Do the same for the other eye and the mouth will open, revealing a door. Open the door. |
 |
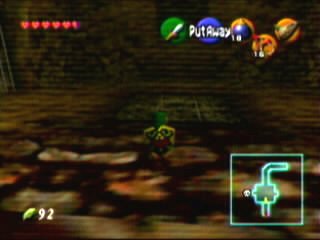 |
One the other side, there are a possible 4 ways to go, but actually, you can only go right. Work your way around the room and you will end up at the northern part of this room. Kill the Fire Keese and push the block over the edge, and into the hole. The door to the west will open. Enter. Bomb the discolored patch and pick up the bombs in the chest. Fall down the hole. |
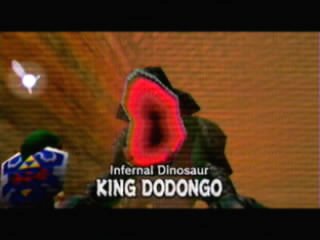
| You will meet King Dodongo in here. For a big guy, this is easy. If you remember from Zelda 1, you defeated Dodongos by making them swallow Bombs. No difference here. When it opens its mouth, chuck a Bomb or Bomb Flower into it. Dodongo will hit the ground. Get near him and take a couple of Jump Attacks at him. When he gets back up, use R to duck. Dodongo will roll right over Link and to somewhere else. Repeat until he dies. Pick up the Heart Container and exit via warp. |
 |
 |
Darunia gives Link the Goron's Ruby. Darunia makes Link his sworn brother as well. Darunia then says that Link should see the Great Fairy on top of Death Mountain. Then, just as the entire Goron tribe is about to give Link a hug, Link desides to make a run for it. Start climbing the mountain again. Blow up the boulders with the Bombs and continue upwards. On the long stretch, keep your Hylian Shield on. You will see shadows below you, which means rocks are about to fall on you. Duck down when you see that. At the top, you will see that owl again. Bomb the wall to the left and enter. |
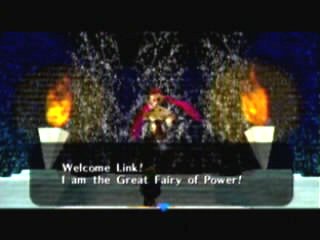
| Play Zelda's Lullabye at the site of the Triforce Logo. The Great Fairy of Power will emerge and give Link the Power of a Spin attack and gives him Magic power. She then says to meet a friend of hers at Hyrule Castle. Get out and talk to the Owl for a quick way back to Kakariko Village. |
 |
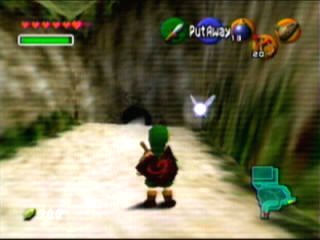 |
Use a bomb where there is a boulder after the gate. A small hole will appear. Crawl under and play Zelda's Lullabye again. Talk to the Great Fairy of Magic. She will give Link Din's Fire, a powerful spell. By now, Navi will ask you to talk to Saria. Play Saria's Song and Saria will say that King Zora might know about the last spiritial stone. So head east of Kakariko to Zora's River. |