
 |
|
|
Walkthrough Part 7
SEASIDE PALACE
PART 1:
How to read the map: S is where you start (and end). * is Dark Space. RJ is a Red Jewel. Arrows denote leading out into a small room. The numbers are what's important here; D1 means Staircase 1 going down, U1 means the same staircase going up, U2 means Staircase 2 going up, etc. P.2 means it goes to Part 2.
S--
   \
    \    *      D1
     ---------------> RJ
 D2
<---------------RJ
 U2 D3
---------\      U1
         -----------
    U3   D4        D5
---------------------->Lilly

(Key)---\ U4   D6  U5
        -----  -------

        P.2    U6
       ------------
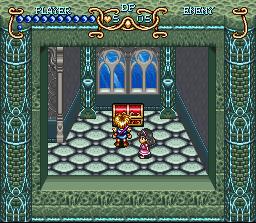
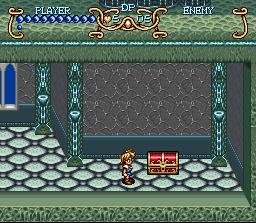
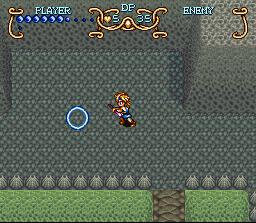
You can't kill stuff here, but you can neutralize it by hitting it. Go as far right as you can for a RED JEWEL. Kara can't seem to find you... Go back out, SAVE, and go down the stairs. Go left as far as you can. Take the door on the left, and go left to meet Erik. Then, go right until you reach the chest. Inside is another RED JEWEL.
If your inventory is getting crowded, equip RED JEWELs and Use them to send them to the Jeweler Gem. Go left, back down the stairs, and then down the stairs directly to your right.
Ignore the other stairs, just go as far right as you can. You'll meet Lilly, who tags along. Go back to the main room, and go down the first set of stairs you see (the one all the way on the right), then left, and downstairs again, then left, and downstairs. Here you can actually fight guys.
PART 2:
ENEMIES/HP:
Slipper/12 Skuddle/8
P.1
-----\
      \      D1       U2
       \----------------
D4 RJ
-----
U4     D3    U1
--------------------
       U3    EXIT
<----------------
Go as far right as you can until you find two doorways. Take the right one to go upstairs. Inspect both closed coffins from the top and you'll get a Purification Stone.
Go back down, and then through the door on your left. Go as far left as you can, and up the stairs for a RED JEWEL.

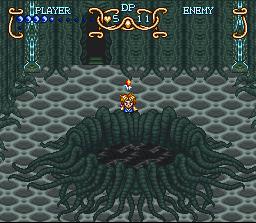
Go back down, and go right until you see a doorway with stairs going down. Go left to find Neil and Lance. Anyhow, go back out, and go right cautiously. When Skuddles start falling down, you're near the end. Kill them all, and enter the doorway. You'll see a dark fountain. Stand above it and use the Purification Stone to taint it.
Now, go back outside. [You have to go back to Part 1, pick up the (Key), and go all the way back to the Start (S).] Go left, and up the stairs, right, up the stairs, left, up the stairs, right, up the stairs, right, up the stairs, left, and down the stairs. Go left, and talk to the man at the dead-end for the Key to the Seaside Palace. Go back up the stairs, left, up the stairs, right, up the stairs, left, and save your game. Leave the Dark Space, and go left until you reach a sealed door. Use the key on it. Go down the passageway to reach Mu.
MU
ENEMIES/HP:
Slipper/12 Cyclops/26 Flasher/22 Skuddle/8
NOTE: This area is one of the hardest in the game, at least in my opinion.
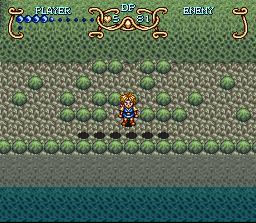
Go right until you encounter a Cyclops. Jump-attacks shred those things. Go down, and DON'T run or the Slippers will cause you much pain. Kill the Cyclops to reveal a new path. Using jump-attacks on Slippers works quite well. Go right, and then up. Go right again to the next screen.
NOTE ON FLASHERS: Their shots go one direction for about .75 seconds, then rotate until they're facing where you are when they start rotating. After they rotate, they go one direction. Use this to dodge any lucky shots. Or, you can BLOCK the shots. [Your best bet is to stand in front of them and hold L or R, then hit them. Better yet, hit them first!]
NOTE ON BOUNCERS (little blue undulating circles): To move them, attack them (to push them) or use Telekinesis (to pull them).
USE HERBS IF YOUR HEALTH GETS LOW!
Work your way to the exit of this screen, and go down to the next one. (On the way, you'll have to kill some Skuddles to clear a path.) On the next screen, ou'll see some spike traps. Timing solves this puzzle easily. DON'T jump-attack the Slipper or you'll probably eat spike. You'll see a little temple, which is the Room of Hope. Ignore it. Keep going... Use telekinesis to pull the bouncer out of the way.
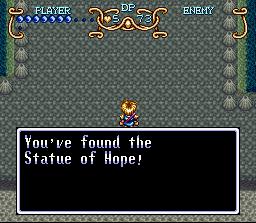
Keep going. You'll reach a fork in the road. It doesn't matter which way you go; each way has different enemies. I'd tell you to go back and kill them all. You can hit most of them through rocks this time. You'll eventually reach the end of the screen (and another empty chest). After it is a room with two statues, and... Well, nothing. Actually, there is something. Stand at the intersection between both statues' line of sight (both of them are looking at you....) and hit ATTACK for a Statue of Hope.
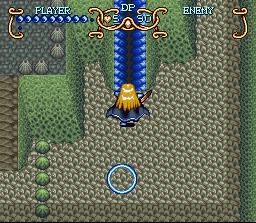
Go back to the Temple of Hope and use it. The water level has now gone down one level. Heading right will reach a ramp down, but all that's there are some Slippers. Kill them, then go back up and left past the Room of Hope; backtrack until you find a ramp going down into the previously flooded water. Go down, turn left, and keep going until you find a row of spikes. When they're down, go into the crevice. They'll go back up, go down, and then you should make a break for it. Or, you can just run across just as they're going down.
You'll find a Dark Space. Turn into Freedan and save. Go back to the ramp. DON'T go up it. Instead, go down along the right wall. Get by the energy chain, and go left. Then, head down to the next screen. Keep going until you reach a blue ramp. First use Dark Friar to kill the Cyclops above the blue ramp. See the bouncer below it? Run into the bouncer from above and hold UP to run up the blue ramp.
Continue on. You'll probably run into a Flasher. Kill it. Then, continue to the next screen. You'll see 4 Slippers which are trapped, and one which is not. Ignore the untrapped one, and kill the trapped ones. Then, kill the untrapped one. If you kill the untrapped one first, the others are set loose. Now, you can go either up or down. Go down, and to the next screen.
