
 |
|
|
Back to the Past
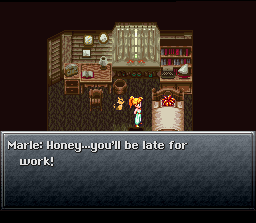 |
Turns out the entire game was a dream, as Crono is awakened from his slumber by his loving wife, Marle. The End. |
| Er... or maybe that part was the dream. Personally, I have no clue why the previous scene was even in the game. I mean, we all already know that Crono wants to tap Marle's nubile ass, there's no use in shoving it down our throats. I mean... gross, ya know? Oh, the walkthrough, forgot... Crono and pals amazingly wake up in Ayla's house for some reason. | 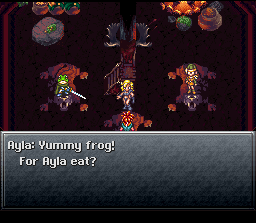 |
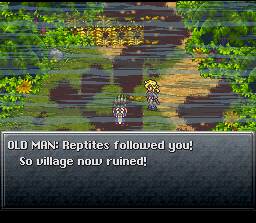 |
Evil Azala and the Reptites were up to misbehavin', they burned down the forest, Laruba Village needed savin'. In other words, go to Laruba Village to the north, and watch what happens there. |
| After Ayla runs off, head just east to the Dactyl Nest. This place is very straightforward and quite easy, so I'm sure you'll make it through just fine. | 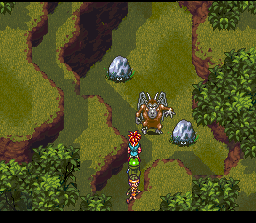 |
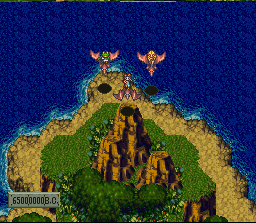 |
At the top, Ayla will rejoin your party and summon three Dactyls to ride. The idea is to raid Azala's headquarters and defeat the Reptites once and for all. So, fly just east of the village and you should find the Tyrano Lair. |
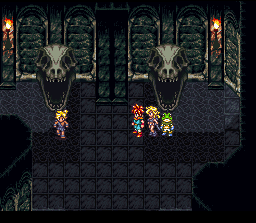
| When you're here, you know you found the correct Tyrano Lair. The path on the left is locked, so head to the right. | 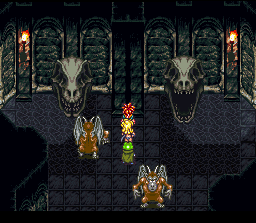 |
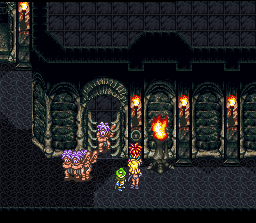 |
If you want to be nice, you can also rescue these hapless cavemen by pressing this switch. |
| Kino won't be as easily rescued however, as his switch doesn't seem to work. Examine his door and Ayla will go ape-shit and bust the door down, freeing Kino. | 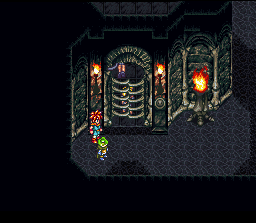 |
 |
Kino won't even stick around long enough for a quickie with Ayla. He will, however, open up the path that was previously locked. So that's good, I guess... |
| At this crossroad, go to the right. You can avoid a fight by hitting this switch before you get too close to the enemies. | 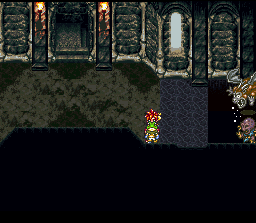 |
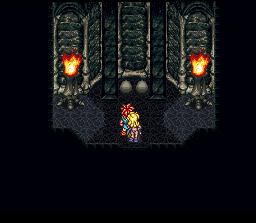 |
You should end up in this room. The egg on the right is actually a switch that drops you into the cell that was formerly occupied by the Larubans (and currently occupied by those enemies, if you dropped them with the switch you already passed). The egg on the left is a treasure chest, so crack that one open, and head back to the crossroad and go left this time. |
| This room's pretty annoying. There are invisible transporters all over the place, so getting the treasure here takes a little trial and error. When you've got all you want, take the exit in the upper-left portion of the room. | 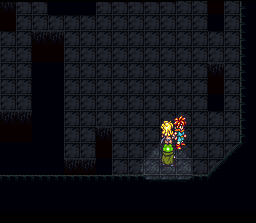 |
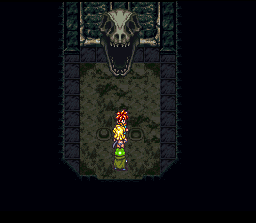 |
Keep going until you find this room. You'll need to get into the room in the back, but it's locked. The switch on the left causes a battle, and the switch on the right opens the skull-door. I shouldn't have to tell you which switch to hit. In the room in the back, hit the switch. |
| What did that switch do, you ask? It opens up the locked door you passed and didn't pay any attention to... see? Anyway, since the door is now open, you may as well go through it. | 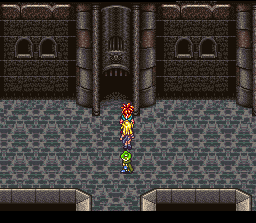 |
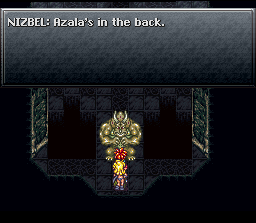 |
Here you'll find Nizbel II, who won't attack you until you try to walk past him. His physical defense increases as he gets attacked, and decreases as he's hit with lightning attacks. The solution? Use lightning based physical attacks like Volt Bite or Spire. They do HEAVY damage, and his defense remains low. He won't last long. |
| Another switch room... The switch in the middle opens up a save point, the switch on the left removes the floor, and the switch on the right summons some enemies (that will fall to their deaths if the floor is opened). The only switch you'll want to hit is the one in the middle. How do you open the door, you ask? Just examine the skull and it'll open. Hit the switch in this back-room, and another locked door will open up, just like last time. | 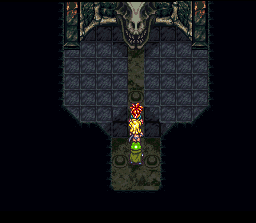 |
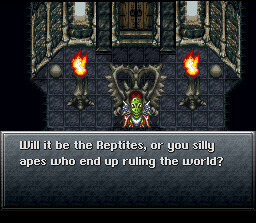 |
Behind that locked door, you'll encounter Azala who will hype up your inevitable battle. Azala will then run away... but won't run far... |
| Looks like Azala found a pet! This battle's actually not as bad as it looks. First, if Ayla has already learned Charm, you can charm Azala for a Magic Tab and Black Tyrano for a Power Tab. After you've taken care of that, you'll want to take care of Azala. Use your most powerful attacks, and Azala'll fall fairly soon. Now it's just you and the Black Tyrano. He generally has very high defense, but will occasionally count down from 5 for a powerful attack on the party. When he does this, his defense is nilch (you can also counterattack each roar if you have the Rage Band equipped). So, make sure you're healed up when he starts his countdown, then let loose with your most powerful attacks (Spire and Volt Bite work nicely). Keep this up and you should win. | 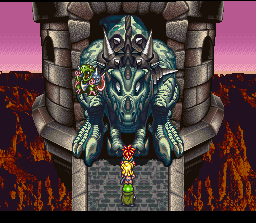 |
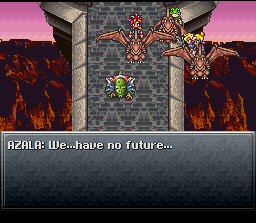 |
After the battle, Azala decides to be a little bitch and choose death over joining your party (and to think I named my pet turtle after Azala!). You'll then escape just in time to see Lavos crash into the Tyrano Lair, effectively wiping out the Reptite species. |
| Oh, and a gate will conveniently appear where Lavos landed, giving your party something to do. So... enter the gate, whydontcha?! | 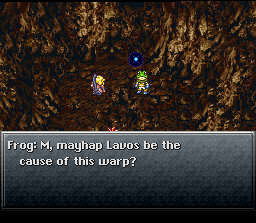 |
Mid Ether (Dactyl Nest Chest)
Mid Tonic (Dactyl Nest Chest)
Meso Mail (Dactyl Nest Chest)
Mid Ether (Tyrano Lair Chest)
Full Tonic (Tyrano Lair Chest)
CeraTopper (Tyrano Lair Chest)
Tonic (Tyrano Lair Chest)
Revive (Tyrano Lair Chest)
Meso Mail (Tyrano Lair Chest)
Full Ether (Tyrano Lair Chest)
CeraTopper (Tyrano Lair Chest)
Mid Ether (Tyrano Lair Chest)
Magic Tab (Charm Azala)
Power Tab (Charm BlackTyrano)