 |
|
|
The Grand Finale
 |
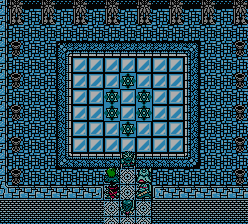
Beyond the last battle is this room. Step in the middle to be whisked away to the final battle. I don't need to tell you that you'll want to heal up at the Inn and make final preparations before going to battle... |
29th Battle

Ezelkiel x1
Jisfandel x4
| PICTURE | NAME | HP | MP | AP | DP | EXP | G |
 |
Ezelkiel | 970 | 506 | 69 | 67 | - | - |
| Jisfandel | 506 | 0 | 87 | 102 | - | - | |
Compared to the last battle, this battle's cake. Really, there's not much to worry about at all. Obviously, your first task will be to take care of Ezelkiel. He can basically be treated the same as any of the bosses you've faced lately. Surround him, Hardi yourself, and pound away. Try to conserve your MP by not casting any offensive magic (except Hardi), though.
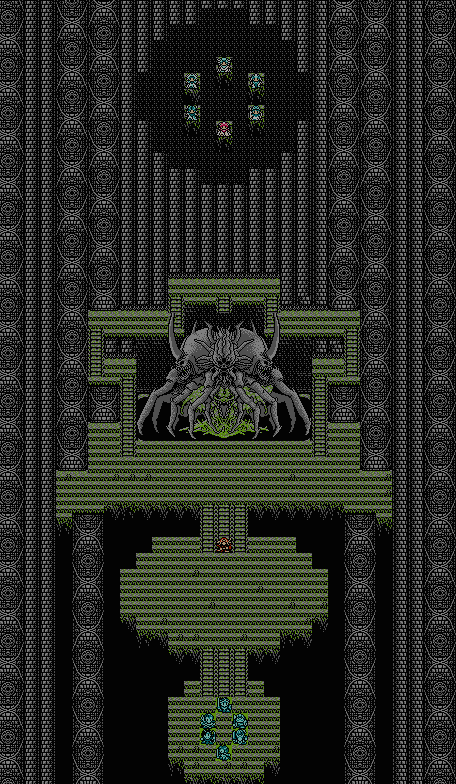
Soon, Ezelkiel will fall, and the Megagod Jisfandel will revive (he's that big ugly thing behind Ezelkiel. Jisfandel has four different targets, all of which must be defeated. The first target is the ugly mouth at the bottom, then there are the two horns, then finally the sphere at the top. The bottom three parts will cast Barazan each round, and the top part will cast Laizak, and the top part can't be defeated until the other are defeated.
Since space is at a minimum, you will only be able to get a few characters attacking a part at a time. The bottom part is two spaces away from the closest piece of land, so Halberds can't reach it. Duval, with his Saturn Spear, can, though. Get Duval as close as possible so that he can start attacking. Keep Hans below Duval so that Hans can shoot arrows at it too (Bunsido with Hans can speed things up). Rolan should have the Just Spear. Give the Hero an MP Ring. Lydia should have the other MP Ring. These two will be the designated healers. Send a healer toward each horn. Send Orlof toward one horn, and Rolan character toward the other, so that a healer and an attacker are headed toward each horn.
Put the horn-attackers right up against the horns and have them wail away. The healers should be parallel to the attackers, in the upper corners, so they'll be just out of reach of Barazan. They should cast Horpha as needed (the MP Ring will keep their MP up). Occasionally, Hans or Duval will need healing too, so just move a healer down the stairs enough to cast Horpha. Hans and Duval will probably take care of the bottom part before the Horns are gone, so send one of them to each horn. Duval can stand behind the current attacker and attack as well, and Hans can stand where the other healer is and attack (the healer can move down one spot and still avoid damage). If one horn dies before the other, have the characters converge on the surviving horn.
Once the horns are gone, you can finally go after the final part. It'll stop casting Liazak and cast Laizaza and a fire attack that damages all characters (watch out for that one!). But you should be fine. Have the two characters equipped with Spears get above it and attack from there. Hans should attack from the left or right. Lydia should heal. The Hero can help out healing when necessary or attack by casting Torneda. Keep this up until you're victorious, and enjoy the ending!

|
|