
 |
|
|
 |
Level 4
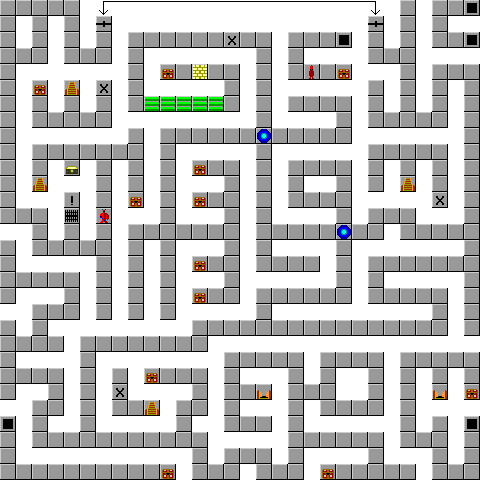
Go to Level 4 now. This is one of the toughest levels there is. Search around a bit. Monsters will get tougher. At (13, 17) there is a Frost Armor. Give that to Hiro. Just above it at (13, 11), is a Heal Ring. Give that to Milo, as it casts Heal 3 on command. On the north side of the 2nd spinner, past the slime, is a fake wall. Use the Orb of Truth to reveal and fight. Behind it lies the Light Blade, the strongest weapon in the game. Go back around and to the 'X' (15, 3). Use the Rope and follow to get the last piece of Mithril Ore.
Head back to town and have the Trader make a Helmet for Hiro. Give the Mithril Helmet to Milo. Now you should be strong enough to get the Elven Hood. Go up the Rope on Level 3 at (22, 3). Go around and fight the Guardian, which is a stronger version of the Sentinal. Use your best attacks, and the Quick (2), and Boost strategy. Kill it and grab the Elven Hood. Give that to Pyra. Now you should have this equipment, which is pretty much near the end of it.
Hiro: ![]()
![]()
![]()
![]()
Milo: ![]()
![]()
![]()
![]()
Pyra: ![]()
![]()
![]()
![]()
Back on Level 4, at (5, 16), you will hear a voice that asks who is there. Turn and see the real Princess Jessa in the cell. She will tell you about Hiro's father, Mortred, turning into a Dark Knight. She asks you to get the Cell Key, which is a bit northeast of where she is. You won't get too far before you have to fight the Dark Knight.
The Dark Knight is the pretty tough, but I was around Level 35, and I didn't have any trouble with him. He hit me for about 50 HP and about a good 200 on a critical hit. And sometimes, he attacks twice. Have Milo cast Quick (2) on the party and Pyra cast Boost (1) on Hiro. After the first round, have Hiro attack, Milo attack, and Pyra cast Boost on Milo. Now it is time to release the big guns. Or so we think, because the Big Guns are not that big. Have Hiro attack, and Milo use Heal 3 or Heal 4 when needed. Pyra should use one of her attack spells, or heal with Heal 2 when needed.
After about 1200 HP, the Helmet will fall off. Do a about 300 More HP of damage and he will finally give up. Mortred's soul will be free, as he says a few words, and dies. Go a bit further and grab the Cell Key. Go back to Jessa and release her. Take her back to the Castle.
The King, as a reward, will give Hiro a Magic Ring. Give it to Milo. Now, pick up the Dwarf's Key again and rest at the Tavern. Look at all the maps with Cells in it (except the Cave of Wisdom). Here is what you can get behind each Cell Door.
Strength: Forbidden Box
Courage: Demon Staff
Truth: Magic Ring
Level 2: Barrier Ring
Level 3: Light Shield
Sell the Forbidden Box and Demon Staff. Give the Magic Ring to Pyra, and the Barrier Ring and Light Shield to Hiro. Rest up, sell the Dwarf's Key, Orb of Truth, and Mystic Rope, and go back to Level 3 via Medallion. Take the other half of the Medallion from the Gold Fountain and head back to where you found Jessa on Level 4. A little beyond that is another Gold Fountain. Place the Gold Medallion there. Now, look at your equipment again. Check it with this:
Hiro: ![]()
![]()
![]()
![]()
Milo: ![]()
![]()
![]()
![]()
Pyra: ![]()
![]()
![]()
![]()
Now it is time for the last part. Level 5.
|
|