
 |
|
|
Walkthrough: Saul Kada Ruins, Part II
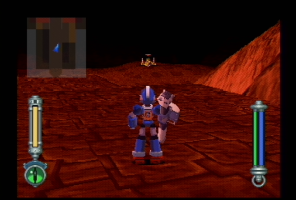
You're now deep into the ruins, and the door you've been working towards unlocking is now unlocked. It seems that Tron and Bon are here, too, but they can't get rid of the Saul Kada Guardian either. Is it possible MegaMan will team up with the Bonnes...?
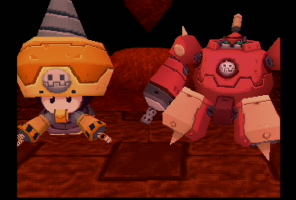 |
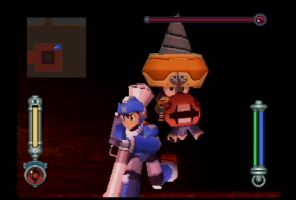
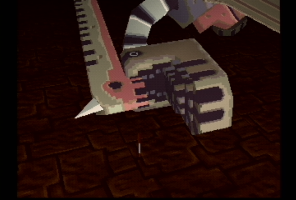
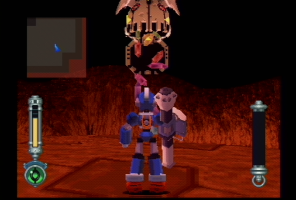
When you go through the door, you'll find that Tron and Bon are already there. They're trying to knock down the giant stalactite hanging from the ceiling, which should stop the lava flow and get rid of the Saul Kada Guardian's power source. When they offer a temporary truce, accept it. |
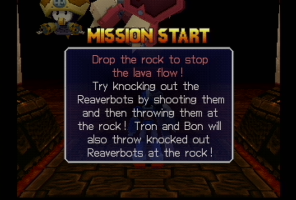 |
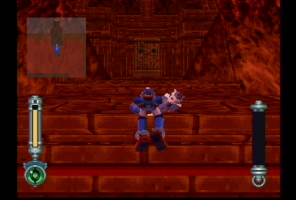
Your goal is to help Tron and Bon knock down the stalactite. However, it's not as easy as it might sound. |
 |
You can blast the rock as much as you like, but it somehow regenerates its health. You can't destroy it completely with just weapons. |
 |
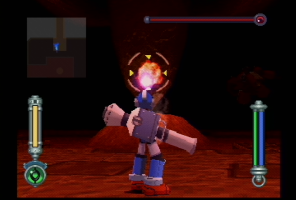
By now, you should've noticed Spike Runners running around the room. When you shoot them, they'll fall over on their sides... |
 |
...and Bon or Tron will quickly pick them up and throw them at the stalactite. As a side note, don't damage Tron or Bon too much, or they'll turn against you. |
 |
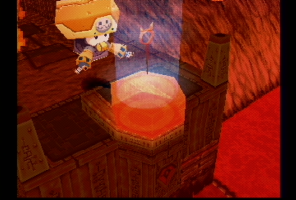
There's an infinite amout of Spike Runners, so don't be afraid of destroying them. The best strategy is to knock down two of them for Tron and Bon, then use the Lifter to pick one up yourself. Then, run over to the stalactite, jump into the air, and throw it at the giant rock. This is the only way to destroy it. Also, Tron or Bon must score the last hit. |
 |
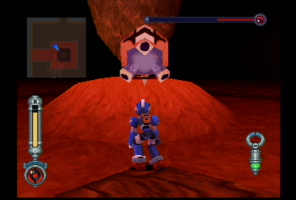
The stalactite will eventually fall into the lava and shut off the source of the lava that flows into the giant Reaverbot's chamber. Your truce with the Bonnes is now over, but they'll leave you alone...for now. Head back to the Saul Kada Guardian's chamber. |
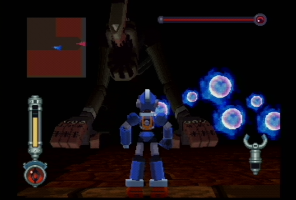 |
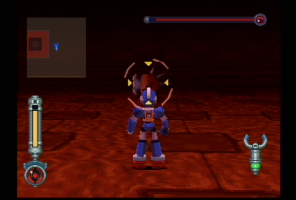
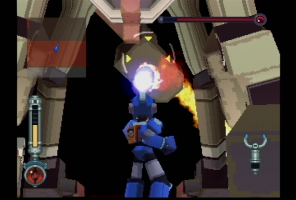
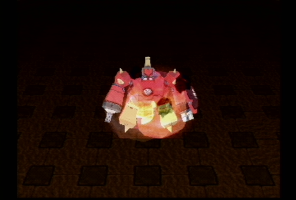
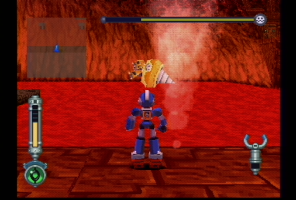
When you get there, you'll find that the lava has hardened, and the giant Reaverbot is now on all fours. Its no longer invincible! It will fill the room with slow-moving, blue energy balls, but they can be destroyed with the Buster. He can also slam his head down like before, which causes a shockwave you'll have to jump over. Another attack is a flame thrower that moves from side-to-side. If you get too close, it can also smack you with its hand. Finally, when it's low on health, it can shoot fireballs. As a side note, watch out for falling rocks from the ceiling. |
 |
After you finish this battle, you'll be heading back to the entrance of the ruins, so don't be afraid to unload Hyper Shell shots into its face. |
 |
The best strategy, however, is to lock onto its face, then run under its body. It'll be hard for it to hit you from that position, and you can continuously blast its chin from there. Easy. |
 |
When the Saul Kada Guardian finally croaks, it will drop the First Floor Key. Grab it, then go back through the northwest door. Data is no longer there. Take the elevator up. |
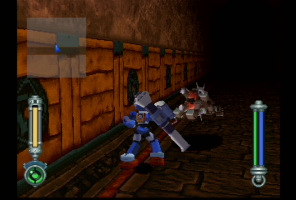 |
You should watch out for Leech Reaverbots that appeared in these halls while you were on B3. In addition, Wolf Reaverbots very similar to the one you fought back on Forbidden Island will charge through the halls. Once they pounce on you, they'll retreat back into the shadows, so stay on your toes and shoot them. |
 |
Once you get back to the entrance hall, exit the ruins. Recharge, save, refill the Energy Canteen and Medicine Bottle, grab another Hyper Cartridge and Picnic Lunch if you used the ones you have, then go back in. There's two Wolves in this hall, so take them out with caution. The door at the end of the hall can now be unlocked. |
 |
Once again, you're now in a giant, lava-filled room. You should notice some sort of yellow machine on the horizon. It's a Reaverbot, and a dangerous one, too. Once it spots you, it will start launching homing missiles. The trick is to get just close enough to be able to lock onto it, then start unloading Hyper Shell shots at it. It'll never know what hit it. Now go to where it was, and you should see another Chicken Launcher to the west. Take it out the same way. |
 |
Another Reaverbot known as the Reaverbot Carrier is in this room. When you see it, it will usually drop a plethora of zenny. This is a decent way to make zenny--see the Secret sections for more. |
 |
Once the two Chicken Launchers are gone, it's safe to climb up the northeast ledge. The chests inside contain 30,000 zenny, a Soft Ball, and another 24,000 zenny. Back in the previous room, go through the door on the northwest ledge. |
 |
Go through the short hall, and you'll see the third key to the Mother Lode on the high ledge--and Bon's got it! You have to get up there. Head thorugh the west door. Moth Reaverbots inhabit this hall. Destroy them, and go through the northeast door. |
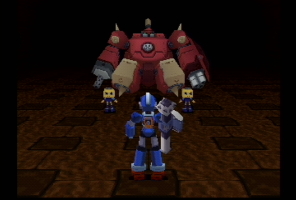 |
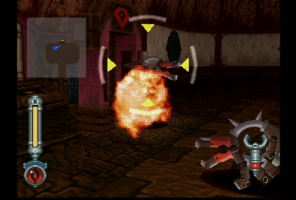
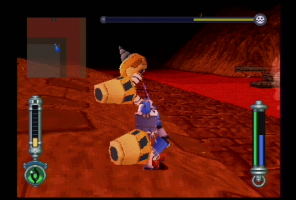
Tron is waiting for you in this modified version of the Gustaff from The Misadventures of Tron Bonne. She's got two Servbots with her as well. For the most part, the circle-and-shoot method works. One of her attacks is to shoot a machine gun at you. She can also launch two bombs that will spread fire around the room. On that note, she also has a flamethrower attack. The Servbots will ocasionally throw bombs at you. However, if Tron hits you with a Beacon Bomb, they will go berserk with the bombs. |
 |
First of all, knock out the two Servbots. They'll recover quickly, but you should have enough time. Unfortunately, Tron can also raise a shield that will block most of your attacks. The BEST strategy is to wait for her to drop her shield, then hit her with a bunch of Hyper Shell shots. Depending on how much you upgraded it, she'll go down in no time. |
 |
Once Tron and the Servbots are gone, head through the south door. Looks like Bon's already left. Hurry through the south doors! |
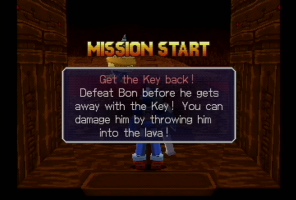 |
Once you reach the giant room where the Chicken Launchers were, you'll have caught up to Bon. If he reaches the exit before you can take him out, it's game over, so don't let that happen. |
 |
First, I'll just note that a good way to take Bon out quickly is to pick him up with the Lifter, then toss him into the lava. |
 |
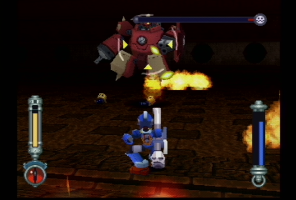
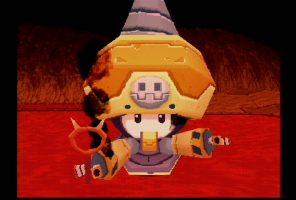
Bon's main attack is to launch his two hands at you. They will be connected by electricity, and should either be shot or avoided. He can also shoot his hands as missiles, but they can be caught and thrown back with the Lifter. Finally, he can charge at you with the drill on his head. |
 |
The Hyper Shell is an easy way to victory. Once he's gone, if the key lands in the lava, quickly retrieve it. Now the Third Key is yours! You can either return it to the Sulphur-Bottom, or take part in the racing mini-game in Kimotama City. It only gives you cash, so choose whichever one. |
Go:
Backward: The Saul Kada Ruins, Part I
To the Walkthrough Home
Forward: Racing (OPTIONAL)
Forward: Train Battle
|
|