
 |
|
|
Walkthrough: Saul Kada Ruins, Part I
Since Teisel is out of the way, you're free to enter the Saul Kada Ruins and claim the third key to the Mother Lode. Beware, though--the ruin is full of fire and lava, and the most fearsome Reaverbot yet. On top of all that, the Bonnes aren't through with you yet, either! Good luck...
| Upgrade the Hyper Shell as much as you can and equip it. Make sure you have the Fire Barrier, Light Barrier, and Asbestos Shoes (equip those shoes). Equip the Power Raiser ALPHA, Rapid Fire ALPHA, and Accessory Pack. Make sure you have a full Energy Canteen with about twenty-five Extra Packs, a full Medicine Bottle with about fifteen Medicine Packs, a Hyper Cartridge, and a Picnic Lunch. The entrance to the ruins is on the platform where you fought Teisel. | 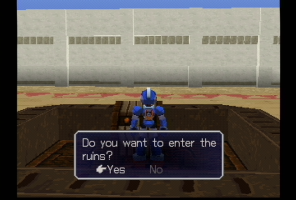 |
| Run a short distance down the hall, and you'll see two Spike Runner Reaverbots run away from you towards the end of the hall. The door there is locked, so go through the door on the right instead. | 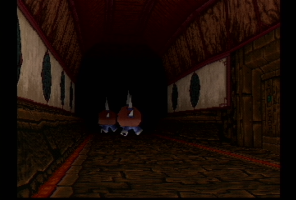 |
| When you enter this hall, you'll notice several Reaverbots similar to the Shell Dinos you fought on Forbidden Island. These Red Shell Dinos behave the same way, but just remember that making one come out of its shell does the same to the others. After destroying them, go to the end of the hall. The elevator has lost power, so head south. | 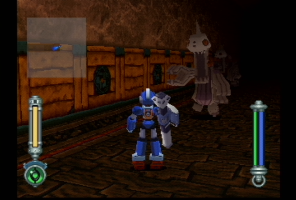 |
| Follow the rooms south until you get into a room with two control panels. One of them lets you download item data, and the other activates the elevator power. | 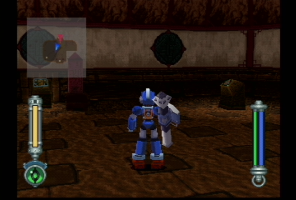 |
| When you go back into the previous room, you'll notice that many Red Shill Dinos have appeared. There are a lot of them, so take a single shot at one. Once they're all activated, employ the circle-and-shoot method. It may take a while, but eventually, they'll all be destroyed. | 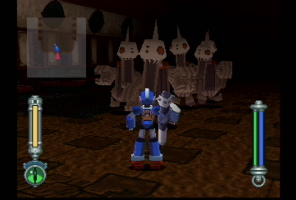 |
| Go back through the next hall and you'll be back at the elevator. It's been activated, so take it down a level. | 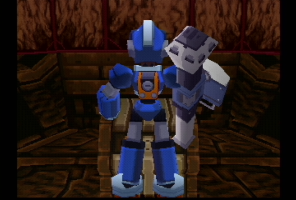 |
| As you go through this hallway, a MASSIVE Reaverbot will smash its head through the grated windows. You can't kill it, so run through the hall and take the elevator down at the end. | 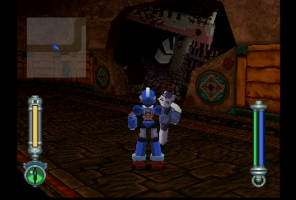 |
| Data is waiting for you in this small hall. Recharge and save, then go through the only door. | 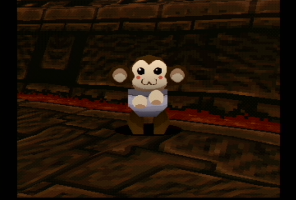 |
| When you get into this massive, lava-filled room, you'll find that you're face-to-face with the Saul Kada Guardian Reaverbot that attacked you earlier. The heat radiating from the lava makes the boss invincible, so you can't do anything about it right now, no matter how much you blast the Reaverbot. | 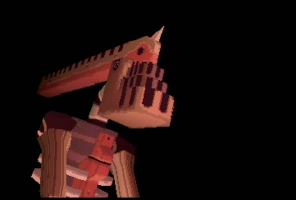 |
| Equip the Asbestos Shoes if you didn't before, and head through the southeast door. As you go through the hall, Roll will probably direct your attention to the south door. Your goal right now is to find three control panels that will unlock that door. | 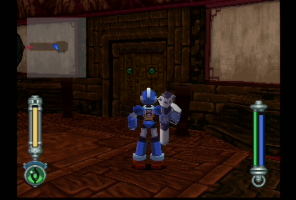 |
| As you head towards the east door, run along the wall. If you step in the center, a Leech Reaverbot will pop out of the ground and trap you, sucking your life away. It's impossible to kill them, so wiggle the control stick and press buttons like mad. Once you're free, don't keep standing there, either! Go through the east door. | 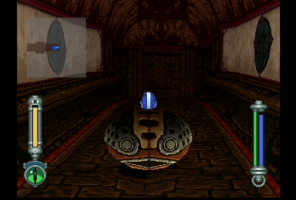 |
| Now you're in another room with lava. For now, there's not much to contend with, so jump to the north platform and go through the door there. | 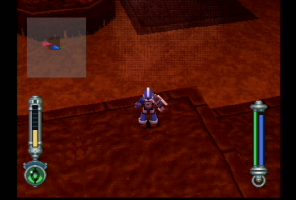 |
| Several fire jets will be spewing, blocking your way to the far side of the room. To solve this, use the Hyper Shell to blast the other side of the room, deactivating the trap somehow. Two treasure chests there contain the Autofire Unit OMEGA and Mechanic Notes 5. | 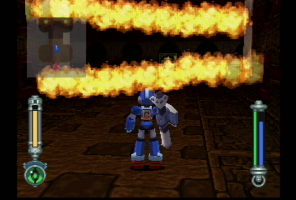 |
| Back in the previous, lava-filled room, head east. Proceed through the next hall and then another room with lava, and finally into a small room with two control panels. One of them has map data, and the other one will release one of the three locks required to get into the locked door you passed earlier. | 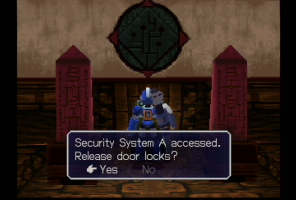 |
| When you get back into the previous room, you'll find two Caterpillar Reaverbots. The worst they can do is stand up and breathe fire at you. However, when shot, they turn into Moth Reaverbots. You've fought them before, but just be wary of their stun spores if you don't have the Light Barrier. In the next lava-filled room, you'll probably face Snake Reaverbots, Moths, and Gorobeshus. The Snakes pop out of the lava harmlessly, usually. | 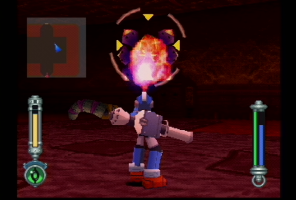 |
| Back in the room where the Saul Kada Guardian is, recharge and save with Data by going through the northwest door, then go through the southwest door in the giant chamber. | 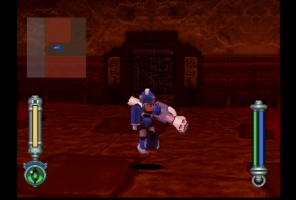 |
| You'll be in a lava-filled room similar to one you've already been in. Watch out for any enemies that may be inhabiting the room, and go through the west door. | 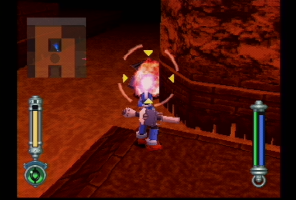 |
| You'll be in another hallway. There are Leech Reaverbots in the room, so run along the edge, going through the nearby south door. Inside are three chests--one of them is a Mimic, but the other two contain the Mechanic Notes 4 and 15,000 zenny. | 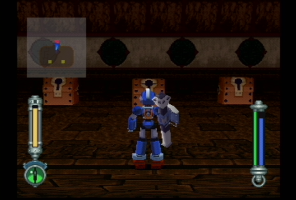 |
| Follow the previous hall into the next room. There are several Spike Runner Reaverbots here. You might want to practice using the Lifter to pick them up and throw them at each other. Trust me, the skill will come in handy soon. When you're done with them, take out the flamethrower Gorobeshus and go through the north door. | 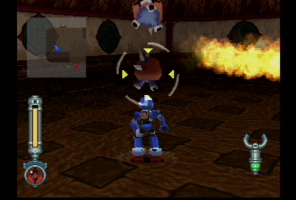 |
| In this room is another of the three control panels that will unlock a door. Once you've activated it, make your way back to the Saul Kada Guardian. Go through the northwest door to do business with Data, then head through the north door in the lava-filled chamber. | 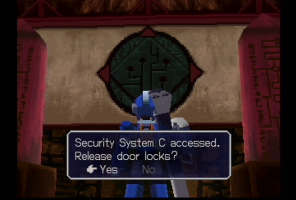 |
| You'll emerge in a gigantic lava-filled room. Snake Reaverbots swim through the magma here, and instead of jumping up harmlessly, they now pop up and shoot electric bullets at you. You can follow the path to the southwest door if you like, but it's much easier and safer to take a shortcut northwest across the lava and through the southwest door. | 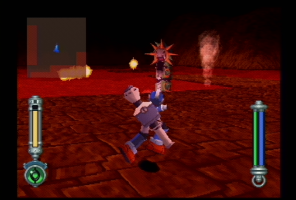 |
| The final control panel is in here. Activate it. | 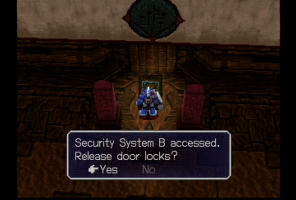 |
| Make sure you recharge and save with Data, then go back through the southeast door in the Saul Kada Guardian's room. The south door in this hall is now unlocked. What awaits on the other side...? | 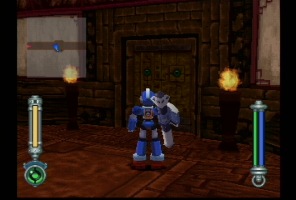 |
Go:
Backward: Kimotama City
Backward: Dark MegaMan (OPTIONAL)
To the Walkthrough Home
Forward: The Saul Kada Ruins, Part II
|
|