
 |
|
|
Bosses
*Note that the  Defensive Ring and the
  Time Ring do not work on bosses. Magic cannot be used during boss battles.
|
|
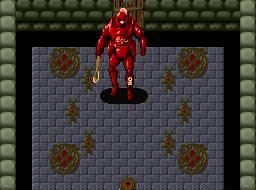
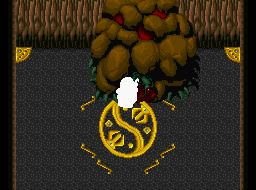
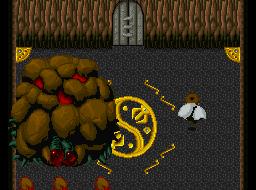
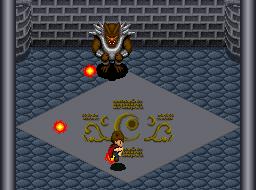
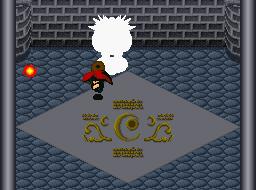
Tactic: As soon as you step into his lair he will immediately attack you. His jumping moves temporarily immobilize you, making your vulnerable to attack. You can counter this by jumping. When he takes a swing at you, move back a little, but not too much, or he will use the jumping move again. Just keep hacking at him from the sides and from the front when you have the chance, and eventually his helmet will come off to reveal his er... head. You can eventually take him down using the same jump and slash technique. Use a Healing Pot you get from the Atland shop if you need it. Your reward after defeating this boss will be a Fire Crystal and access to Elf Fields. However, once you reach Elf Fields you will not be able to turn back.
64 Exp, 100 Gold,  Fire Crystal gained.
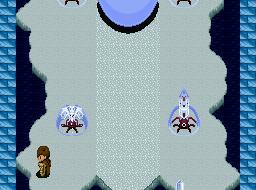
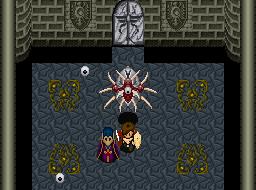
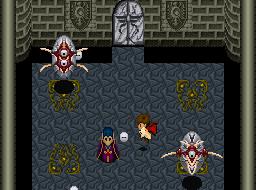
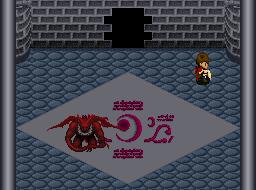
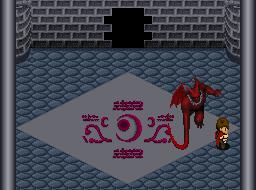
Natela
|
|
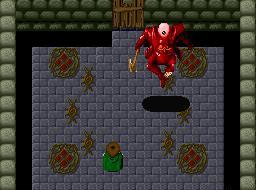
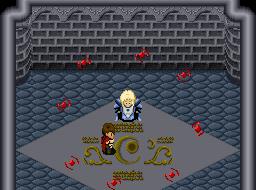
Tactic: Natela will immediately attempt to charge at you, so move to the left or right, and then immediately northwards, as her rather large fireballs blast to the left and right of her as well as in front. Periodically change in front and deal her some blows, and use the Healpot and Elixir when needed. Staying in an area in the center-left and center-right will get her to constantly shoot fireballs that miss you (As in shown in the picture). Your prize for victory is a Silver Sword.
250 Exp, 500 Gold,  Silver Sword gained.
Eardon
|
|
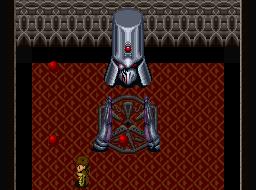
Tactic: In my opinion, Eardon is one of the harder bosses. The thing to keep in mind when dealing with this huge lava lump is patience. If you don't have the Magic Sword equipped you might be in for a long fight. Since you can't use magic spells while in boss battles you might as well make use of the Protective Ring. Hit it when its eyes poke out to shoot fireballs, and then run afterwards. Never let it trap you underneath it, or you'll be dead just about instantly. Keep circling around it in either direction.
500 Exp, 2800 Gold gained.
Duma
|
|
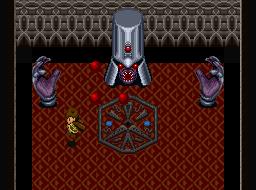
Tactic: The Defensive Ring is as good as useless here, because it only works on normal monsters. Either equip the Power Ring for a quicker finish or the Protective Ring to soften his hits. His hands will clap at you when you're a target, so keep moving up and down. He will occasionally open his face up to spit fireballs at you. These fireballs can travel straight ahead or 45 degrees or horizontal to each side, so be wary. Take note that you can jump over them, so if you really can't avoid them, jump. Duma will get quicker and nastier as you hit him, so the Power Ring is the more recommended ring.
800 Exp, 300 Gold,  Water Crystal,
  Key of Siegfried gained.
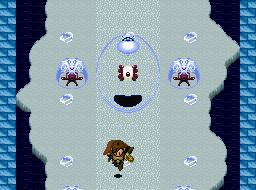
Thimale
|
|
Tactic: There will be six small octopi shooting ice shards at you. Since all Thimale does is roll up and down, dodge, and take care of the smaller henchment first. Do not stay directly in front, behind or to the side of them. To kill them, run out in front and attack and jump simutaneously. If any of the ice shards hit you that's a large chunk of HP gone. It's interesting to note that when there are a certain amount of ice shards already on the screen (around 2 or 3) none of the other octopi on the screen can attack. When you kill off all six octopi you can stay at the sides without worrying, and using healing items if need be. By this time Thimale will have become a clear slime thing, and shoot 8-way ice shards. Jump to avoid them. Thimale will never come to the sides, so you can dodge his projectile attacks fairly easily. Use the Protective Ring if they hurt you too much, and use the Power Ring if you want to finish this fight quickly. Keep cutting away at him (only when he stops to shoot, not when he's rolling, or you'll get pounded) and you will win eventually.
1500 Exp, 1000 Gold,  Life Ball gained.
Ella
|
|
Tactic: Compared to some of the other bosses, Ella is practically a joke! Dodge her fireballs by pressing jump, equip the Power Ring, and hit her lots. She will teleport faster as her HP goes down, but keep jumping and very few of the fireballs should hit you at all. Even when they do, they don't hurt much, especially if you have the Protective Ring on.
2000 Exp, 1000 Gold gained.
Battler
|
|
Tactic: Battler starts off by summoning two giant spiked things. They float around the edge of the screen and are invincible. What you have to do is wait until Battler appears from teleporting, and hit him a few times. If you think it's too tough you can actually go out the door, wait, and start the fight over again. If you decide to stick with it, you can always use the curing ring. Anyway, the two spiked things at the side will throw spheres at you. Those can be dodged by jumping. Do not attack Battler when he's in the middle of teleporting (as he is invincible in this stage). Just be patient and jump a lot. If you got lucky (like I did), Battler will stop at the same spot for about 10 seconds, and you can just kill him right there, in about 4 seconds' work.
3000 Exp, 1000 Gold gained.
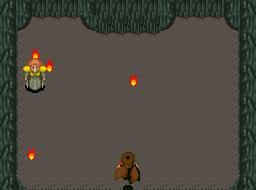
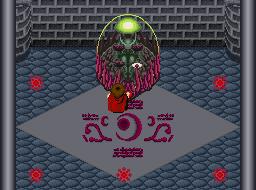
Evil Spirit (Green)
|
|
Tactic: The Evil Spirit is a giant thing encased within another giant thing with four eyes. Just go up to the glass dome and whack the large domey thing, jumping all the while to dodge the fireballs it spits out. You should handle this first part with no problem. When you do enough damage to kill off all four eyes and then some, the glass case will open up to reveal a green flying demon thing that slowly moves around and tries to whip you. You cannot attack it from the back and sides, so develop a hit-and-run strategy from the front. If you get hurt use the Curing Ring. You will gain nothing for the battle (it's not like you can go back to a shop anyway).
Nothing gained.
Zerah
|
|
Tactic: There's a really cheap to defeat Zerah. As soon as he finishes talking, instead of running or observing him, run up to him and hit him as many times as you can. You'll probably kill him right then and there. Zerah doesn't really have a HP bar, but he's not that tough at all.
Nothing gained.
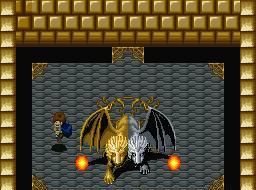
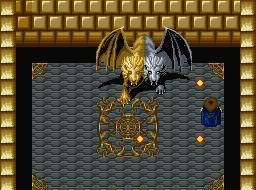
Thor
|
|
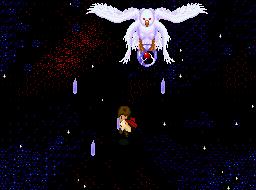
Tactic: Thor's first form is annoying but mostly harmless. Stick to the left or right of him until you see an opening. Then jump in, turn to face him, and hit him. 3 chops with your Moon Blade should do him in. The annoying thing is that the fireballs that surround him keep pushing you back. After you defeat his first form, then the background will change and Thor will change in to a monster with four wings who shoots feathers randomly and fireballs when you're in range. The monster only flies at the top of the screen and never to the extreme lefts and rights, so you can hug the left or right edge of the screen to take a breather and to perhaps use the Curing Ring, which I almost guarantee you will need. Notice that Thor has sa wavy flying pattern, so stay at one of the the predicted crests and attack him. There's vitually no way that you can hit him once or twice without getting hurt by at least 1/3 your own health, so you better have stocked up on items. When you've hit it down to low hit points it will change color to purple and then red. When you defeat Thor you can congratulate yourself for beating the hardest boss in the game (at least, in my opinion).
 Thor's Pendant gained.
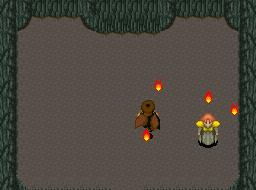
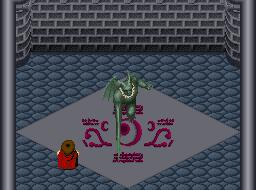
Evil Spirit (Red)
|
|
Tactic: Compared to Thor, this guy is a piece of cake! Use the same strategy as the Evil Spirit from before, except KEEP MOVING! He can teleport and whip you, and since you probably used up most of your restorative items when fighting Thor, he might finish you off. But, you regained all your MP after fighting Thor, so the Curing Ring should be handy. Moving up and down a lot is a bad idea, since he teleport right in front of you and uses a ranged attack. The important thing is to keep shuffling left and right and attack when you have the chance (as in, after he teleports to attack you).
Nothing gained.
|
|