
 |
|
|
Walkthrough: Calinca Ruins, Part III
MegaMan is now deep within the ruins, and the final key to the Mother Lode is within reach. But what about the Reaverbot boss? Don't worry--it'll show up soon enough.
| After you recharge and save with Data and take the elevator down, you'll find yourslef in a massive, underground tundra. As you proceed forward, three key-shaped Reaverbots will spot you and run off. The goal of this room is to use the Lifter to pick up these Reaverbots as items. | 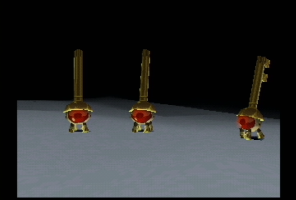 |
| First of all, notice that Blue Zakobons will randomly pop up from beneath the snow, sometimes in giant colonies. These things can inflict Frostbite, so stay away from them at all costs. There is an infinite amount. | 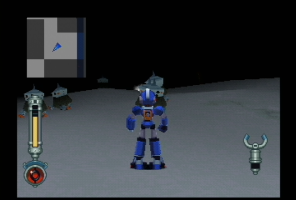 |
| In the icy middle of the tundra is a gigantic version of the Chicken Launchers you sniped back in the Saul Kada Ruins. This thing is huge and shoots tons of homing missiles. Circle-and-shoot works wonders here, but make sure you don't accidentally run into a Blue Zakobon. | 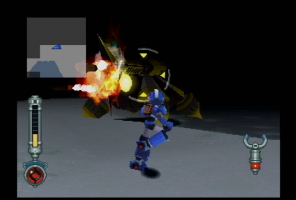 |
| Once the Giant Chicken Launcher is gone, you should equip the Jet Skates and go after the Key Reaverbots. You can determine their position by a red glow they emit. They're fast, so skate to them. However, watch out for Blue Zakobons that may jump in the way! If you ever get low on energy, return to Data. | 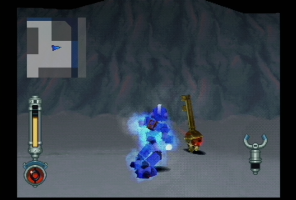 |
| When you get close enough, equip the Lifter and lock onto the Reaverbot and blast it. It will keep tripping. Run up to it while blasting and use the Lifter to pick up Last Room Key 1. Do this to the other two Reaverbots for Last Room Key 2 and Last Room Key 3. | 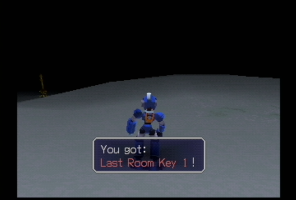 |
| Once you have all three Last Room Keys, it's a good idea to visit Data one more time. When ready, head through the only door in the tundra. | 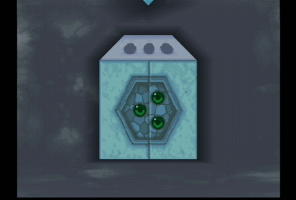 |
| When you come through, you'll notice a docile, peaceful orb-shaped Reaverbot with a jelly-like substance surrounding it. It's not hostile, so just continue forward. | 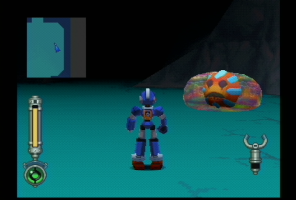 |
| You've found the Fourth Key!. Equip the Asbestos Shoes, then head north back into the previous room. | 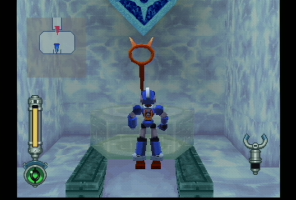 |
| The removal of the key seems to have angered the blob Reaverbot, which turns out to be the Calinca Guardian. A short scene will play of the guardian rising into the air, then smashing its jelly down to cover a wide radius. | 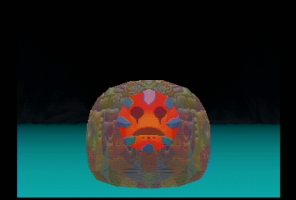 |
| For the most part, the boss will just chase you around the room. You're fast enough to stay away, fortunately. | 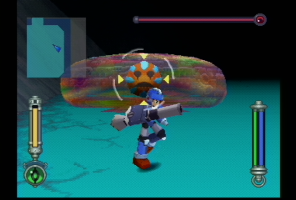 |
| Whenever you get an opening, blast a few Buster shots. In fact, it's best if you take as many potshots as possible. | 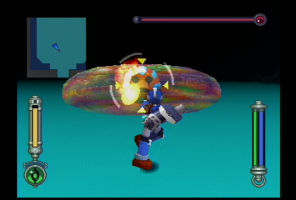 |
| If you ever get back into an alcove with the door, the guardian will throw jelly bombs at you. This attack is hard to avoid, so its best to just stay out of those alcoves. | 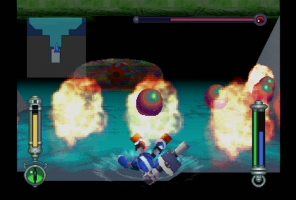 |
| Eventually, the Calinca Guardian will stop chasing you and move to the center of the arena. It will then rise into the air and come back down, flattening its jelly to cover a large portion of the arena. When it does this, it's invincible. You'll also want to stay out of its way, so run back into one of the alcove doors. When it returns to normal, take a couple of shots with the Hyper Shell. That'll do some damage! | 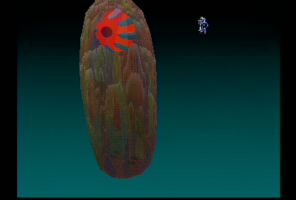 |
| When the floor begins to glow brightly, that's your cue to look for a low green platform in one of the corners. Quickly jump up to it, because the floor will soon become too cold to stand on, and if you do, you'll be frostbitten--it's just like standing on lava. Jump up to the ring of green platforms. | 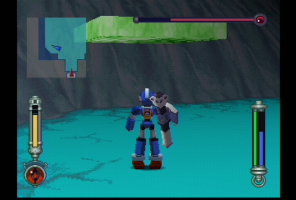 |
| Soon, the Reaverbot will rise into the air to be on the same level as you. Just lock onto it and run circles around it, shooting the whole time. The guardian will shoot piles of sludge at you, but you can stay ahead of them. If not, change directions. The platform is covered in ice, but don't equip the Cleated Shoes. | 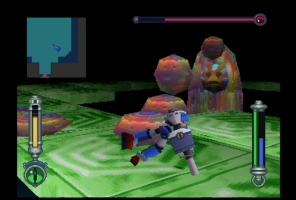 |
| Running circles around this ring is really one of the best ways to damage the guardian. | 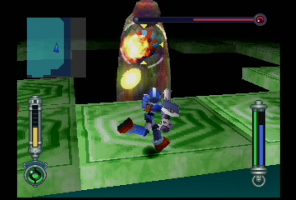 |
| Once the platforms disappear, you should take a couple more Hyper Shell shots, if possible. | 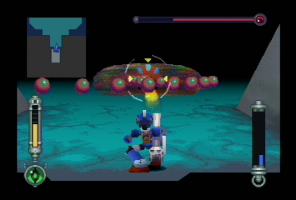 |
| Once you've done enough damage to the guardian, it will become enraged and start chasing at you at a much faster speed. At this point, it's moving too fast for you to take the occasional potshot--it's invincible, anyway. So just run away! | 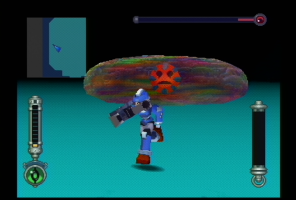 |
| This attack drains the guardian of a lot of energy, so soon it will become tired and all the jelly will melt away. This is your chance to do some serious damage! Unload your strongest weapon onto it while it's down. If it reforms, you can just wait until it melts again. Once it's down and out, you'll return to the entrance. | 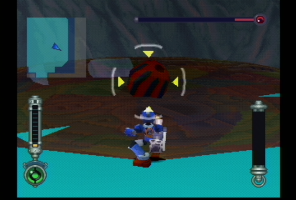 |
| Back at the Flutter, make Roll turn the Mechanic Notes 5 into the Shielding Notes, them combine them with the Shield Generator to make the Shield Arm. Save and recharge with Data before heading off to the Sulphur-Bottom, because doing so sets off a chain of events that sets up for the climax of the game. | 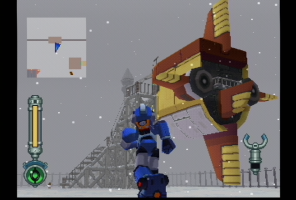 |
Go:
Backward: The Calinca Ruins, Part II
To the Walkthrough Home
Forward: Battle with Geetz
|
|