
 |
|
|
Walkthrough: Calinca Ruins, Part II
The Calinca Ruins seem strangely abandoned of all outside life. There's still a long way to go before the final key is yours.
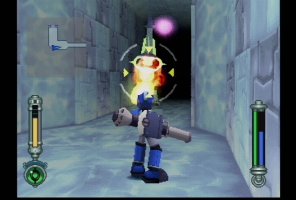 |
As you proceed north into a hall, be prepared to fight through a few Reaverbots, including Green Tall Shield Reaverbots. |
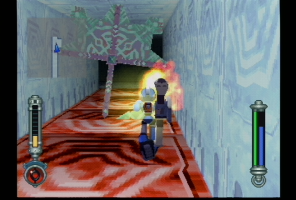 |
You'll be in another orange panel hall. This time, it doesn't matter whether or not you fall through, as you'll end up in the same place. |
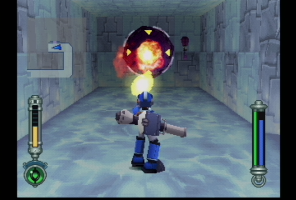 |
In this familiar-shaped hallway, blast any opposition, which includes an Octo Spinner, and head north. Shoot through the ceiling in the following room and proceed. |
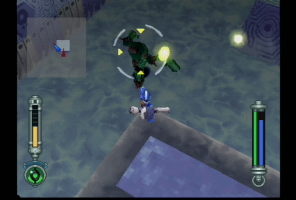 |
When you come out onto a ledge in another large room, you may notice Sharukurusus on the floor below. If you want to take them out, it's best done from a ledge where they can't attack you. |
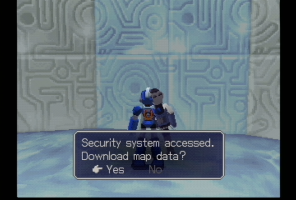 |
Jump up to the northeast ledge and go through the door there. A control panel inside contains map data. |
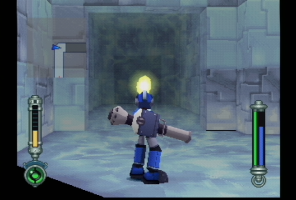 |
Back out in the large room, jump to the north ledge and go through the door there. There will be several sheets of ice barring your progress inside, but they can be easily blasted through. |
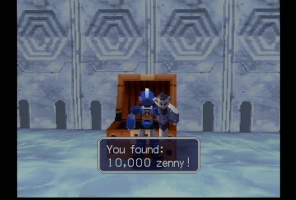 |
When you go south into a new room, you'll find a chest containing 10,000 zenny. The Blue Zakobons will break free of the ice, and you'll have to deal with them. Afterwards, look up to see another ice sheet in the ceiling. Blast through it, jump up, and head south. |
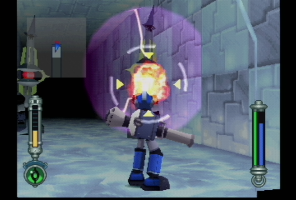 |
As you head south into the next hall, be prepared to be ambushed by several Green Tall Shield Reaverbots. Not too much to worry about. |
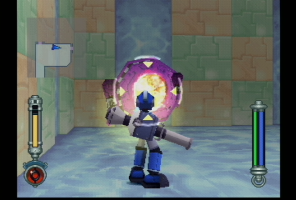 |
At the end of the hall, you'll face an Octo Spinner or two. Afterwards, head into the east room to find a chest with the Red Barrier Key inside. Then, go through the north door in the previous room. |
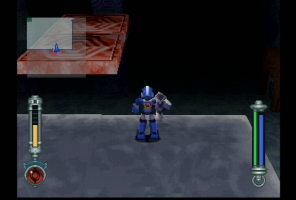 |
You'll be high above the room with the Sharukurusus. You need to get back to the room where you used the Blue Barrier Key. To do so, drop to the floor and go through the southwest door. Drop through the ice and head south into the oddly-shaped hall. Blast through the ceiling and continue south to the elevator. Take it up. |
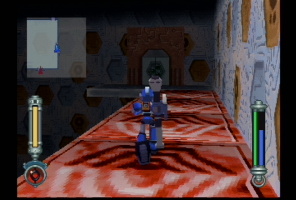 |
Head north, shoot up through the ice, and proceed across the orange panel bridge north into the large room. Then, make your way across the orange panels to the northeast door and use the Red Barrier Key at the control panel. |
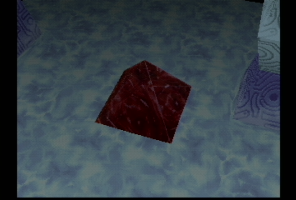 |
All the red barriers in the ruins will be deactivated. |
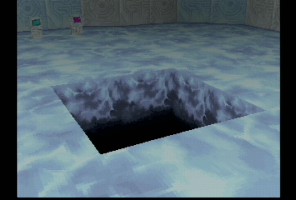 |
Drop through the hole in the room you're in. You're back on B2 in the room with the Sharukurusus! Drop through the hole in the ground here, and you'll be on B3. The chest in this room contains a Shield Generator. Shoot the ice and fall through yet another hole. |
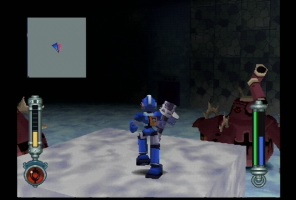 |
You'll land on B3, on a raised pillar. There are three Red Elephant Reaverbots, three locked doors, and three holes in the floor. Hmm...you figure it out. |
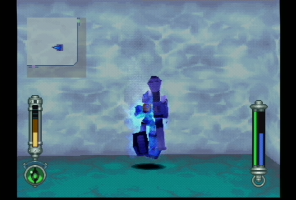 |
Be careful not to fall into any of the holes--the floor there inflicts deadly frostbite. |
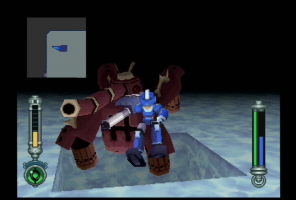 |
The best way to get a Red Elephant into one of the traps is to stand just in front of it, and face the Reaverbot. When one notices you and charges, jump at the last second across the hole, and the Red Elephant should charge right into the hole. The hole will then seal the Reaverbot inside, and one of the three doors will be unlocked. Repeat this twice more. |
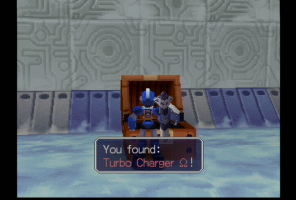 |
Go through the north door and open a chest for 50,000 zenny. The south room has a chest with a Turbo Charger OMEGA inside. The west room has an elevator that leads leads back to B3. |
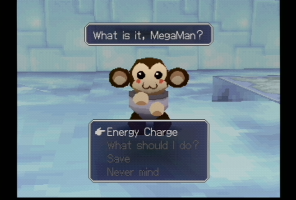 |
Head into the east room. Data will be waiting for you, so recharge and for God's sake, SAVE! When you're ready, take the elevator down to B5. |
Go:
Backward: The Calinca Ruins, Part I
To the Walkthrough Home
Forward: The Calinca Ruins, Part III
|
|