
 |
|
|
Walkthrough: Calinca Ruins, Part I
This is it. The final ruins. The final key. The pirates are out of commission, so you won't be facing too much foreign force in these ruins. They are slick and covered with ice. Without the Cleated Shoes, you won't have any traction, so equip those. Also, make sure your Energy Canteen and Medicine Bottle are full, and you have a Hyper Cartridge and Picnic Lunch. You should have the Hyper Shell.
| The first room is a long, wide hall. Pass over the icy floor at the end and open the chest for 8,000 zenny. | 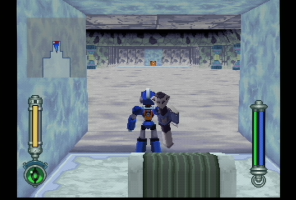 |
| To proceed, angle the camera downwards, then shoot at the ice. It will easy break. You can fall through to the room below and go through the door there. | 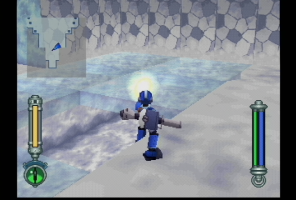 |
| As you proceed through the hall, your progress will be halted by an Ice Shield. These death traps rotate around like a fan. However, their segments can easily be (temporarily) blasted away. Once that's done, pass between the blades before the ice regenerates. | 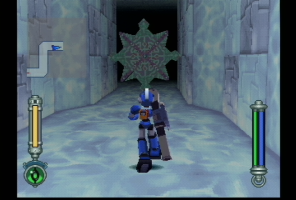 |
| At the end of the hall, you'll meet two Gorobeshus. They spray blue fire, and if you get touched, you'll be frostbitten. Frostbite has the same effect as fire. Hopefully, you've got the Flame Barrier. Get rid of them, and continue south. | 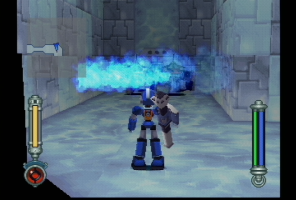 |
| In this room, drop down and defeat the Reaverbots if you like, then hop back up to the northwest platform you came from. Their should be an orange platform. Jump up onto it, but don't stay their long--orange platforms soom crack and then break! They'll regenerate, but try not to break them. When you get to a safe ledge, go through the door on the west wall. | 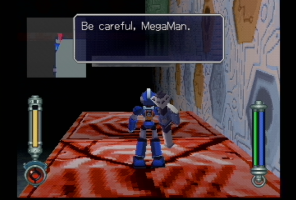 |
| You'll notice Blue Zakobons trapped in ice. As you might guess, they won't be trapped for long. Open the chest at the end of the room for a Laser Manual. | 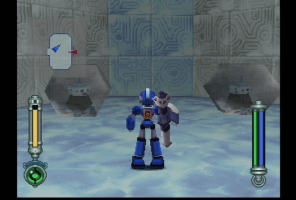 |
| The Blue Zakobons will break out of the ice. They can inflict Frostbite just by touching you. However, if you've got the Flame Barrier, you have nothing to worry about. Blast them all to smithereens, then exit east to the previous room. | 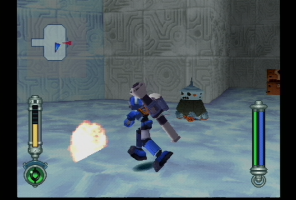 |
| Now you should drop down to the bottom floor. Black Elephant Reaverbots are down there. Practice taking them out--you'll need the experience soon enough. | 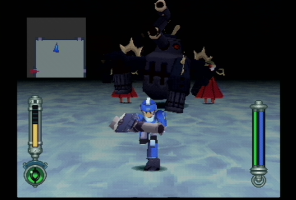 |
| Jump and pull yourself up to the southeast platform and go through the door there. | 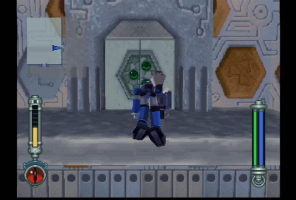 |
| Inside is a control panel where you can download item data. Go back through the door, and then get to the south ledge. Go through the door. | 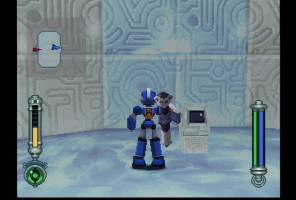 |
| You'll be in a long, winding hall. In the southeast corner of the hall is a chest containing 30,000 zenny. | 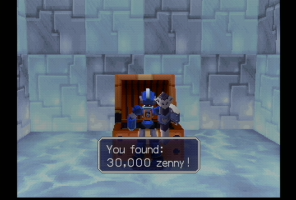 |
| In the square-shaped portion of the hall, at the top left corner, angle the camera up to see a sheet of ice on the ceiling. Shoot it to pieces, then jump up into the room above. | 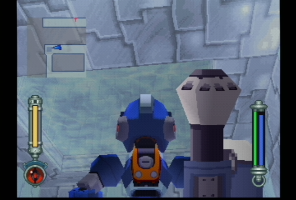 |
| You'll be in a long hall made of orange platforms. First, take out the Ice Shield, then make a dash down the hall. Shoot down the other Ice Shield, but don't stop to do so. | 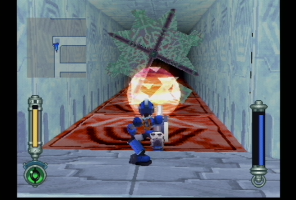 |
| If you fall through the orange platforms, no harm done--you can just climb out of the room you fall into and get back up the same way as before. | 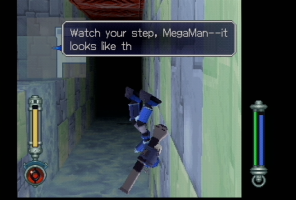 |
| Once you make it through the door at the end of the orange platform hall, you'll be in a room with a blue, pyramid-shaped forcefield. The goal of these ruins is to get rid of all the forcefields, which can be done by using control panels. However, the panels require keys to activate. The chest in the room contains the Blue Barrier Key. Exit this room. | 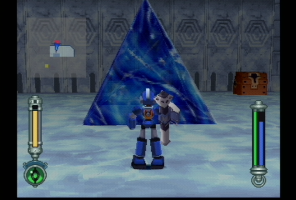 |
| In the previous hall, you'll want to go back through the north door. However, Elephants and Octo Spinners that have suddenly appeared aren't going to make it easy. | 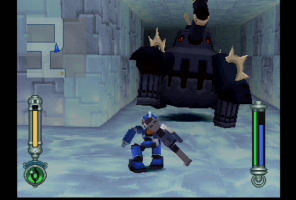 |
| In this room, I'll now note the Dancer Reaverbots--the pink, spinning things. They usually won't hurt you directly, but instead, try to collect all the zenny when another Reaverbot is destroyed. You can't destroy the Dancers, so make sure you get the zenny first. | 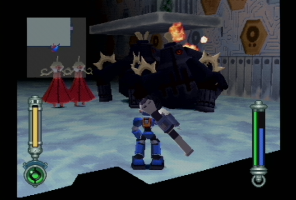 |
| Jump back up to the northwest platform, then follow the orange platform ledges all the way to the northeast door. | 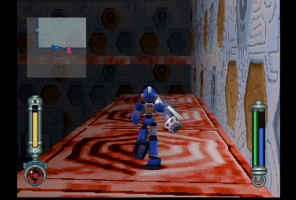 |
| There are two control panels in this room. Use the blue one to get rid of the blue barriers. | 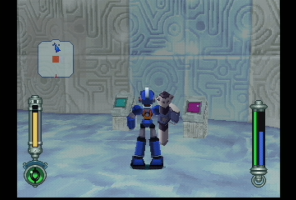 |
| The blue barrier in the room where you got the Blue Barrier Key dissipates. To get back there, go through the south door in the previous room and go up through the ice again and across the orange platform bridge. | 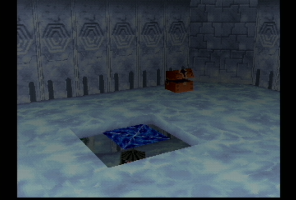 |
| Before dropping through the hole the blue barrier was blocking, angle the camera down and take some potshots at the Gorobeshus. They'll never know you were there. | 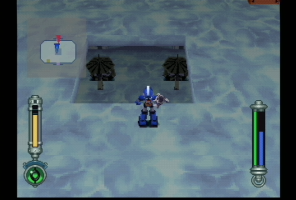 |
| Head one more room south, and take the elevator down a level. | 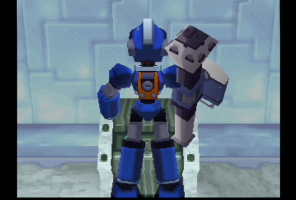 |
Go:
Backward: Train Battle
To the Walkthrough Home
Forward: The Calinca Ruins, Part II
|
|