
 |
|
|
Walkthrough: Manda Ruins, Part II
You've defeated Bola once already, but he hasn't given up just yet. Beat him, and you'll get what you need to activate the ruins and reach the key.
| Once you go through the south door, you'll face Bola one last time. Spinning blade machines will cover the room, but it's easy to stay out of their way for now. | 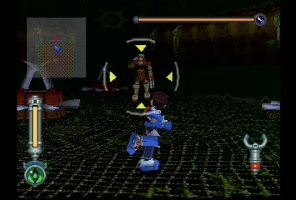 |
| Like before, Bola's only real attack is to throw blades at you, which can easily be avoided by employing your tried-and-true circle and shoot strategy. Just make sure you don't run into any of the spinning machines. |  |
| Late in the battle, Bola will start moving the traps. The traps in the corner will move to the center of the wall, then back to a new corner, all in a counter-clockwise circle. Make sure you're not in the way when they move to a new position. Soon after this, Bola's done for. | 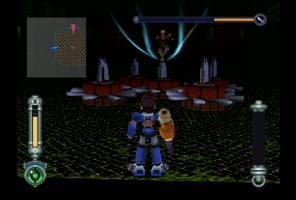 |
| Once you've defeated him, a chest with a Blue Card Key inside will appear. Grab that, then go north through the door you used to come in. | 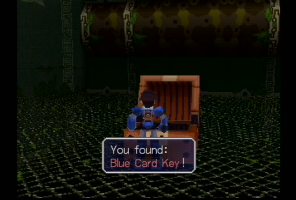 |
| On the west side of this room is a control panel that you should activate. The purple door will lead back to the main entrance chamber of the ruins. | 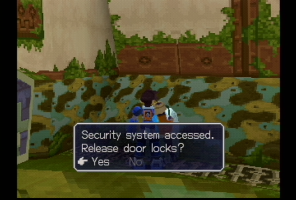 |
| The blue tablet you examined earlier can now be used, since you have the Blue Card Key. | 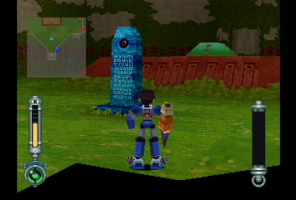 |
| Once you do so, the two high ledges and the center pillar will be connected by a bridge. Now all you have to do is get back up there. Refill your canteen and get a Picnic Lunch if needed, then head through the northwest door. Make sure you have the Drill Arm!! | 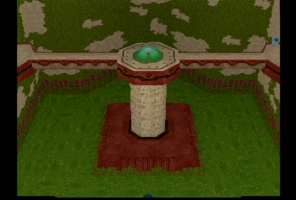 |
| In the third pit where the Crawlers were, you'll find that the column has activated and will move back and forth. Don't let it hit you and carefully jump past it. | 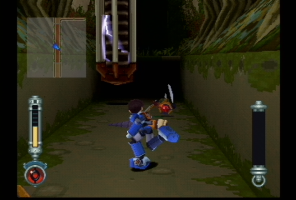 |
| The frogs that plagued you before have been replaced with Red Frog Reaverbots. They behave just like their green cousins, except touching them will set you on fire! Avoid them at all costs. |  |
| The machines that hung on the wall have now become active and will rapidly spray bullets at you. You can't really beat them, so hurry through the hall! | 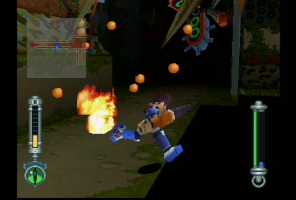 |
| You'll come into the room with the spinning trap. Also, a Spike Top Reaverbot will be standing on a moving spike trap. Defeat any enemies, then equip the Hover Shoes. You can use them to walk along the electrified floor without becoming stunned. Go north. | 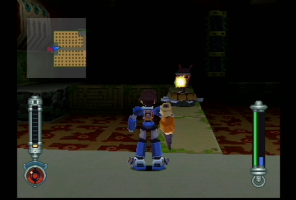 |
| Once you get to the top of the bridge, be extremely careful not to get knocked out by the Jakkos or anything else. Run straight across and go through the west door. | 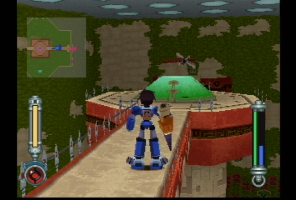 |
| You'll find a weak wall that can be drilled through that hides a room with three chests. The chests contain 8,000 zenny, a Thick Pipe, and 2,000 zenny. | 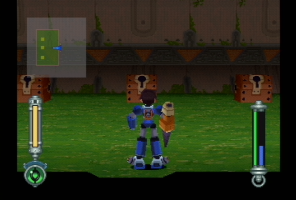 |
| Keep proceeding through the ruins, going east, and you'll eventually get to a room with Spike Top Reaverbots and two chests. Defeat the Reavers, then open the chests for 2,000 zenny and 4,000 zenny. Head east. | 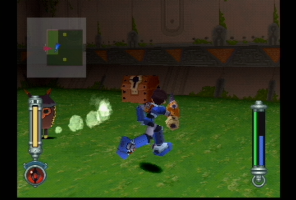 |
| You'll be in another room like the ones you fought Bola in. It's FULL of Red Frog Reaverbots, so stay on your toes and try not to combust. The door is blocked by a Gorobeshu or two, but you should be experienced in dealing with them by now. |  |
| In this 'T'-shaped hallway, the north branch leads to a chest with 6,000 zenny, and the east branch leads to the next elevator. Use it and head west. | 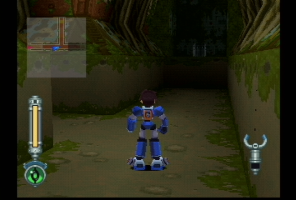 |
| This room is filled with Jakkos, Red Frog Reaverbots, an electrified floor, and two spinning spike traps. Its easier to just blow up all the Reaverbots and run along the floor if you brought the Hover Shoes. | 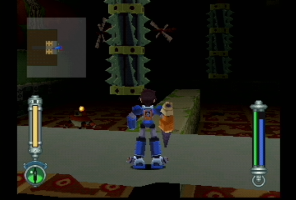 |
| You'll come to a room with four chests and two Gorobeshus. Defeat them first, then raid the chests. Two of them are Mimics, but the other two hold a Normal Helmet and Rusted Mine. Head south. | 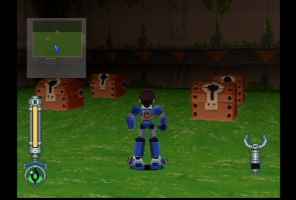 |
| Data's waiting for you in this final hallway. Recharge your energy and save, because a boss is coming up. Go east. |  | You'll find out from Bola that the Manda Ruins Master Reaverbot ate the key. Boss time. You'll be in a room with four platforms, surrounded by a ledge that rings around the room. Dragonfly Reaverbots will be flying around, the nuisances, and the central pit is filled with Larva Reaverbots. Furthermore, the ledge is inhabited by rotating spike traps. So, that makes the platforms the only safe place, despite the fact that the Manda Guardian frog only stands on them. | 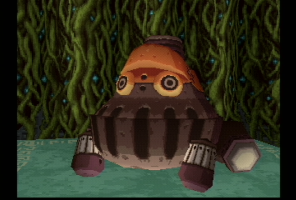 |
| The Reaver can lick you, moving the tongue up and down or by sweeping it side to side. Move to the side for the former, jump for the latter. He can also spit slow-moving bubbles at you. You can damage him by blasting his open mouth. To beat him easily though, wait for him to jump to your platform. Eventually, he'll tip over on his back and be vulnerable. Stand right next to it, and drill away! EASY! Grab the First Key and you're done! Three more to go. | 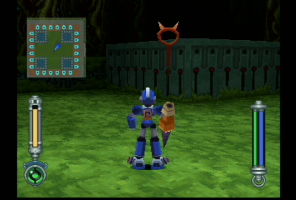 |
Go:
The Manda Ruins, Part I
To the Walkthrough Home
Returning the First Key
|
|