
 |
|
|
Walkthrough: The Nino Ruins, Part III
You're in the last stretch of this insanely long and complex ruin. However, Klaymoor has almost caught up to you now...
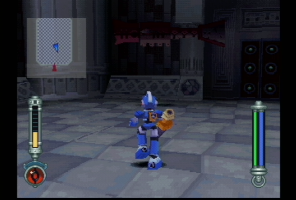 |
You'll be in the room with the Shark Reaverbots, only now there's water. They're mostly docile, but they may randomly attack you, so just continue north through the door. |
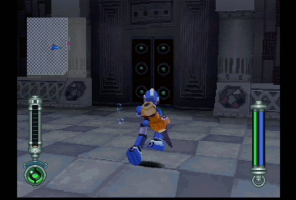 |
In the square-shaped hall, go east into the room you fought the Nino Guardians in. Then, head east through the door there and then south through the halL. You'll be at another impossibly tall wall, which you should get over the same way as you did before. Once you're over it, head south. |
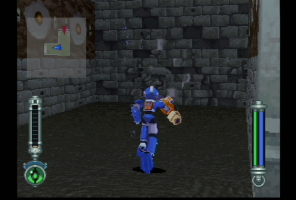 |
There's another crumbling wall to the west in this hall, so drill through it and go through the north door. The chest there holds a Power Blaster. Now, I recommend equipping the Power Blaster, Booster Pack, and Accessory Pack. Head back to the previous hall, through the south door, and up the elevator. |
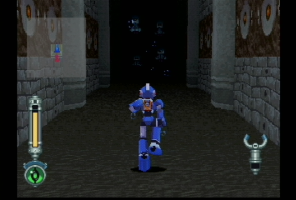 |
In the next hall, you'll probably encounter quite a few Mine Reaverbots, so watch out for that. Continue through the hall. |
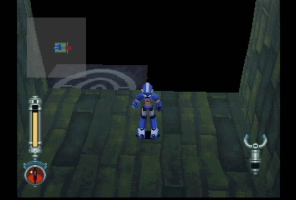 |
You'll be in another room with a steep dropoff. You're going to want to skate to the northwest hole on the west wall, which is to the right of the entrance. If you can't do that, skate into the hole directly across from you, and then into the northwest hole from there. |
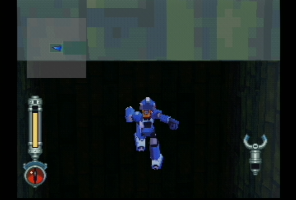 |
Now, jet to the hole on the north wall for 4,000 zenny. Now, drop down to the ground and head south. |
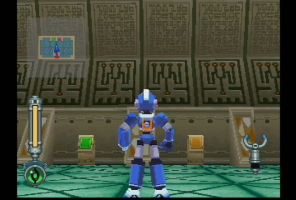 |
You'll come to another elevator, which leads to a room with two more control panels. One of them controls the water level, which you DON'T want to mess with. The other allows you to download the map data (better late than never, huh?). |
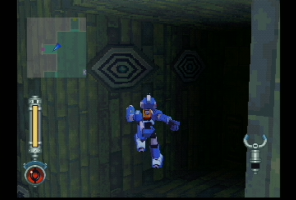 |
Back in the big room, climb the platforms to a sufficient height, then jet your way to the northwest hole and go through the door. |
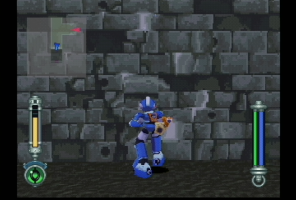 |
In this hall, drill through the south wall and head south, through the square-shaped hall, and south again through the doors. |
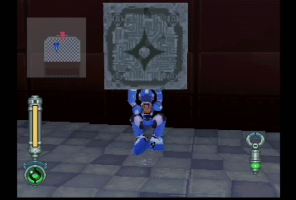 |
You'll be in a room with another tall wall, which you should get over by stacking the marble blocks, as always. The chest on the other side has a Range Booster ALPHA inside. Head back north through the square-shaped hall and into the hall beyond that. Then, head west. |
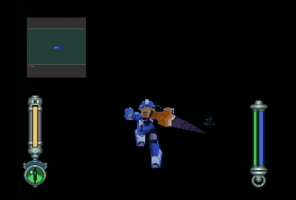 |
You'll be in yet another room with a steep dropoff. There's a hole in the wall directly across from you, but it's high up. Here's where it gets tricky-you're going to have to jet off the ledge you're on at a high speed (hold [UP]. If you do it just right, you'll zoom past a Mine Reaverbot or two and JUST make it to the ledge on the opposite wall. Go through the door there to find a chest with a Sower inside. Back out in the big room, drop to the ground and head through the south door and the hallway after that. |
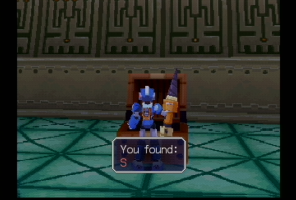 |
Go through the door there to find a chest with a Sower inside. Back out in the big room, drop to the ground and head through the south door and the hallway after that. |
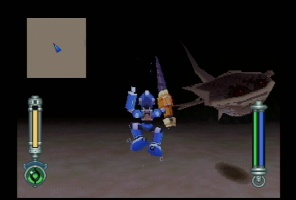 |
You'll be in a sand-filled room. Many pillars jut up from the sand, and there's treasure on top of those pillars. But you can't reach them. |
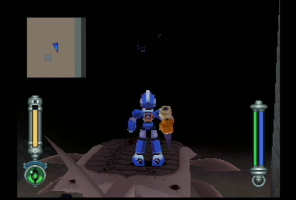 |
By now, you've probably noticed a Manta Reaverbot swimming around. It's harmless, AND you can hitch a ride on its back. |
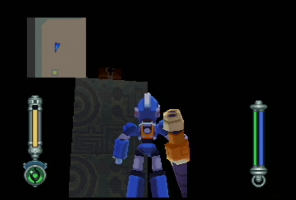 |
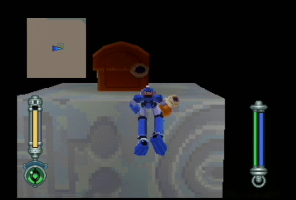
Wait until the Reaverbot gets as close as its going to get to the west pillar, then jump up there. You should be able to pull yourself up to the chest. |
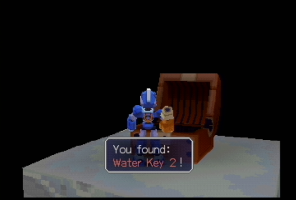 |
Open the chest for the all-important Water Key 2. |
 |
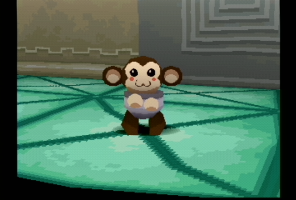
Now, look towards the pillar in the northeast. You can actually jet to the top of the pillar from the one you're on. Just make sure you aim for the unopened treasure chest so you don't slide right off the top. If you do it right, you can open the chest for 20,000 zenny. If not, use the manta to get back up there. When you're done, head south and use the elevator. |
 |
Data should be in the room you arrive in. You have a boss coming up. He's easy, but you may as well recharge and save while you're here. Head north through one more hallway. |
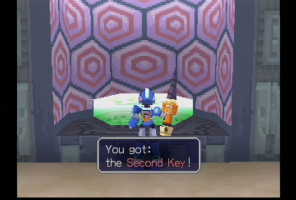 |
On a glowing altar is the Second Key to the Mother Lode! But you've got company--Klaymoor wants it for himself! |
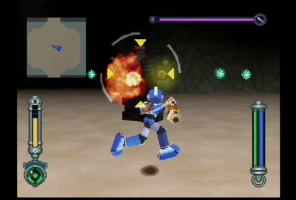 |
Klaymoor is a very easy boss. All he can really do is stand in place and shoot rapid-fire bullets at you while slow-moving energy bullets float towards you. If you brought the Drill Arm (good luck if you didn't, circle and shoot), you can just run up to him, drill away, and have him finished in NO time. |
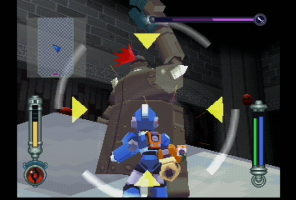 |
Now you have to make it ALL the way back to the beginning of the ruins. Thankfully, the water has been drained and you've got a map to get you back there. When you get back to the ruin entrance, Klaymoor will try to stop you one last time. He only has a couple of new attacks this time, one of them which involves throwing purple energy ring boomerangs at you. Drill away! Two keys down, two to go! |
Go:
Backward: Nino Ruins, Part II
To the Walkthrough Home
Forward: Saul Kada Desert
|
|