
 |
|
|
Memoria
 |
 |
|
| Enemies
in this area: Ash <Eat: Doom> Behemoth <Eat: Angel's Snack> Chimera <Eat: Frost> Iron Man Kraken (Crystal World) <Eat: Frost> Lich (Crystal World) <Eat: Lv5 Death> Maliris (Crystal World) <Eat: Mustard Bomb> Stilva <Eat: Auto-Life> Tiamat (Crystal World) <Eat: Twister> Veteran <Eat: Doom> |
Deathguise
(boss) Hades (optional boss) Kraken (boss) Lich (boss) Maliris (boss) Necron (boss) Nova Dragon (boss) Tiamat (boss) Trance Kuja (boss) |
|
 |
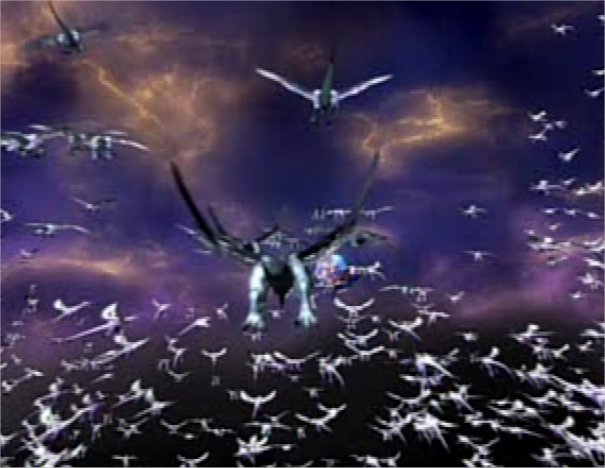
There are swarms of dragons here, but all of Gaia, it seems, has taken to the skies to clear your path. | |
| Once you get through, you will have to fight the Nova Dragon. Use eidolons and strong physical attacks against it. It carries a Grand Armor, Dragon Wrist, and Remedy. Again, Twister is great here. Use Grand Lethal if Zidane trances. | 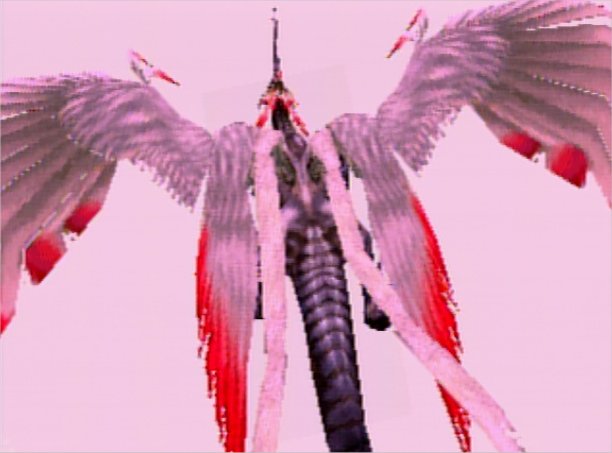 |
|
| After the battle, Zidane will have a private conversation with Garland, whom none of the others can hear speaking. You will be told that this place is Memoria, which is created from your memories. Garland will serve as a narrator at various points throughout Memoria. Form a party and start up the stairs. After you enter, there will be an icon which will allow you to return to the Invincible. There is a strange, glowing save point up the stairs on the landing. You can also change party members here. Search along the right wall for a hidden area containing Kain's Lance. | ||
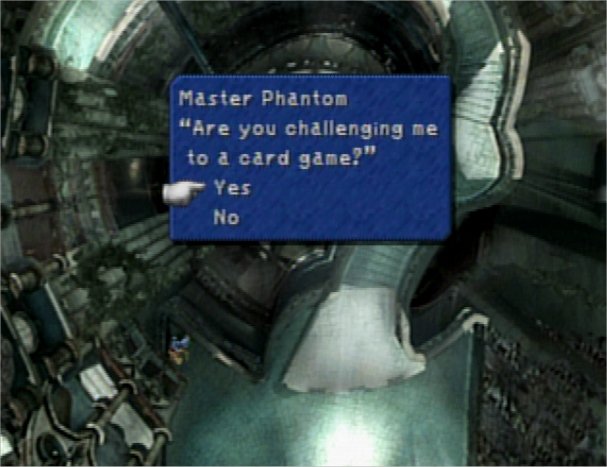 |
The enemies here are tough and plentiful, so stay on your toes. Continue down the hall to the Stairs of Time. To the left on the landing is an icon which, if you search it, reveals nothing. This is the first of five card master ghosts. When you find these icons, press the square button to challenge the master to a game. These card masters carry rare cards, and are not easy to beat. Stop and play if you like. The other four masters are on the left side of the second Recollection Field, in the lower right corner of the Lost Memory field, the second floor of the Time Warp field, and the right side of the Stairs field. | |
| When you're ready, continue around the circular balcony. Go through the Recollection area, picking up The Tower from the little alcove, and start up the Outer Path. You will encounter Maliris, a chaos guardian that you fought some time ago. He will cast reflect, so either cast reflect on one of your characters and bounce spells off that character, or use physical attacks and summons, which cannot be reflected. Try to steal the Masamune, Ultima Sword, and Genji Armor. He will execute an attack called Raining Swords before he expires, so keep your party members in good health. | 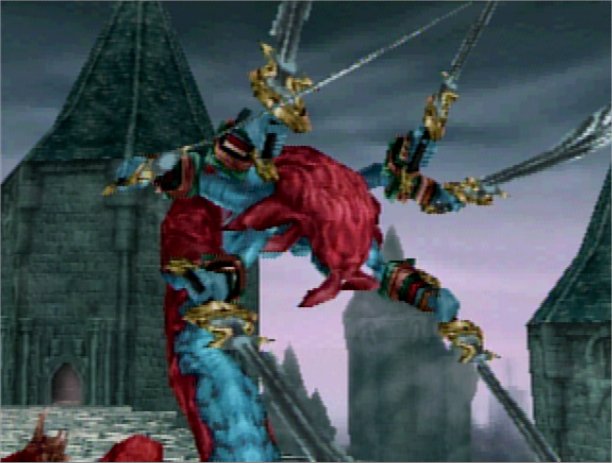 |
|
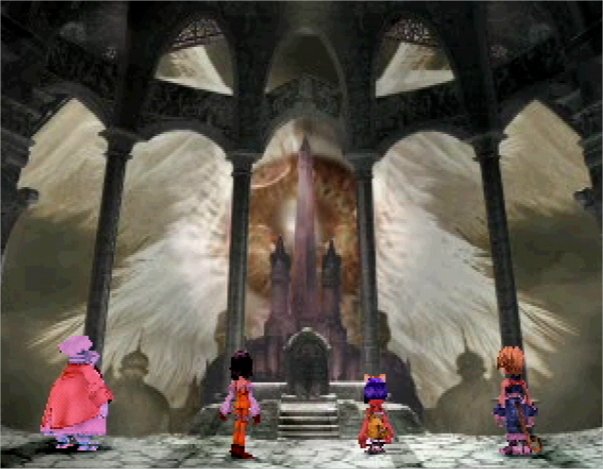 |
In the next area, The Past, your party members will witness the destruction of Alexandria from their memories. (Quina won't, because she wasn't there at the time.) Walk up on the platform to get an Angel Flute on the left, and use the hidden save point on the right. Your party will continue to see flashbacks throught these areas. Continue right to an area called Oblivion. Walk through it and into a second field named Recollection. Continue to the right and into an area called Time Interval. Search to the left to get the Rune Claws. Equip the Clear Headed ability on your characters, and equip Ribbons or Protect Rings on everyone. If you don't have enough, equip a Coronet, Lamia's Tiara, Robe of Lords, Gauntlets, or Bronze Armor. These all protect against wind attacks. | |
| Start up the stairs, and you will enter a battle with Tiamat. He carries a Grand Helm, Feather Boots, and Blood Sword. Try to use earth magic when you can. He's another high hit point boss, and you will have to keep the attack against him going strong. Use Grand Lethal if Zidane trances, as it can do up to 9999 per attack. | 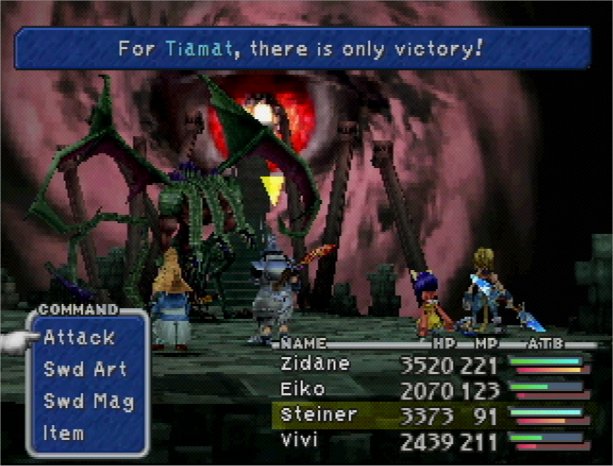 |
|
| After the battle, go back and save if you like, and continue up the stairs to the Ruins. Follow the path to Lost Memory. Continue to the left and up a strange and awkward path. At the top, there is a save point which you should definitely use. Equip status-ailment preventing abilities and Ribbons or Protect Rings. Black Hoods, Glass Armlets, and Mythril Vests are also helpful here. | ||
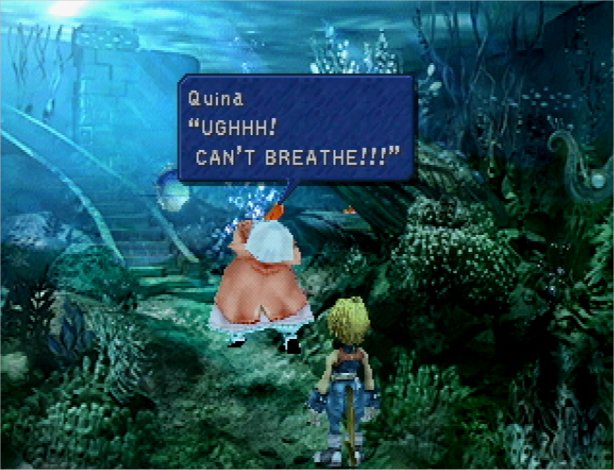 |
Walk under the
waterfall into the Birth area. Quina
will try to swim, and then believe that she is drowning, until
Zidane points out that they aren't underwater at all. |
|
| Go right behind the coral formation and keep walking around and pressing X until you start a dialogue with an unknown entity. Persist in spite of the warnings, and you will be able to fight Hades. (He is an optional boss, but I can't imagine why anyone would choose not to fight him. Defeating him will get you access to the best synthesis shop in the game. I hope you got that Hammer from Queen Stella!) He carries a Robe of Lords, Battle Boots, Running Shoes, and Reflect Ring. After his defeat, he will congratulate you and ask you to bring him two pumice pieces. When you do, he will open his synthesis shop to you. You will need the Hammer to make some of these items. He will let you synthesize equipment, gems, and ethers. | 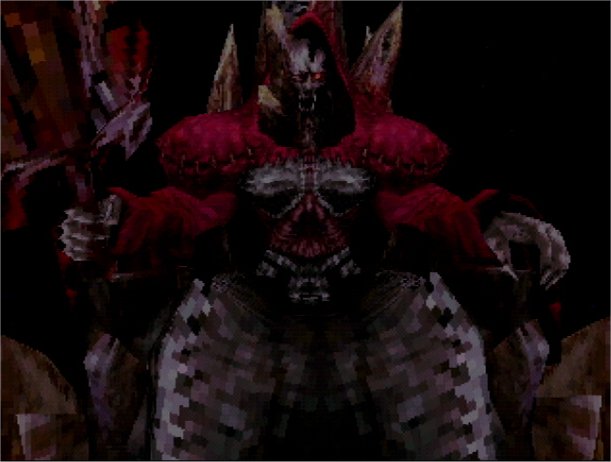 |
|
 |
When you're finished, walk up the stairs into the Ocean area. As you proceed, you will encounter the Kraken. Use fire attacks against him, and try to steal the Glutton's Robe, Wizard Rod, and Genji Helmet. Eliminate the tentacles first, and then cooperate on the main body. If you have Ribbons or Protect Rings equipped, his water attacks shouldn't be too much of a problem. | |
| Afterwards, continue up the stairs into the Time Warp. If you keep going straight past the clock, you can find a hidden save point. Rest and save the game. Walk through the doorway at the top into Gaia's Birth. Walk forward, and there will be a short conversation with Garland. Climb up the ladder, and search the upper left corner for a Mace of Zeus. (Don't use this unless your party is protected against shadow damage.) | ||
| Equip the Locomotion
ability on your party members, and either
Auto-Float or equipment that protects against earth attacks.
Climb the next ladder and go through the doors. Walk forward and
the scene will change. You must now fight the Lich, another chaos
guardian. Use Twister on him if Quina is in your party, and have
Vivi bounce magic off a "Reflect"-ed party member if you brought him
along. Try to steal the Black
Robe, Siren's Flute,
and Genji Gloves.
Use Ramuh if you have Dagger with you. After the battle, make use
of the hidden save point on the left. Move forward and step out
into the area named To the Origin. Continue walking through
space, and you will eventually come to a green light. Garland
will have several things to say, and then will depart. |
 |
|
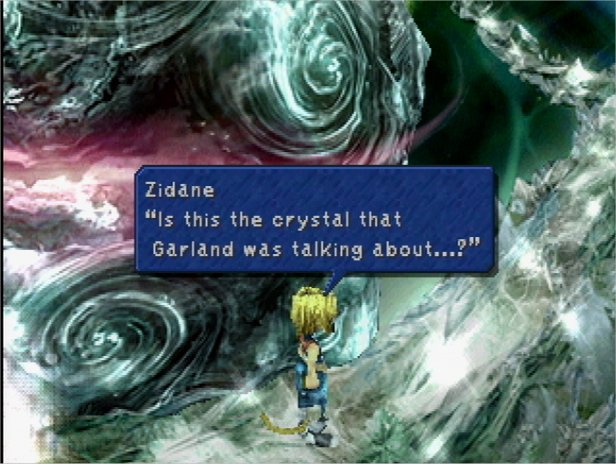 |
When you arrive in the Crystal World, walk up the glittering path. Your random encounters will be with weaker versions of the chaos guardians, so keep your characters in good health. Continue to follow the path until you come to a save point. Choose the people you want with you at the end. Equip the best items you have, as well as whichever of these abilities that you can: Auto-Regen, Restore HP, Auto-Reflect, Auto-Life, Auto-Haste, and HP + 10% or HP + 20%. | |
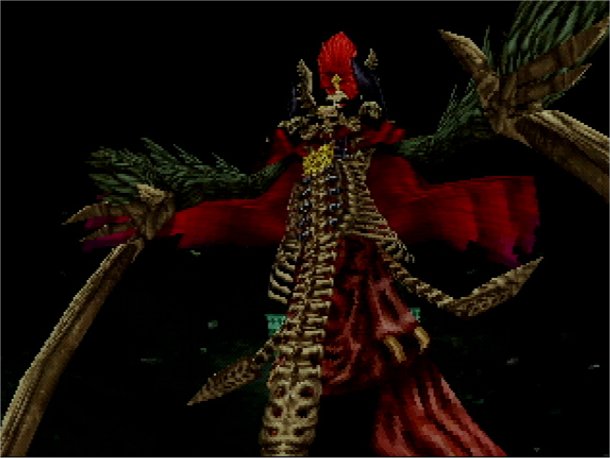
| Walk forward into the light. After a scene with Kuja, you will have to fight Deathguise. Use your most powerful spells and summons here. Ice magic is good against him. He carries Duel Claws, a Black Belt, and an Elixir. After you defeat him, go back and save. You can choose to teleport to the Memoria entrance. If you do, however, you will have to walk all the way through Memoria to get back to this point. | 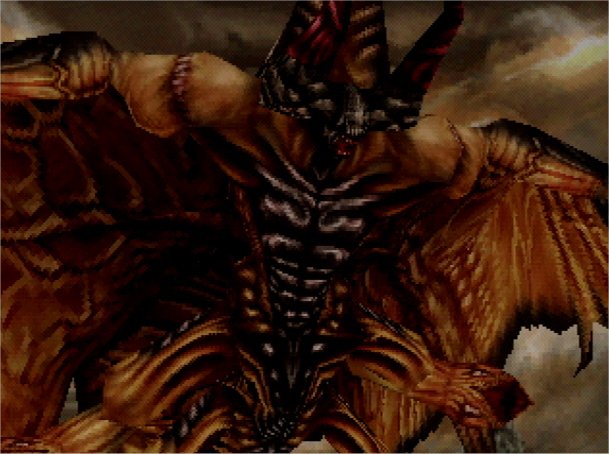 |
|
 |
Return to Kuja, who you must now fight in his trance form. Use Bahamut, Flare, and Flare Sword if they are available. He carries a Rebirth Ring, White Robe, and Ether. At the end of the battle, he casts Ultima, wanting to take you out with him. | |
| Zidane's party will find themselves on the Hill of Despair with 1 HP remaining. After a cutscene, you will have to form a party. Each of the group not chosen will make a final comment, and then appear to donate his or her spirit to a party member who is going to fight. You are then put in the menu. Equip abilities which guard against status ailments. | ||
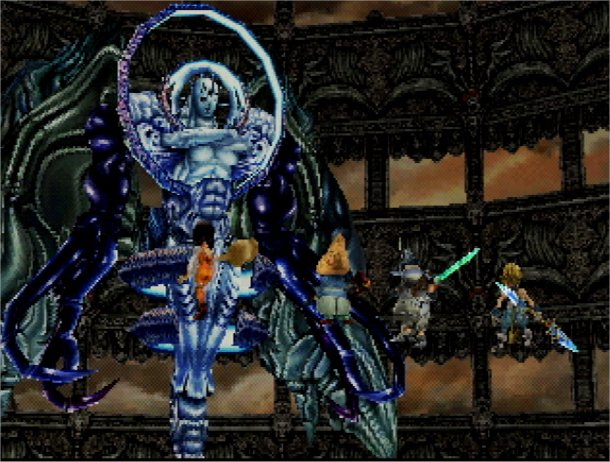
| It is time to fight
the final boss, Necron. He has only an Elixir to steal. Use
Bahamut on him. He uses Reflect frequently, so use care when
casting spells. Eidolons are a good choice, as they can't be
reflected. Use your restorative items extravagantly, because this
is it
- you won't need them after this. If Amarant is in your party,
let him throw any high level weapons that aren't equipped. In
general, the better the weapon, the greater the damage. |
 |
|
| After his defeat, your group will be deposited outside the Iifa Tree, and Cid will effect a daring rescue. Zidane's not quite ready to go, though. He has something to take care of ... | ||
| I won't tell you any more, but the ending that has been so long in coming is well worth the wait. Congratulations on finishing a magnificent adventure. | ||