
 |
|
|

| Enemies in this area: Abomination <Eat: Night> Armodullahan Feather Circle <Eat: Lv4 Holy> Griffin <Eat: White Wind> Lani (boss) Seeker Bat <Eat: Night> |
|
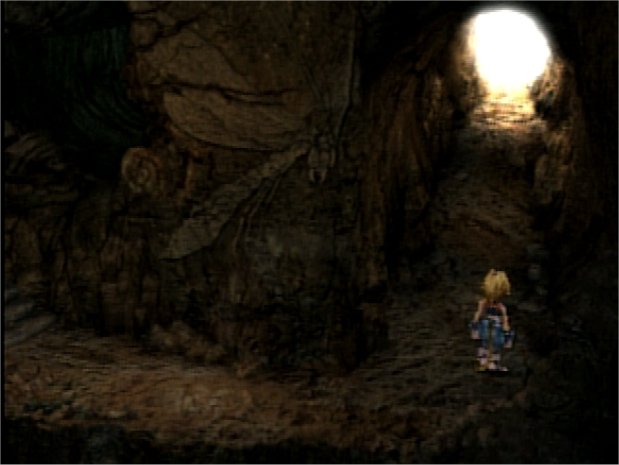
| Almost immediately, you will be chased up a hazardous path by a machine called Armodullahan. It uses Level 5 Death, so hopefully you don't have many party members with a level that is a multiple of five. It has an Ore, Hi-Potion, and Ether to steal, so it isn't too important if you aren't able to get them. You will have to run along paths with swinging pendulums. Run along the upper edge, dodging the pendulums. If you get stopped by one, you might get caught by Armodullahan, which just keeps coming. You will eventually come to a place where there is a big gap in the floor. You must jump over it, and Armodullahan will fall in. |  |
 |
In the next room, you will meet Lani, who sent the machine after you. You might recognize her as the female bounty hunter (and the guest book complainer). She really wants Dagger's pendant, so you'll have to fight her. Cast slow on her, and use Mighty Guard. Steal the Ether and Gladius if you can. She tends to use elemental spells, and she loves to use Scan. She will concentrate on Dagger, so make sure to keep her healthy. |
| After taking enough hurt, Lani will run off, saying she's letting you go for now. Um . . . right. Nice of her. Continue to the next room, where Zidane sees an untamed gargant. Run to the left and pick a flower. Go right, stop at the !, and hold up the flower. The gargant will stop for you, so jump on. It will take you to a new area. Run up the stairs and through the doorway. Oh, and four out of five gamers surveyed hate Fossil Roo worse than going to the dentist, so don't feel bad if you leave this area with your sanity hanging by a thread. | 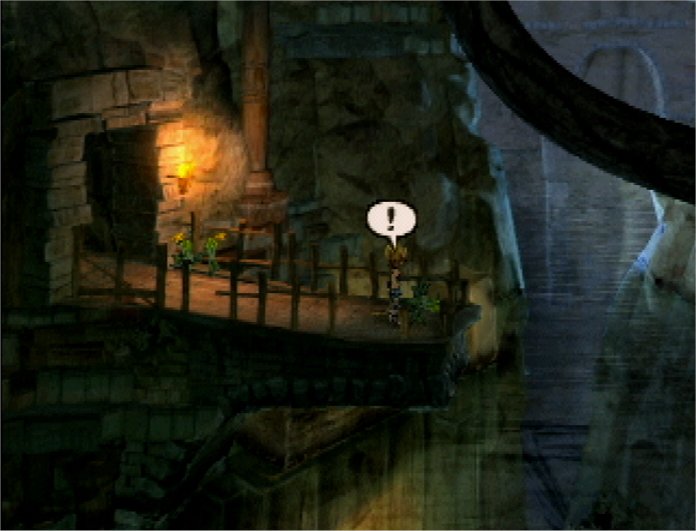 |
 |
Speak to the Treasure Hunter, and he will give you a lot of info about gargants and navigating the tunnels. Speak to him a second time, then run down the steps beside you. Buy from Stiltzkin again, then speak to Mogki, who used to be in the Lindblum Castle guest room. Check Mognet, and read the letter from Kuppo, who is apparently hidden somewhere in Fossil Roo. Mogki also runs a Mogshop, so buy what you need, rest, and save. |
| Go
right and pick another flower, and use it at the end of the
path. Run to the right of the point where the gargant drops you
off and get the Fairy Earrings.
Pick a flower and call the gargant to take you back. In the
cavern again, go up the stairs and exit at the back of the room.
You know the routine - pick a flower, call a bug. Go right and
flip the switch to change the gargant's course. Call it again,
and this time, you will take a different path. |
|
| Go up the stairs and follow the path to a chest containing an Ether. Go back down and follow the right path. You will pass through the room the Ether was in, and end up above the Treasure Hunter. Flip Switch No. 2, then ride the gargant back to Switch No. 1. (The call point for the gargant is up the stairs.) Flip Switch No. 1 back to the original position, then ride the gargant back to the cavern. Exit at the bottom of the screen, and ride the gargant to a new area. There is another Treasure Hunter here, and he has a shop, so stock up if necessary. | 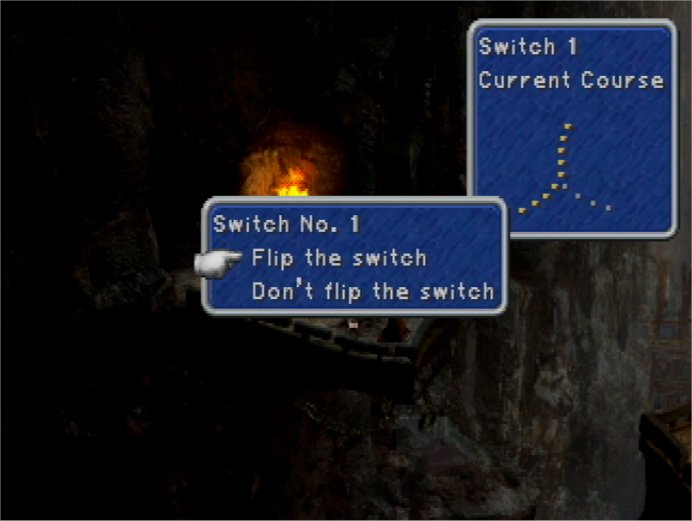 |
 |
Go up the stairs and flip Switch No. 4, then go right and ride the gargant. Go to the right and get Lamia's Tiara. Go back, pick a flower, and walk up on the platform and call the gargant. Flip Switch No. 4 back and ride the gargant again. Go right into a cavern with a vine-covered wall. Allow yourself to get knocked down by the water, and get out of the pool by pressing X. Go right, and run up the ramp on the right side. Climb the vines up a short distance and get off at the platform. Go through the doorway beside you. |
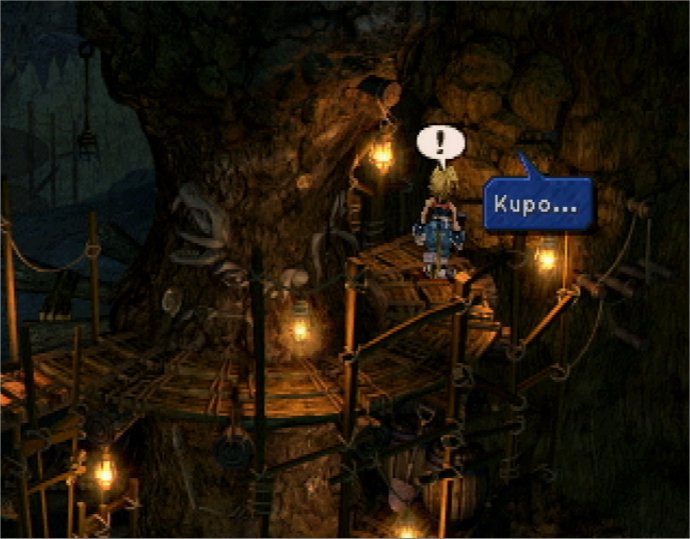
| Speak to the Treasure Hunter,
who will agree to let you excavate in
return for a potion. Take his pickaxe and use it anywhere around
the center column. You will see a ! where you can excavate. If
you use it on the back wall of the upper level, you can uncover a
moogle. It's Kuppo, whose letter you read earlier. Check
Mognet and get a letter for Kupo. He also has a Mogshop, so you
have plenty of shopping opportunities in Fossil Roo. Rest and
save. Continue excavating and finding items as long as you
like. You can find Ores fairly easily, Hi-Potions less easily,
and other items with some difficulty. There are nice items to be
found here if you have lots of patience. When you have had
enough, save again and return the pickaxe. |
 |
 |
Follow the path to the right. In the next screen, walk down and then left. There is a Survival Vest by the wood against the wall. Go back up by the mining area and exit to the left. Climb up to the top of the vined wall and slowly move across to the left. Flip Switch No. 3 on the platform. Drop down in the water, and exit to the right. Pick a flower and call the gargant, and say goodbye to Fossil Roo. Follow the tunnel to a mist-free place . . . the Outer Continent. Call the moogle, rest, and save. |