
 |
|
|
 |
Trials of Strength and Courage
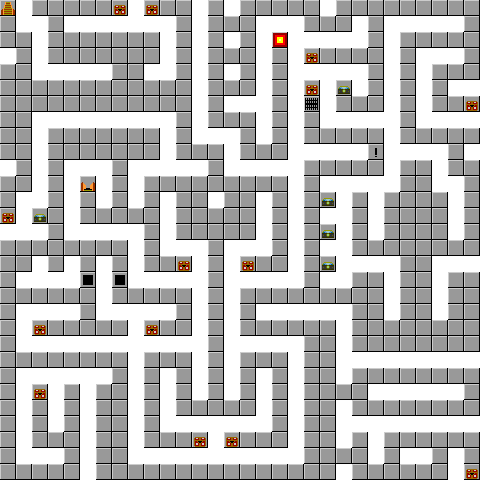
You start at Coordinates (1, 1). The monsters hear are much tougher than Level 1. Among those are Chestbeaks, which appear in some treasure chests, and Killwaves, which appear in puddles. Cast Slow and a few spells on both of them for an easier fight. They are both worth some good experience, but hit hard. Make your way through the cave slowly. Make sure you have an Angel Wing on hand for emergency exits. Take time also to pick up about every treasure on your way.
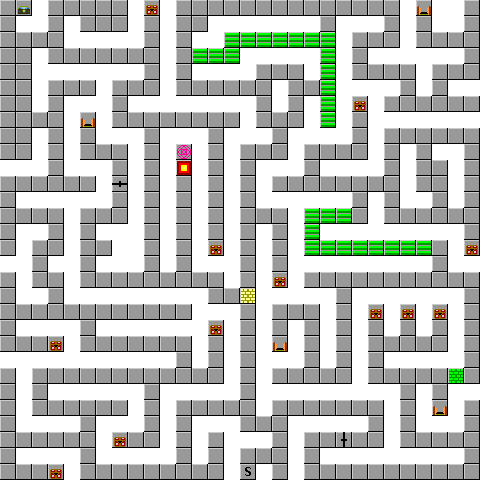
At Coordinates (24, 10) you will run into Gila (the person Pyra casts Slow on). He will ask Hiro to help him. Say yes, or slap yourself silly for saying no. Gila will join up if saying yes. Every now and then, Gila will join in the fight and attack. Gila's attacks are so strong, that they will kill the monster he attacks. Try to make it through the Cave with him in your party.
At the end is the Alter. It will congradulate Hiro on passing the Trial of Strength. Press 'Up' on the controller and you will be teleported just outside of the cave, back to level 1. The wall to the right of the entrance of the cave of Strength will be gone. Go out of the Labyrinth and back to town. Rest up again. Gila will then leave and tell you that the Orb of Truth is in the Cave of Courage. Gila then says that he was really looking for the Orb of Truth. Time for an update of equipment again. I recommend having all of the following equipment, so make sure to grab it all. Also make sure everybody is around Level 13-14.
Hiro: ![]()
![]()
![]()
![]()
Milo: ![]()
![]()
![]()
![]()
Pyra: ![]()
![]()
![]()
![]()
Go to where you went to the Cave of Strength. The wall is now gone. Follow along. There are a couple of treasures in this area. One of which consist of Morning Star, a weapon that is a bit stronger that a Short Axe. Give it to Milo (you may already have bought one if the Weapons dealer offered it). Take the stairs at Coordinates (18, 22). This will take you to the Cave of Courage.
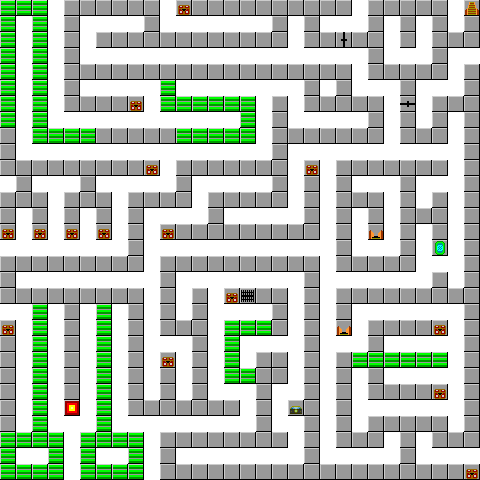
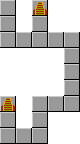
This cave takes a little longer to complete. Use the Dwarf's Key to open the 2 doors in this cave. The monsters in this cave are stronger, and those green colored squares are slime, which take away 1 MP per square. Make sure to go through the slime only when nessicary. Go down the stairs to the lower lever and out the other end. Go to where I have the egg marked. Here you will fight a Tortolyde. They are not extremely tough, but can put up a good fight. Use your best attacks here and it should soon die, dropping the Orb of Truth.
Go back to the main section. Continue to gather items. You will find another Morning Star here. You should also find a powerful Bronze Shield. Give that to Milo. Go to the Coordinates (5, 26) and there will be another Alter, just like last time. Press 'Up' on the controller and you will be teleported out again.
Go back to town. Sell the Dwarf's Key to the Alkemist. Now it is time to update equipment again. You probably made a few trips to the Cave of Courage, so you probably have a bit of money. Make sure to have this equipment:
Hiro: ![]()
![]()
![]()
![]()
Milo: ![]()
![]()
![]()
![]()
Pyra: ![]()
![]()
![]()
![]()
|
|