
Explorer's Crypt
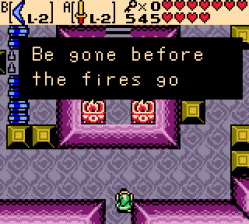 |
From the entrance, head up. Go left and around and take the door going up. The room should now be dark. For now, ignore it and go up. In this room you have to get out of the room before the torches go out. First off, use a Pegasus Seed and a Bomb to blow up the lower left wall. Exit the room then go back in. Go through the left wall for a Compass. |
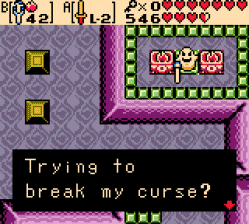
| Head back to the cursed room and escape through the door going down. Go back in and go right. Kill the enemies to recieve a Small Key. Now go back to the room right after the entrance and unlock the door to the right. Kill the monsters to recieve a Ring (which is appraised as the Power Ring L-1). Go up the ladder and light the torches. The ghost will charge like a bull. Step out of the way and spin attack it. |
 |
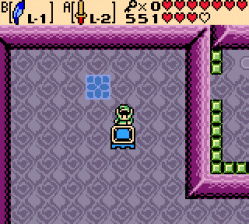 |
You will now notice that the curse on the room north of the dark room is now lifted. Push the rollers with the Power Bracelet and go down the stairs. Head left and push the button to reveal a trampline. Push it down twice then jump on it. Land to the left where the button is and a Small Key will drop. Go down and get it. |
| Head back to the right. Kill the armos in there until you find a fake one. Push that one onto the button and go down. Take the stairs in that room. Ride the platform and have your Magnet Gloves set on S. When you come to the block, use them to push you to the other side. Go up and equip your shield. Hold it and cross the bridge. The blocks will start to fly at you. Once across, go left. |
 |
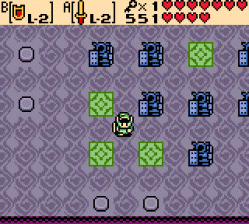 |
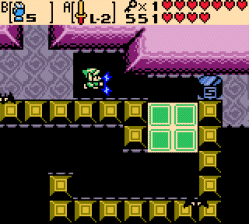
This part is pretty tricky. You have to align the statues in a circle around the blue square. To do so, press the lower side button, the left bottom button, the upper side button, and the right bottom button. This will cause a Small Key to come down. Go back right and down across the bridge. Make your way to the stairs and up them again. |
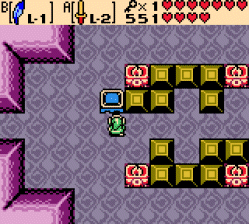
| Unlock the door going down. Push the left and right blocks out of the way and push the trampoline 3 spaces left and 1 up then jump on it. Go left to get a Dungeon Map. Go back down and unlock the door to the right. Use a Pegasus Seed and quickly light the 4 torches. Another ghost will appear. Avoid its eplipical movement and spin attack it (1 spin with the Red Ring). Once it dies, head west 2 rooms. |
 |
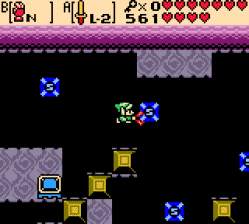 |
Dive under the rollers to the stairs. Go left from there. Kill the soldier on the right and use the Magnet Gloves to pull the ones across the pit into the pit. A bridge will appear. Cross it and go up. Hit the switch to start the spinning poles. Go around to them and with the Magnet Gloves, quickly hop from pole to pole to the trampolines. Hop on the blue one first and kill the stalfos. Hop down and onto the red one. |
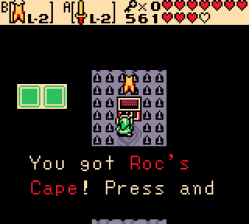
| Go through the door and quickly hop on the platform. Hop to the middle to recieve the Roc's Cape. This allows you to glide 3 spaces when you hold the button. Head back and jump down either pit. Go down and right to the stairs. Go under the rollers going right and up. Take the stairs. Hop on the ride and use the Magnet Gloves again. Cross the bridge and use the Roc's Cape to go across the pits to the right. |
 |
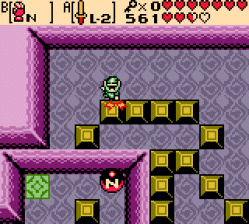 |
Kill the Magnet Monsters and a trampoline will appear. Push it 3 spaces up and jump on it. Land on the platform and use the Magnet Gloves to push the N ball to the button to make a chest appear. Grab the Small Key inside. Go left and push the armos on the button. Go down twice and left. Swim under the rollers to the stairs. |
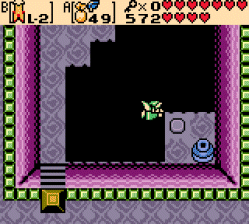
| Let the blocks destroy themselves before unlocking the block. Glide from one block to the next to the platform and go down. Head down and around to the Moldorm Pit. If you have a Roc's Ring, equip it. Kill the Moldorms and go down. Using a Pegasus Seed and the Roc's Cape, jump to the button to open the door. Move the block and go to the door to the right. |
 |
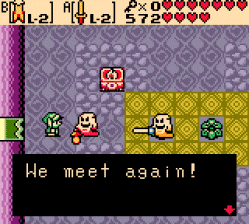 |
You will see the 2 ghost you fought before. This fight is easy with the Red Ring or even the Charge Ring. Sidestep both ghost and spin attack them as they pass. If all 4 torches go out, you will be warped back to the beginning of the dungeon. Keep at least 2 lit at all times. It is best to stay between the right or left torches so that you can light them with the Slingshot. It doesn't take much to kill them. Grab the fairy and go right. |
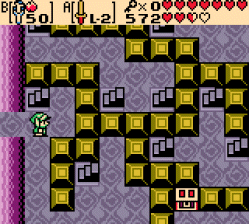
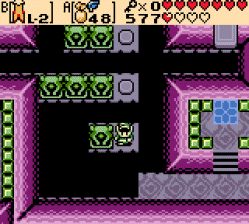
| Kill the Wizzrobes before going anywheres. Take the upper stairs at the door, and then the next set. At the set of 3, take the lower right one. Follow and at the next set of 3, take the right one again. Take the left one and follow to the upper right corner of the bottom floor. Go up and use the Magnet Gloves to make your way to the platform. Jump across the pit and go up. Kill the monsters to recieve a Small Key. |
 |
 |
Go back down and across the pit. Take the platform and go right. Push the last upper block into the pit and go up and unlock the door. Go around to the middle and when you come to the pit, use a Pegasus Seed to jump to the last button. Wait for the seed to wear off then jump to the top one. Jump to the middle one to make the platform appear. Go up and push the button to make a trampoline appear. |
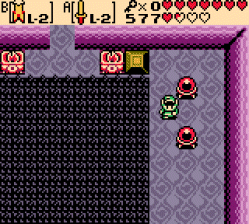
| Jump on the trampoline and land on the platform. Go the left side and down the stairs. Slash both crystals and go back up. Take the right stairs this time and make sure that both crystals are red. This will open the door. Glide over to it. Kill the stalfos and grab the Boss Key. Make your way back to the stair maze. Go until you come to a set of 3 stairs. Take the bottom one and make your way to the boss room. |
 |
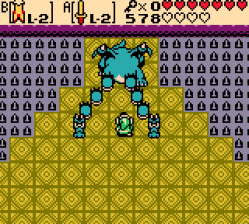 |
Gleeok is pretty tough. Stand back and when the coast is clear, spin attack it. Make sure that after you HIT one head to go and hit the other. If given time, one defeated head can reform. Watch out for their fireballs and when both heads are gone, equip the Roc's Cape. Gleeok will jump around and cause a tremor when it lands. Keep slashing and it will soon die. Grab the Heart and the Seed of Life. |