
Dancing Dragon's Dungeon
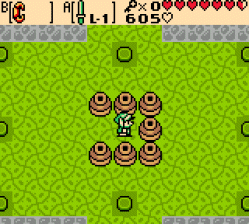 |
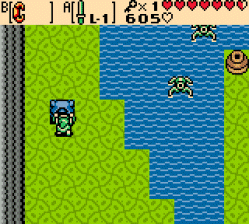
From the entrance, swim to the upper door. Kill the enemies and grab the Bombs in the chest. Hop on the cart and ride it to the next room, making sure to flip the switch on your way out. Kill the enemies and bomb the right wall. To solve the next puzzle, remove the middle 2 jars and push the others to the buttons, and stand on the last one. Grab the Small Key that drops. |
| Head back to the cart. If you hit the switch, you will go right. If not, hit it so that you do. Push the blue statue onto the button and go through the door. Move the blocks in the upper left corner and go down the stairs. Weave your way around, killing anything in your way. Take either lower door and then weave around again. Take the right door and grab the Dungeon Map. |
 |
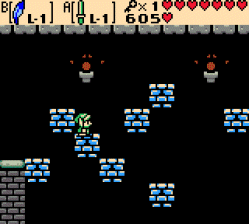 |
Go back and take the stairs in the corner. Make your way right to the disappearing brick spot. Once you have passed it, climb the ladder and into a dark room. Light the torch and sprint around to the chest (you can relight it again if needed). Grab the small key and head back to the stairs. Go back left and up the ladder, then go up and weave your way back to the stairs going up. |
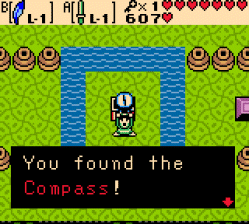
| Make your way back to the entrance and unlock the door to the right. Jump across the spikes and bomb the right wall. Kill the monsters and push the block to reveal a chest with a Compass. Head back to the spike room and go up. Dive under the rollers to the upper door (a Zora's Ring works good here). Equip the Roc's Ring if you have it and jump onto the cracked floors and to the other side. Take the cart. |
 |
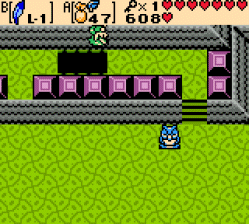 |
When you stop, hop on the cart again and flip the switch on your way. Kill all of the monsters in the room to make a key drop into the water. Dive after it and take the cart again. Unlock the block and kill the monsters to make some stairs appear. Using a Pegasus Seed, jump across the pits to the stairs. Hop on the cart at the bottom and when you stop, grab the Small Key on the ledge. Go down and hop across the spikes to the lower door and enter it. |
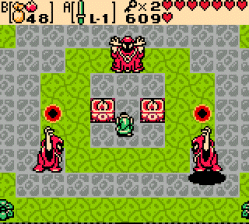
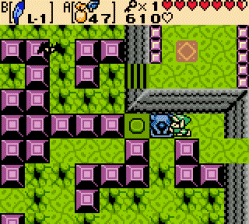
| Equip you Ember Seeds and wait for Agahnim to appear. If you remember from Zelda 3, Agahnim was defeated by returning his magic to him. Not here. Light the torches and look for the one with a shadow underneath it. Spin attack it and it will recieve damage. Repeat if needed. If you need a reload on Ember Seeds, slash the bushes. About 8 slashes defeats it. |
 |
 |
Head down and hop on the cart. When you stop, unlock the left door. This next part is tricky. Push the statue on the button and the cracked floors will start to fall. Use a Pegasus Seed and run for your life to the stairs and the Slingshot in the chest. Jump down and hop back into the cart. When you stop, go back in the cart and use the Slingshot to flip the switches. |
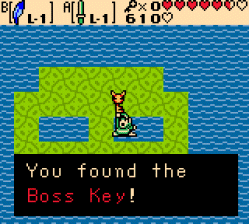
| Enter the next room and use a Pegasus Seed to make the long jumps. Unlock the block and head up. Kill the monsters and dive into the right 'eye' to recieve the Boss Key. Hop back into the cart and when you stop, go up across the spikes and into another cart. Shoot the Torches with an Ember Seed to make a Chest appear. Go back to the spike room and up the stairs to recieve a Small Key. |
 |
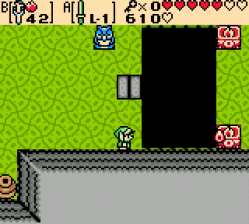 |
Head back down past Agahnim's Room and into the cart room. Shoot the switch at the bottom and hop into the cart. Kill the Wizzrobes and go up. Unlock the block, watching out for the Beamos. Go down the stairs. Kill the Wizzrobes and Anti-faeries and shoot the torches with an Ember Seed to make a bridge appear. Cross it to the next room and go up. Hop on the ride and unlock the Boss door at the end. |
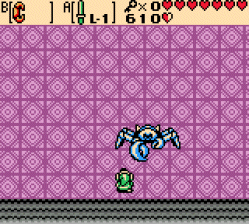
| Gohma is pretty fast. Use a Pegasus Seed and spin attack the claw before it grabs you. When the claw is gone, equip the Slingshot with Ember Seeds and when the eye opens, quickly shoot it. When the larvas appear, spin attack them with the sword. Keep shooting the eye and when it is defeated, grab the heart and the Soothing Rain. |
 |