|
|
|
The Demon King Himself
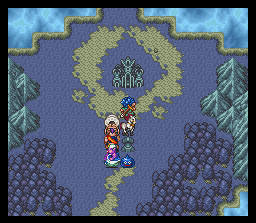
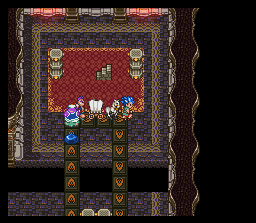
| Now head north of the Sorrow Dungeon and enter Deathtamoor's Castle. You're going to want to have your levels in the mid 40's, a mastered Superstar and a mastered Hero. Without Superstar mastered, the last fight will be MUCH more difficult. I recommend also spending time to grab a Lamp Demon- they are well worth it and are the only monster other than a Healer that can learn HealUsAll. Lamp Demons can become absurdly powerful too, so one will greatly help. Make sure to have either Hassan or Terry in your party for some Bikill-PowerUp-Spirit Punch action. You'll be able to access your main party and the people in the wagon throughout the dungeon. |
|
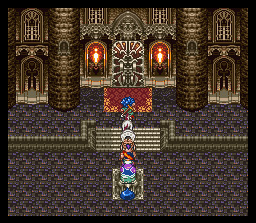 |
Once inside, head north up the stairs and through the door. |
| Once again, head north and up the stairs. |  |
 |
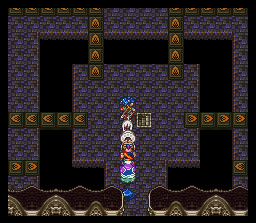
On the next floor, you'll see these arrows which will move you. Walk north onto the first set, and it'll take you further up. Now, step on the 3 arrows point right. |
| Hit the switch and the moving arrows will disappear. Now head north. | 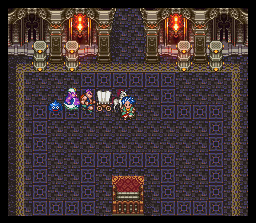 |
 |
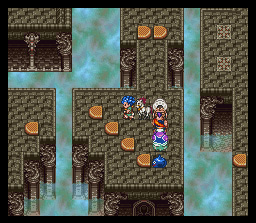
You'll run into this area with the 4 sets of moving arrows and a staircase leading down. Head down the stairs first for a chest with a Small Medal. Take either of the left arrows to continue. |
| Head north and take the arrows facing up. Grab the chest for a Demon Spear and take the arrows leading back down. |  |
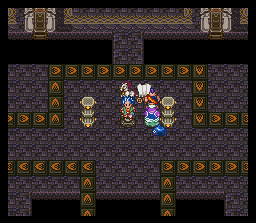 |
If you need to heal, hit the switch to deactivate the arrows. Head north and up the stairs. |
| Walk onto the circle to recover your HP and MP then head back downstairs. Step on the switch again to reactivate the arrows and step on the ones to the upper-right. | 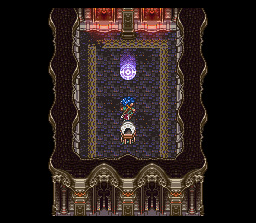 |
 |
Take the stairs up to the next level. |
| The springboards on this level launch you 5 spaces in whatever way they're facing. If you take the lower left path, you'll reach a chest with a mimic. Following the path puts you back on the startign platform. Head north and take the middle springboard to the left. | 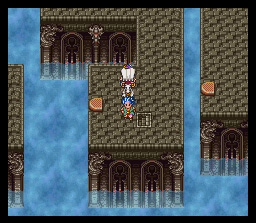 |
 |
Take the northern-most left facing springboard to avoid being launched into the pit. |
| Head west then north and take the upper springboard to land on this platform. If you take the springboard facing to the right, you'll be able to nab the Golden Tiara. Work your way back to the platform after getting the Golden Tiara and go down the stairs. | 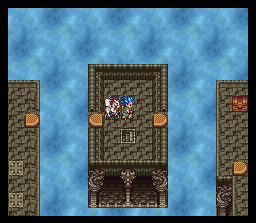 |
 |
Hit this switch, and the platform will levitate up. Head back upstairs then across the pit via the springboard. Head up the stairs to the north. |
| Head all the way north and through the door to continue. | 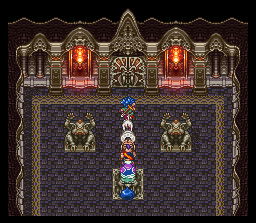 |
 |
Take the northern-most door to get out of this area. Make sure to grab the northern chest for a Book of Dragons. |
| This next area is a rather annoying maze. You can't see any of the walls until the lightning strikes. To get through here, follow the following path: head all the way left, all the way north, all left, all south, all left, all north. If you want 3 chests with a Mimic, the 99th Small Medal, and a Princess Robe inside, head all the way right, all north, all right, all south, all right, all south. Return to the junction and this time head all left, all north, all right, north until you can head right, then north, right, down, right, and all north and through the door to exit. If you want the Metal King Sword, head all right, up, and then all left instead of going north through the door. | 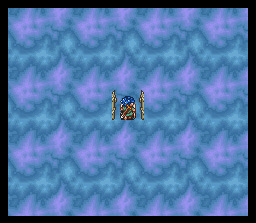 |
 |
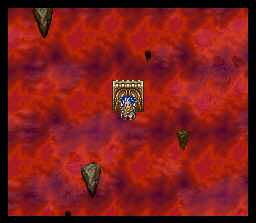
Follow the path all the way around, and prepare for your final encounter. |
| If you're ready to take on Deathtamoor, head through the door. If you aren't, cast Outside and do whatever you need to then come back here. Once you go in, there's no turning back. | 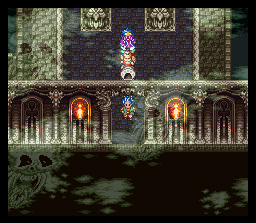 |
|
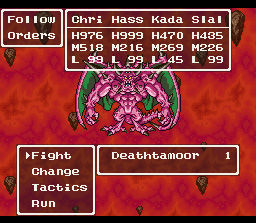
Before we go on in, here's my party setup. |
 |
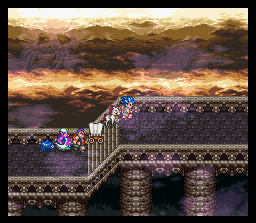
Head inside the door, and you'll reach this rather chaotic place. Head down a bit, and you'll fall to the path below. Follow it to the left then climb up the ladders. |
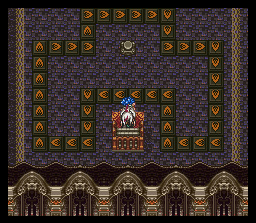
| Deathtamoor floats above and gives you a nice little speech. The Demon King is a pink old man eh... | 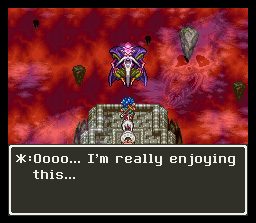 |
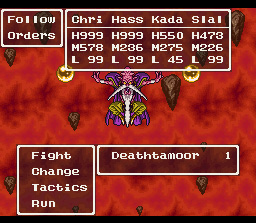 |
Deathtamoor: Well, here he is. Deathtamoor's attacks are really quite brutal. He can throw the orbs to do a whole lot of damage- 150+. His physical attacks aren't too much really. You'll need to have someone use Hustle or HealUs every round to keep your HP high. You'll NEED a Healer or a Lamp Demon for HealUsAll since the damage can begin to catch up with you rather easily. Try to use Gigaslash since it'll do quite a bit of damage to Deathtamoor. Also, spells won't be overly useful against him since he likes to cast Bounce. Deathtamoor is too fast for Spirit Punch which knocks out the Bikill-PowerUp-Spirit Punch technique. Remember to rotate badly injured characters out of the party so you can keep everyone functioning. |
| After Deathtamoor is defeated, a voice comes out of no where and states that you just beat up an old man. The two orbs begin to draw closer. | 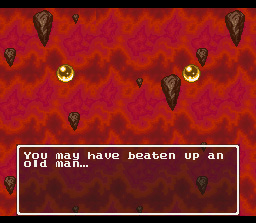 |
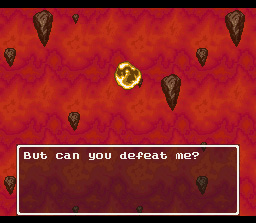 |
Then they merge as Deathtamoor reveals his true form. |
| Deathtamoor: Eh, didn't think it would be that easy did you? You can't shrug Deathtamoor's physical attacks off anymore- they do a whole lot more damage than last time. Cast Increase to launch up your defense. This time, Deathtamoor isn't as agile so the Bikill-PowerUp-Spirit Punch technique will do wonders. I found this battle to be MUCH easier than the last since Spirit Punch will hit. |
 |
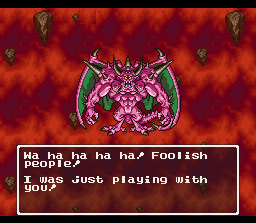 |
Well, good thing Deathtamoor was just playing with us. I was wondering why he was so weak. |
| Now Deathtamoor doesn't need a silly body to kill us, so he ditches it and comes back at you with his ugly mug and his hands. | 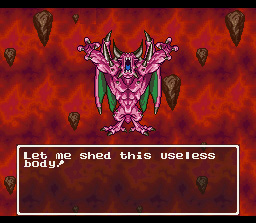 |
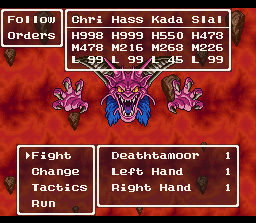 |
Deathtamoor, Left Hand, Right Hand: Deathtamoor's Left Hand will revive any fallen body part so take it out first. Your next target is the Right Hand which will revive Deathtamoor if you kill him before the hand. Now Deathtamoor is a whole lot meaner- he uses the strongest magic and physical attacks this time. Bring Barbara in to use Madante which can do a whole lot of good. The Hands can fall to the Bikill-PowerUp-Spirit Punch technique, so you can use those on them if you wish. Deathtamoor can cancel out all the spells you cast too which can become quite annoying. He also is able to use high level breath weapons, so you'll need to be prepared to deal with those too. Deathtamoor has a nasty tendency to put your characters to sleep also. If Barbara's MP is high enough, she can end this battle in one round by casting Madante. (at 999 MP, she can do 3000 damage which kills all the parts) |
| Deathtamoor is stunned that you were able to defeat him. He promptly dies. Now sit back and enjoy the ending. |  |