 |
|
|
Flying Beds and Other Strange Things
|
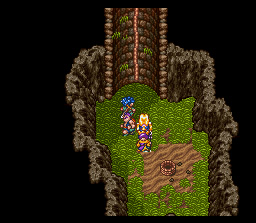
You'll arrive in the Dream World inside another well. Climb up the rope. |
|
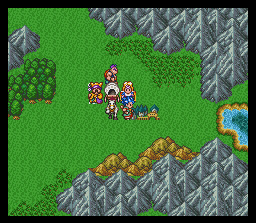 |
Head far to the southeast to the quaint town of Clear Vale. |
| Clear Vale is known for its Flying Bed. Ok... Search the town to find a Small Medal, a Piece of Cloth, Dancer's Clothes, and Fairy Water. | 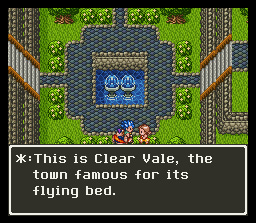 |
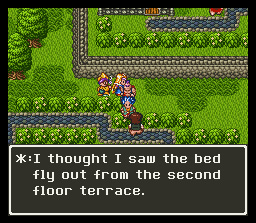 |
You'll hear that it seems the Flying Bed came from the empty house in the northeastern corner of town. |
| The door to the house is locked, so you won't be getting anywhere... | 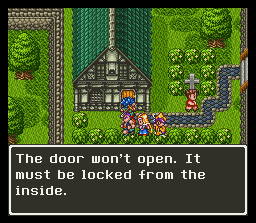 |
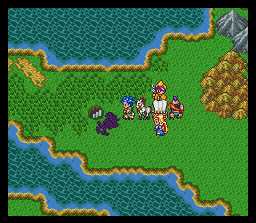 |
Leave town and head west to find another staircase. Head down those stairs. |
| Now head east of the stairwell to reach the real world counterpart of Clear Vale. |  |
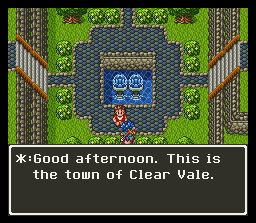 |
Once you arrive at Clear Vale, search the town to find a Small Medal, 50 Gold, and a Strength Seed. |
| Talk to the people around town. You'll learn about the actor Panon that all the children loved. | 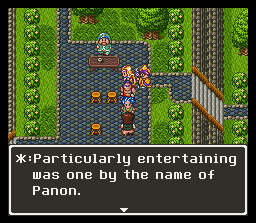 |
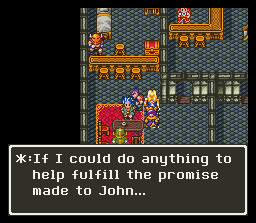 |
The other person you'll hear about was the little boy John that died of an illness. Panon promised to get him the Courage Badge from the Wall of Destiny, but Panon never came back... |
| Head to the church to meet John's parents. They're talking to the priest to learn whether or not John was happy. After they leave the church, | 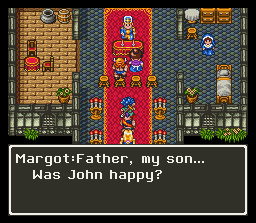 |
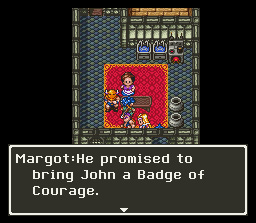 |
John's parents mention that Panon was going to bring some of the Courage Rock back so they could make a Badge of Courage for John, but Panon never returned. Now leave the town. |
| Head northeast to the Wall of Destiny. | 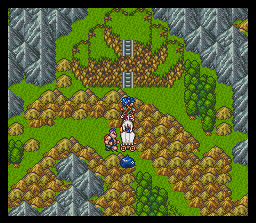 |
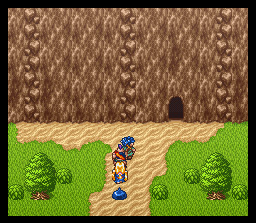 |
Once at the Wall of Destiny, head inside the cave. |
| Inside, there is a nun that will save your game and a Priest who tells you that you'll need the Golden Pickaxe to get very far. Head back outside. | 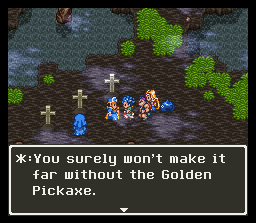 |
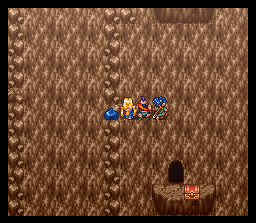 |
First head up the right path and drop off the side to get this chest with 350 Gold inside. The hole inside the cave takes you back down to the cave on the ground. |
| Now head back up the path and drop off onto the one seen in the picture. | 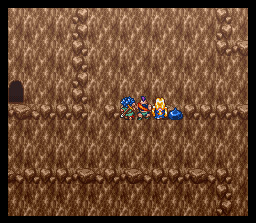 |
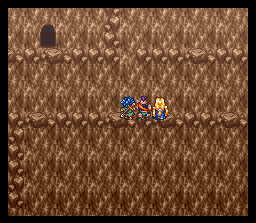 |
Head right to where the Hero is in the picture and drop off the path. |
| You'll land right on this small area in front of this cave. | 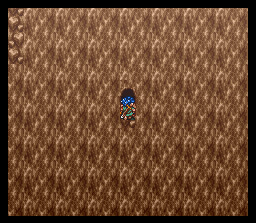 |
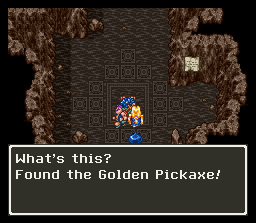 |
Head inside to get the Golden Pickaxe then drop back off and head west.. |
| Drop off once again to reach a cavern. Head inside. | 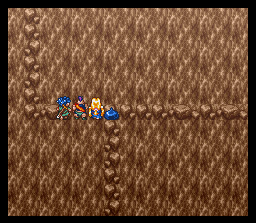 |
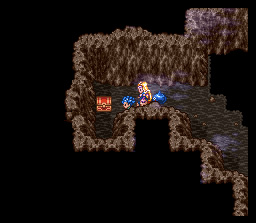 |
Use your new and shiny Golden Pickaxe to hammer down the wall. Open the chest for a Small Medal and jump into the pit. |
| Head up the path on the left this time and grab the chest for a Nut of Life. Take the left path up to the point where you can drop back down on the right path and drop down. | 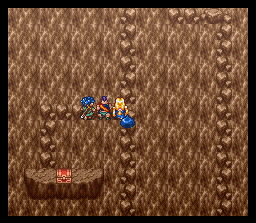 |
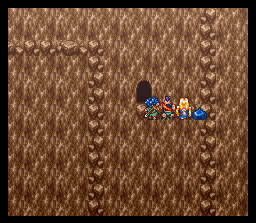 |
Head up and go into this cavern. |
| Once inside, use the Golden Pickaxe and go up the stairs. | 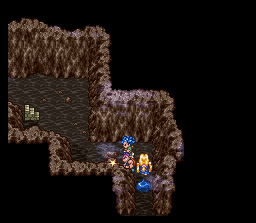 |
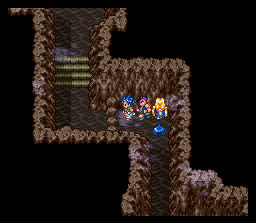 |
Head north and use the Golden Pickaxe to bash through the 2 sets of rocks blocking the path. Head up the stairs. |
| Now head southwest and exit the cavern. | 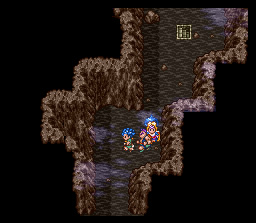 |
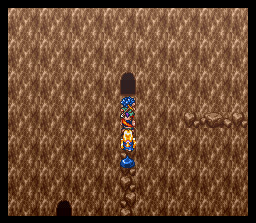 |
Head east and climb up the wall and go into the cavern. |
| Use the Golden Pickaxe once more then go up the stairs. Head southeast and exit the cavern. | 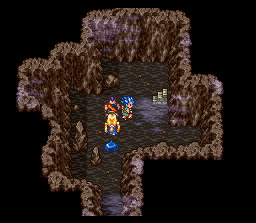 |
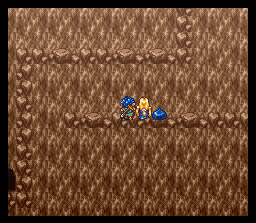 |
Head east and climb up the path then head back west. Drop down onto the ledge and enter the cavern. |
| Head north and go up the stairs then south to exit the cavern. | 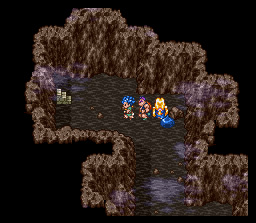 |
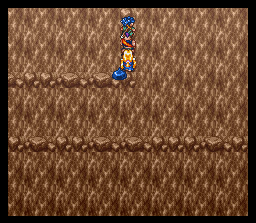 |
Climb up to the summit. |
| At the top, you'll see the huge Rock of Courage. Head up and use the Golden Pickaxe on it to chip off a piece. You'll get the Fragment of Courage. | 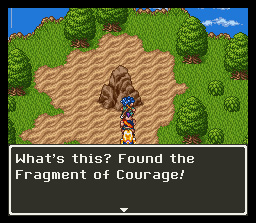 |
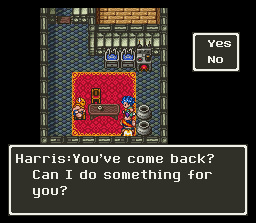 |
Return to Clear Vale and talk to Harris. |
| He'll be shocked that you were able to get the Fragment of Courage and that you actually climbed the Wall of Destiny. | 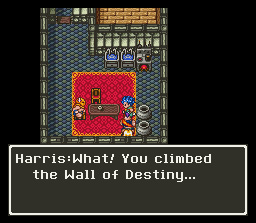 |
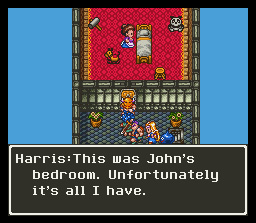 |
Accept his offer to stay the night, and he'll let you sleep in John's room. |
| When you wake up, you'll be in John's bed in the Dream World. The bed will suddenly levitate and head outside the house and into a vortex. | 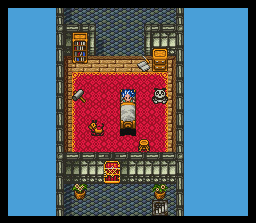 |
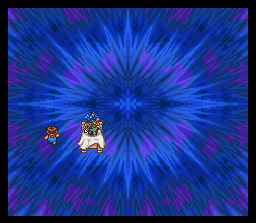 |
John appears and thanks you for getting him the Fragment of Courage. He lets you use the Flying Bed since he doesn't really need it anymore. |
| The bed flies out of the house, and now you can control it. It can't fly over hills, mountains, or forest though. | 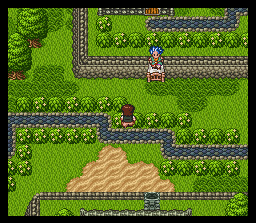 |
