
Leader Information
Most leader information can be found in the strength (STRE) screen. Press C for Statistics and C again for guarded castle, income and spell information.
 Krystal
Chaotic. Well rounded Leader. Good economic strength. Great magic
strength. Wields powerful magic in battle.
Krystal's Statistics
Command
30
Economic Strength 80
Leadership 40
Magic
Strength 90
Intellect 90
Belief 50
Luck
65
Krystal's
Sub Leader Character Quests
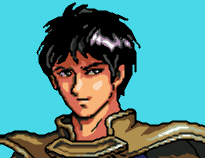 Marcus
(warrior) (C)
Talk to Marcus in Dios Church. Visit Zolt and Iyaltis. You learn
Traeger (Marcus's Sword) is in the church in Zolt and the Shining Jewel
that is required to break the seal on Traeger is at the church in Nast.
(The Shining Jewel is also referred to as the Jewel of Light. Do not
confuse this jewel with the one in the Jewel of Light quest.) Visit
Nast Church, pray 100 times straight and then talk to the priest to
receive the Shining Jewel. Return to the church in Zolt with the
Shining Jewelry in your inventory to receive Traeger. Return to Dios
Church and give Marcus Traeger. Marcus Joins.
Cities Marcus's quest is mentioned: Quentin, Shirster, Dios,
Iyalitis,
Zolt, Nast
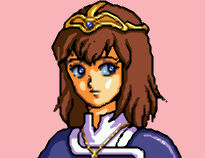 Katrina
(priestess) (N)
Talk to Katrina in Kaus Church. Talk to her boyfriend in Tobis Tavern.
Talk to everyone in Yentz then return to the Town Square to speak with
the wizard. Return to Tobis Tavern. Katrina's boyfriend will give you
her ring. Go back to the wizard in Yentz Town Square. He will restore
the magic to the ring. Go back to Kaus Church with the Magic Ring in
your inventory. Katrina Joins.
Cities Katrina's quest is mentioned: Milsey, Kaus, Yentz, Tobis
Krystal's Spells
| Spell Name | Spell Type | Range w/move | Range w/o move | Area |
| Hellfire | Fire damage | around self | 3 | 7 |
| Blizzard Breath | Freeze | around self | 4 | 7 |
| Vortex | Wind damage +transport | around self | 4 | 7 |
| Lavaflow | Earth damage | 1 | 3 | 1 |
| Massheal | Heals all units 10 hp | All | All | All |
| Megarestore | Heals one unit completely +Heal paralyze, frozen, confused, stone, and goat | All | All | 1 |
| Confuse | Confuse an enemy | All | All | 1 |
| Resist Magic | +Magic Resistance | All | All | 1 |
| Swapsoul | To swap a live party member for one that has died, stand next to the live party member and cast this spell on them. Pick the party member to resurrect. You will need to be on a castle to place resurrected units. | 1 | 1 | 1 |
Krystal's Summoned Creatures
(alignment)
Summon Creatures are listed in recommended order of placement (Reason
for order listed). All of Crystal's Summoned Creatures advance in class
after level 10 except dragons which advance after level 5.
 >
>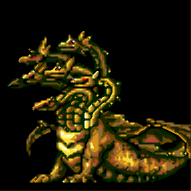
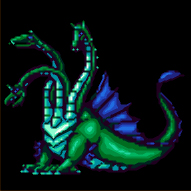
Hydra / Giant Hydra (C)
Have severe movement limitations on land and need the first available
water hex. Usually don't interfere with the path of land based units.
Very high HP.
 >
> >
> >
>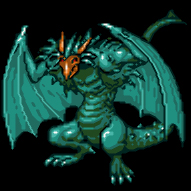
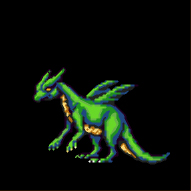
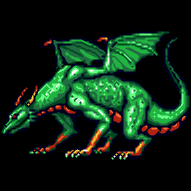
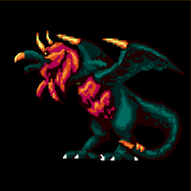
Dragon Pup / Dragon / Wyrm / Wyvern (C)
Special Attack- Fire
Growth is a priority. Most powerful summoned unit.
 >
>
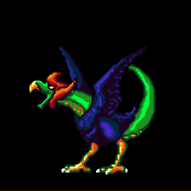
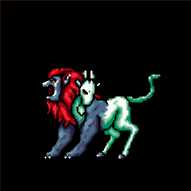
Cockatrice / Basilisk (C)
Special Attack- Stone
Movement is generally slow until class increase. Stone doesn't work
very often. Standard attack very effective against humanoids. High HP.
 >
>
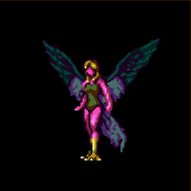
Chimera / Gold Chimera (C)
Fly with good movement. Good HP.
 >
>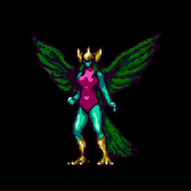
Little Harpy / Harpy (C)
Special Attack- Freeze
Fly with great movement. Prone to be paralyzed.
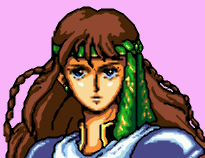 Robin
Robin
Lawful. Very good Warrior in battle. She does not rate high in magic or
economic strength, but she is good enough at these to be effective.
Robin's Statistics
Command 70
Economic Strength 30
Leadership 90
Magic
Strength 30
Intellect 65
Belief 65
Luck
90
Robin's Sub Leader Character Quests
 Kail
(priest)
Visit the Frog in Dios Town Square. Visit the Pawn Shop in Dios. Visit
Diarmuid, the Alchemist in Zolt. He needs a Poison Frog and the Fruit
of a Rosebud tree. Visit the Zolt Town Square. Visit the Tavern and
Fortune in Iyaltis. Search the southern tip of the forest northeast of
Iyaltis to receive the Rosebud Fruit. From the east hex of Iyaltis, 2
north and 1 east. Visit the Town Square in Nast at night to catch a
Poison Frog. Visit Diarmuid with the Rosebud Fruit and the Poison Frog
in your inventory to receive Diarmuid's Potion. Go back to the Town
Square in Dios with Diarmuid's Potion in your inventory and say yes you
want to use it on the frog. Kail joins.
Cities Kail's quest is mentioned: Quentin, Milsey, Dios, Iyalitis,
Zolt, Nast
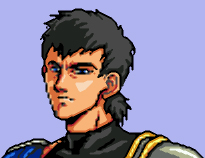 David
(warrior)
Upon rescuing Kail, he tells you that David is in Talislar. In Ribif,
and later in Talislar, you find out that David has been turned to
stone. Talk to everyone in Talislar. The Weapon Shop keeper will tell
you to go to Russell to find a potion to help David. Talk to the
Alchemist in Russell. Talk to Izam at the Mayor's house in Enhas. He
makes a potion and you receive Izam's Secret Medicine. Take Izam's
Secret Medicine to the Town Square in Talislar and use it on David.
David Joins.
Cities David's quest is mentioned: Quentin, Shirster, Ribif, Talislar,
Russell, Enhas
| Spell Name | Spell Type | Range w/move | Range w/o move | Area |
| Wind Bolt | Wind damage to 3 targets | 1 | 4 | 3 |
| Cure Paralysis | Cure Paralyze | All | All | 1 |
| De-stone | Stone to Flesh | All | All | 1 |
| Sacrifice | Robin sacrifices HP to resurrect dead units. Cast the spell on yourself and then pick the dead unit to resurrect. You will need to be on a castle to place resurrected units. | self | self | self |
| Protect | Defense +Force Wall effect | All | All | 1 |
| Confuse | Confuse
an enemy |
All | All | 1 |
| Megaheal | Heals
one unit completely. Does NOT heal conditions |
All | All | 1 |
| Massheal | Heals all units 10 hp | All | All | All |
Robin's Summoned Creatures
(alignment)
Summon Creatures are listed in recommended order of placement (Reason
for order listed). All of Robin's Summoned Creatures advance in class
after level 10 except dragons which advance after level 5.
 >
>
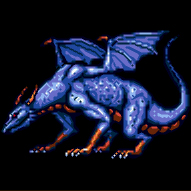
Serpent / Giant Serpent (L)
Have movement limitations on land and need the first available water
hex. Very high HP. Great water movement after class up.
 >
> >
> >
>
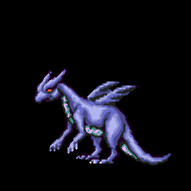
Dragon Pup / Dragon / Wyrm / Ice Dragon (N)
Special Attack- Freeze (water)
Growth is a priority. Most powerful summoned unit.
 >
>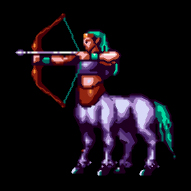
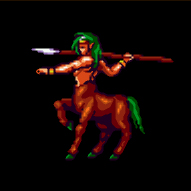
Centaur / Charon (N)
Special Attack- H Arrow (Centaur range 2, Charon range 3)
Don't need to be in front because they have ranged attack. Good
movement especially on adverse terrain.
 >
>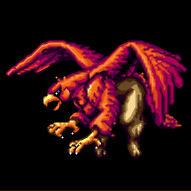
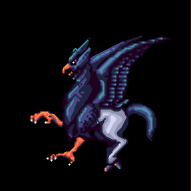
Hippogriff / Griffin (N)
Fly with good movement. Good HP.
 >
>
Roc / Phoenix (L)
Special Attack- Fire
Fly with great movement.
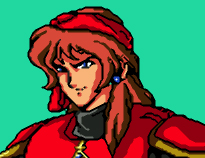
Amon
An Undead Vampire. Very high magic rating. Long range magic attack.
Fast growth. Economically challenged. Great movement. 7 different
summon units.
Amon's Statistics
Command 50
Economic Strength 20
Leadership 55
Magic Strength
90
Intellect 50
Belief
0
Luck
10
Amon's Sub Leader Character Quests
 Susan
(magic user)
Talk to the Mayor of Quentin and the Innkeeper in Narva. Talk to
everyone in Tobis to learn a warlock has stolen Susan's life force. She
is now an old woman in the Town Square. Visit the Town Square and
Church in Yentz and
pay special attention to the priest at the church. He possesses the
staff which holds Susan's life force. Visit his friend at the church in
Asai City to receive the Mirror of Truth. Return to the Church in
Yentz. The Mirror of Truth exposes the true form of the priest and you
receive Susan's Staff. Return to the Town Square in Tobis and save
Susan. Susan joins.
Susan becomes extremely powerful. She quickly learns all the Magic User
spells and can learn all 4 elemental spells. Her Defense rating is very
high and her Attack rating is off the chart.
Cities Susan's quest is mentioned: Quentin, Narva, Yentz,
Tobis, Asai
 Andrew
(warrior)
After your first battle together, Susan tells you Andrew is staying in
Enhas. Visit the Tavern and the Church in Enhas. Visit the Church in
Russell. He tells you the sword is glued to the alter and can be
removed with Pine Oil. Visit the Mayor in Russell. You can buy Pine Oil
from him or if you just keep saying no, he will give you the Pine Oil
for free (with a little bad mouthing). Return to the Church in Enhas
and use the Pine Oil to receive the Silver Sword. Return to the Mayor
of Russell to learn Andrew went into the pine forest by the
village. Search the strange forest south west of Russell with the
Silver Sword in your inventory. From the west hex of Russell, 1 south
and 1 west. Andrew joins.
Cities Andrew's quest is mentioned: Quentin, Ribif, Russell,
Enhas
| Spell Name | Spell Type | Range w/move | Range w/o move | Area |
| Hellfire | Fire damage | around self | 3 | 7 |
| Meltearth | Earth damage | around self | 3 | 7 |
| Vampire | Steal Life | 1 | 4 | 1 |
| Blade Storm | Magic damage | All | All | 1 |
| Megarestore | Heals one unit completely +Heals paralyze, frozen, confused, stone, and goat | All | All | 1 |
| Swapsoul | To Exchange a living units life for a dead units life, cast the spell on the living unit. Choose the dead unit to resurrect. You will need to be on a castle to place resurrected units. | 1 | 1 | 1 |
| Defense Drain | Lower Defense | All | All | 1 |
| Night Shield | Raise Defense | All | All | 1 |
Amon's Summoned Creatures
(alignment) (U)=
Undead
Summon Creatures are listed in recommended order of placement (Reason
for order listed). All of Amon's Summoned Creatures advance in class
after level 10 except Dragons, Skeletons, and Ghosts which advance
after level 5.
 >
>
Hydra / Giant Hydra (C)
Have severe movement limitations on land and need the first available
water hex. Usually don't interfere with the path of land based units.
Very high HP.
 >
> >
> >
>
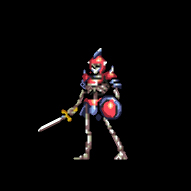
Skeleton / Skeleton Soldier / Skeleton Knight /
Skeleton
Warrior (U)
Very Slow movement at first. Stick to the roads. High Hp in higher
classes.
 >
> >
> >
>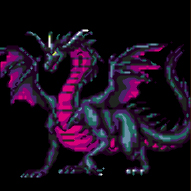
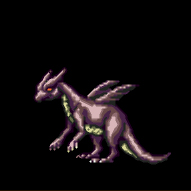
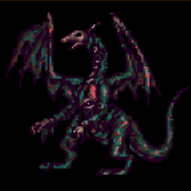
Dragon pup / Zombie Dragon / Death Wyrm / Death Dragon
(U)
Special Attack- Erupt (earth)
Growth is a priority. Most powerful summoned unit. Not quite as strong
as the other dragon types.
 >
>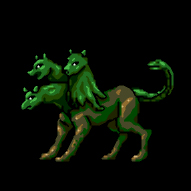
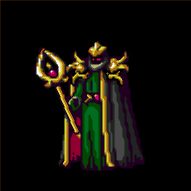
Hell Hound / Cerberus (U)
Special Attack- Paralyze
Decent movement. High HP. Paralyze doesn't work very often.
 >
> >
> >
>
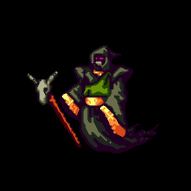
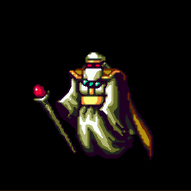
Ghost / Wraith / Lich / Greater Lich (U)
Special Attack- Paralyze (no normal attack)
Good movement. Can paralyze enemy for others to attack freely.
 >
>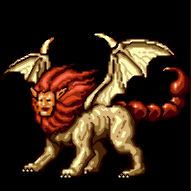
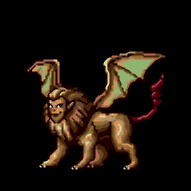
Manticor / Giant Manticor (N)
Fly with good movement. Good HP.
 >
>
Little Harpy / Harpy (C)
Special Attack- Freeze
Fly with great movement. Prone to be paralyzed.
 Armer IX
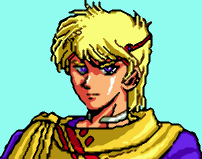
Lawful Prince of Cheshire. Above average in all areas. Excellent in
physical combat. Good economically. Able to support a large army early.
Sufficient magic power with a nice balance in variety of spells.
Armer's Statistics
Command
60 Economic Strength 60
Leadership
60 Magic
Strength
60
Intellect 60
Belief
90
Luck
20
Armer's Sub Leader Character Quests
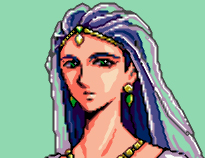 Marie
(magic user)
Visit the Mayor in Shirster and the Tavern in Milsey. Visit the Town
Square, Tavern, and Mayor
in Dios. Visit the Town Square, Tavern and Fortune teller in Iyaltis.
Visit the Tavern and Mayor's house in Zolt where you will talk to
Marie. In Nast, Visit the Town Square, the Inn, and back to the Town
Square. The guy will finally give you Chelsea's keepsake Bracelet after
a price haggle and an insult or two. Return to Marie at the Mayor's
house in Zolt with the Bracelet in your inventory. Marie Joins.
Cities Marie's quest is mentioned: Quentin, Dios, Iyaltis,
Zolt, Nast
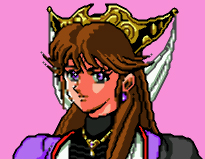 Dianna
(warrior)
Talk to everyone in Carbie. Visit the Town Square and the Mayors house
in Ribif. You will find Dianna afflicted with a curse. Visit the Town
Square and the Tavern in Russell. Talk to the Mayor and the Fortune
teller in Talislar. Visit the Town Square and the Mayor in Enhas.
Return to the Mayor in Talislar to receive a Letter of Introduction.
Return to the Town Square in Enhas with the Letter of Introduction and
you will be allowed to see the fortuneteller. She will give you the
Exorcism Crystal. Return to the Mayor's house in Ribif and use the
Exorcism Crystal to lift the curse on Dianna. Dianna Joins.
Cities Dianna's quest is mentioned: Quentin, Shirster, Milsey, Dios, Zolt, Nast, Carbie, Ribif, Russell, Talislar, Enhas
| Spell Name | Spell Type | Range w/move | Range w/o move | Area |
| Firebolt | Fire damage | 1 | 3 | 1 |
| Meltearth | Earth damage | around self | 3 | 7 |
| Massheal | Heals all units 10 hp | All | All | All |
| Megaheal | Heals
one unit completely. Does NOT heal conditions |
All | All | 1 |
| Refresh | Heals
paralyze, confuse, frozen, stone, and goat |
All | All | 1 |
| Sacrifice | Armor sacrifices HP to resurrect dead units. Cast the spell on yourself and then pick the dead unit to resurrect. You will need to be on a castle to place resurrected units. | All | All | 1 |
| Defense Drain | Lower Defense | All | All | 1 |
| Protect | Raise Defense +Force Wall effect | All | All | 1 |
Armer's Summoned Creatures
(alignment)
Summon Creatures are listed in recommended order of placement (Reason
for order listed). All of Armer's Summoned Creatures advance in class
after level 10, except dragons which advance after level 5.
 >
>
Serpent / Giant Serpent (L)
Have movement limitations on land and need the first available water
hex. Very high HP. Great water movement after class up.
 >
> >
> >
>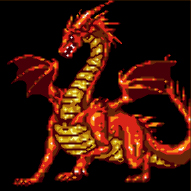
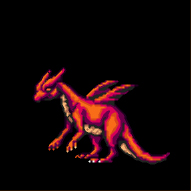
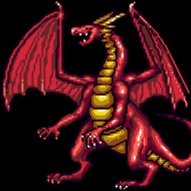
Dragon Pup / Dragon / Wyrm / Fire Dragon (L)
Special Attack- Fire
Growth is a priority. Most powerful summoned unit.
 >
>
Centaur / Charon (N)
Special Attack- H Arrow (Centaur range 2, Charon range 3)
Don't need to be in front because they have ranged attack. Good
movement especially on adverse terrain.
 >
>
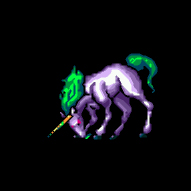
Unicorn / Winged Horse (L)
Good movement. Great movement after class up. Good attack. Decent HP.
Devastating against undead.
Place before Centaur until class up, then place behind Centaur/Charon
after they can fly
 >
>
Roc / Phoenix (L)
Special Attack- Fire
Fly with great movement.
