
 |
|
|
 |
 |
Bodley Mansion to Laruba Mansion
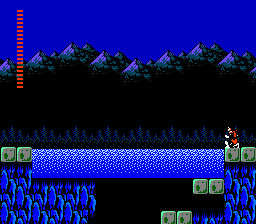 |
You won't be able to get very far, going left from Bodley Mansion. You'll soon find your path blocked by Uta Lake. But your Red Crystal will come through for you once again. Select it from the menu, then kneel at the riverbank. Wait a few seconds and it will lower, allowing you to enter the Lower Road. |
| Do not go up just yet, but go straight ahead, over the moving platforms floating over the water. At the end, use Holy Water to break the wall. There's a man here who'll enhance your Morning Star with the power of fire, turning it into a Flame Whip, the most powerful weapon in the game. And you're definately going to need it. After receiving this gift, go back and do take the upper route this time. | 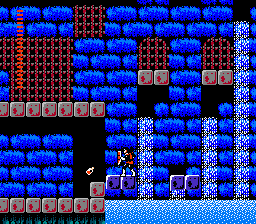 |
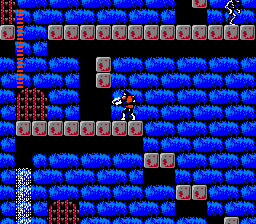 |
You'll need to break through another wall with Holy Water to pass through. Then go all the way left, and leave the area through the lower-left exit. The Flame Throwers in the next area can be tricky, but don't worry, they're not immune or even resistant to your Flame Whip. After that is another poison marsh. This one's bigger than the last one though. You're going to need your last two Laurels here, and you'll probably still get hurt a little. |
| But after that, you'll be there. Laruba Mansion, the last one. Once inside, take the first stairway you see, go left, up another stairway, and right again. Pass up any other stairways and keep going right, and you'll enter the second area of the mansion. Take the high road here, and proceed to the right. There will be the conveniently located stake salesman. You know the drill, buy an Oak Stake from him for 50 hearts. | 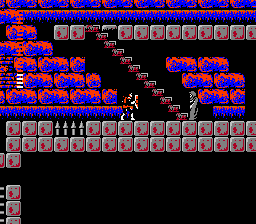 |
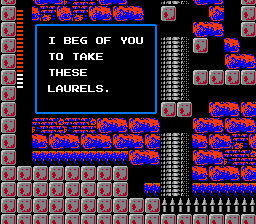 |
Go up the stairs ahead and go further right. You'll need to drop down several times now, until the road splits. When it does, go left, through the little corridor where the Mansion Spiders are. When you reach the end, you'll see a stake salesman lookalike. Talk to him, and he'll fill up your Silk Bag with Laurels for free! Nice guy, huh? |
| Now you'll have to go right, over the platforms that move across the spikes. But these spikes aren't as passive as the ones you've come across so far. Some of them will shoot straight up as you approach, so watch out. After that, walk all the way right towards your encounter with the second boss... | 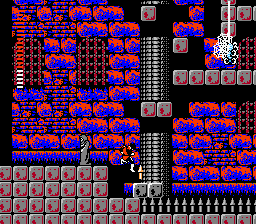 |
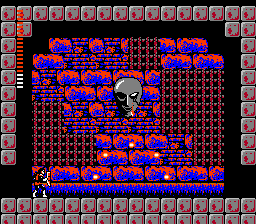 |
Vampira, a.k.a. Camilla's Mask. This battle is so easy, it's pathetic, really. Just stand anywhere facing Vampira while holding Dracula's Rib, and the fireballs will be deflected by your shield. When it flies around in circles, jump up and whip it a couple of times, then when it stops, prepare to deflect more fireballs. That's all there is to it. It won't take too many hits to bring it down, either. |
| Like the Grim Reaper, you could avoid fighting Vampira by just quickly running past it. But the item you get for beating it, the Magic Cross, is needed to finish the game, so this is not an optional battle. | 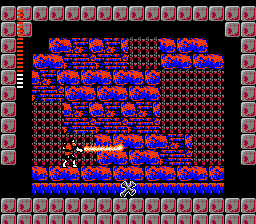 |
 |
Now proceed, and there it is... the final body part, Dracula's Ring. ...yes, apparantly a ring counts a body part nowadays. And again the same misspelling. At least they're consistant. Wait, no they're not, they did spell it correctly earlier. Ah well. Anyway, the Ring doesn't have any special powers as far as I know, so don't bother equipping it. |
| And that's it then. Time to make the trek back to the mansion's entrance. Like the Grim Reaper, Vampira will be back when you re-enter its room, but you can just run past it. Before leaving, you can level up to the maximum, level 6, if you want. But it takes a loooong time, and isn't really necessary. You should be powerful enough to finish the game already. Now all that's left to do is to go to Castlevania and burn Dracula's body parts! | 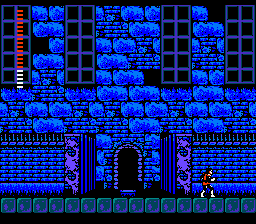 |
Continue -->
|
|