
 |
|
|
Fade to Black [Omen]
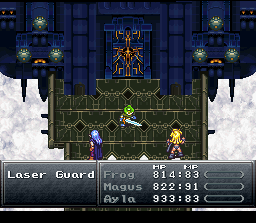 |
It's finally time to tackle the Black Omen. You won't be able to enter the Black Omen in 2300 AD, as it's too late at that point, and it doesn't exist in 65,000,000 BC, so you'll have to go to it in 12000 BC, 600 AD or 1000 AD. I suggest 1000 AD, since afterward, the Black Omen will still exist in 600 AD and 12000 BC, meaning you can re-enter it in those time periods if you wish to get some extra experience. Anyway, upon first reaching the Black Omen, you'll be greeted by the same Laser Guards as you encountered in Geno Dome. Kill 'em all and bust through the door. |
| Bringing Ayla along in the Black Omen is almost a necessity. You can charm some fantastically fantastic stuff here. The first enemy you'll encounter will be the Mega Mutant, which is pretty easy if you're protected from status ailments. You may want Ayla to steal a Vigil Hat from its bottom, too. Defeat it and continue along your journey. | 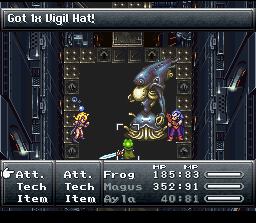 |
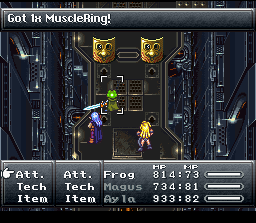 |
The Black Omen is very, very linear, even by Chrono Trigger's lofty standards. It consists of you running around fighting enemies basically, so most of this walkthrough will be talking about the cool shit you can charm here. When you encounter these guys, Charm MuscleRings from them. You know you want to. |
| Goons are a pain in the ass, since they have an attack that instantly halves a character's HP. But you can charm Nova Armors from them, so it sorta evens itself out in the end. | 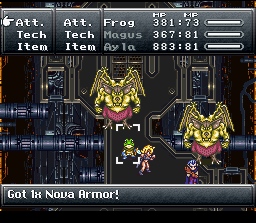 |
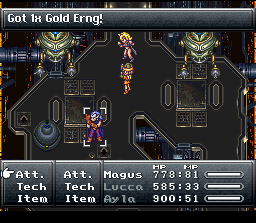 |
Fighting Synchrites can definitely be worth your time, especially if you take the time to charm yourself a Gold Erng or two. |
| When you have to fight Panels, it's always a welcome site. You can charm Speed Tabs from them! Be sure to leave not a single Panel un-charmed! | 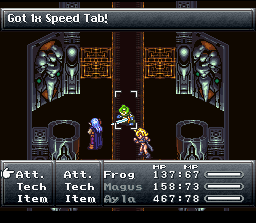 |
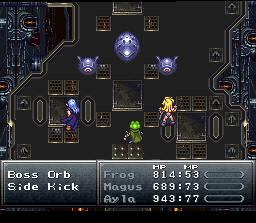 |
The latest in "100 TP enemies" are these guys. Again, you won't be able to use Techs, but the two little creatures are worth 100 Tech Points each. The big guy just sits on his ass and casts this fire spell on your characters. Concentrate your firepower on the little guys so you can try to defeat them before they run off. |
| The Gold Stud just may be my favorite accessory in the game. Nothing's more gratifying than having the freedom to cast almost unlimited Flares, Luminaires, Dark Matters and Triple Kicks in a battle. Charm as many Gold Studs as you need from the otherwise annoying Flyclops. | 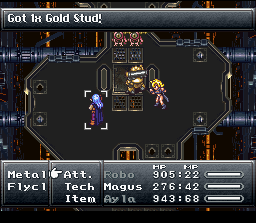 |
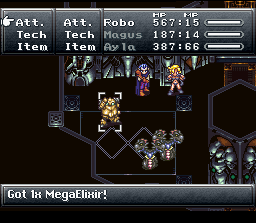 |
You'll probably also want to stock up on MegaElixirs, which can be charmed from the Ruminators. MegaElixirs are really a luxury in the final battles of the game, so get as many as you can. |
| When you reach these two Nus, you'll be able to shop, or exit the Black Omen if yer yellow. | 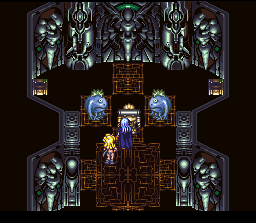 |
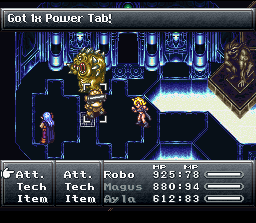 |
Tubsters are very powerful, but they only counter-attack, so don't be having Marle attacking them, leave it to your heavy hitters. You can also steal Power Tabs from them. Best of all, after defeating this Tubster, you can leave the room and come back, and fight him again. Infinite Power Tabs! |
| Aliens and Blobs are bitches. Basically, don't cast magic on the Blobs, or they'll take away all your MP, and don't attack the aliens physically, or they'll take away all your HP. You will want to take the time to steal Magic Tabs from the Aliens though... | 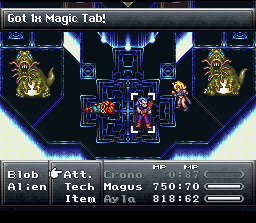 |
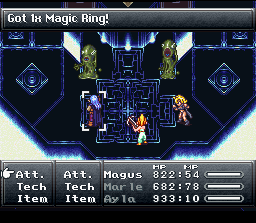 |
While you're here, you might as well charm a Magic Ring or two from the Blobs. |
| After a save point, you'll have to fight the Giga Mutant. You may want to begin the battle by charming the top for a Wall Ring... | 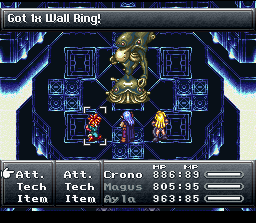 |
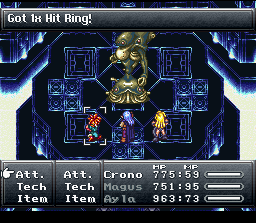 |
...Then charm the bottom for a Hit Ring. Physical attacks don't do so well in this battle, so let loose with all your most powerful magic spells if you want to be victorious. |
| After a while, and many more enemies, you'll make it to the Terra Mutant. You can charm a MuscleRing from the top... | 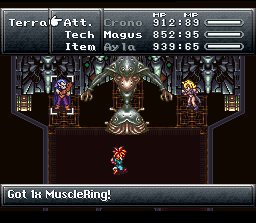 |
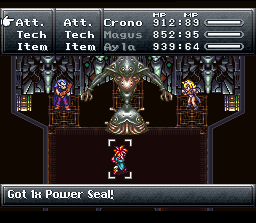 |
...And a Power Seal from the bottom. The top needs to be defeated to win this battle, but all that's really effective against it is Magic. It also tends to absorb HP from the bottom. Just cast your most powerful spells (Luminaire, Flare, Dark Matter, etc.) willy-nilly (hopefully you have some Gold Studs equipped), and you'll be able to win without too much trouble. |
| Just after the Terra Mutant is a Lavos Spawn... and this one's more difficult than the ones you fought on Death Peak. You can charm the head for a Haste Helm... | 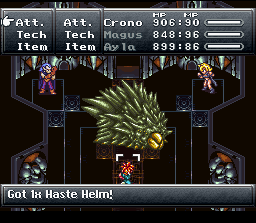 |
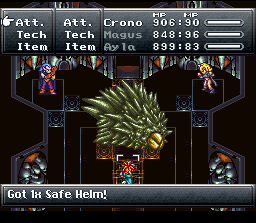 |
...And charm the shell for a Safe Helm. Other than getting the Safe Helm, you don't want to target the shell at all. Let loose on the head with your powerful single-target attacks (Triple Kick, Confuse, etc.) and you should win without too much trouble. |
| Time to take on Zeal herself. Mostly, all Zeal does in this battle is knock down your characters' HP to 1, but she can also do some damage and steal MP. And you can charm a MegaElixir from her too. She's really not very tough though. | 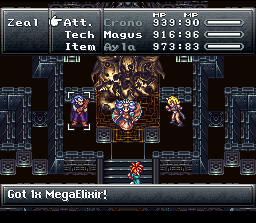 |
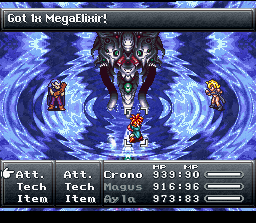 |
Immediately following the Zeal battle, you'll have to fight the Mammon Machine, from whom you can charm another MegaElixir, if you wish. If your HP is low from the Zeal battle, you may want to consider starting this battle by using a MegaElixir. It tends to raise its defense when attacked physically, so just attack it magically. If you have Frog with you, he should attack with the Masamune, though. But the Mammon Machine, overall, isn't too hard. |
| Talk to your own mother like that? Magus needs to review the 5th Commandment! | 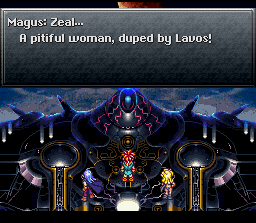 |
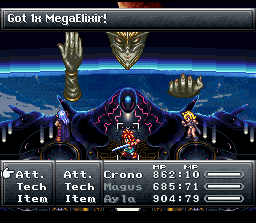 |
In the second battle with Zeal, there'll be three targets, a head, a left hand and a right hand. Unless you're charming them, never target the hands! You can charm a MegaElixir from the head. |
| From the left hand (the one on your right), you can charm a Prism Helm! Excellent! | 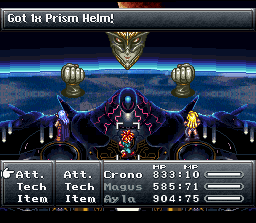 |
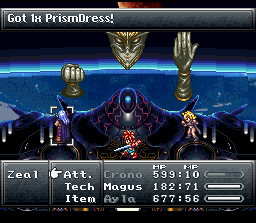 |
And in the best charm of the entire game, you can charm the other hand for a PrismDress! Now, to defeat Zeal. Don't attack either hand, as one counterattacks with Life Shaver, and the other with MP Buster. Yowch! So use your most powerful single-target attacks against the head. Zeal hits hard, so hopefully you have some good healers with you. |
| After defeating Zeal, you'll immediately have to fight Lavos, if you haven't already. Lavos begins by mimicking earlier boss battles (Dragon Tank, Guardian, Heckran, Zombor, Masa & Mune, Nizbel, Magus, Azala and Black Tyrano, and then Giga Gaia). These battles are unchanged from when you first fought them, so you shouldn't have any trouble. You'll then be given a chance to heal up before fighting Lavos in Lavos-mode. This Lavos is a bit tougher, but really shouldn't be much of an obstacle to your party at this point. | 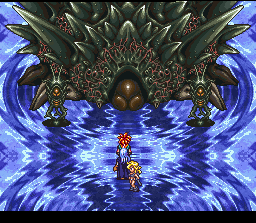 |
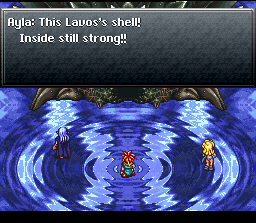 |
It ain't over yet! |
| You're now inside Lavos. If you used Epoch to crash your way into Lavos, you'll start out here. If you defeated Lavos' head already, you'll be given a save point and a gate that takes you to the End of Time. If you went through the Black Omen, you may want to escape and go through it in 600 AD, then 12000 BC for some extra experience. It's easier after the first time, since the bosses have already been defeated, with the exceptions of Zeal and the Mammon Machine. In fact, since you can fight Zeal up to two more times, you can steal extra Prism Dresses and Prism Helms! | 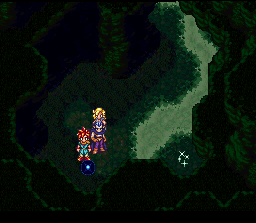 |
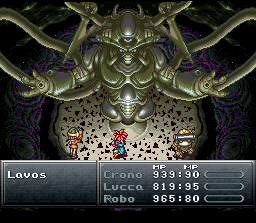 |
When you're ready to boat this bass, head up inside Lavos, and you'll have to fight this form of Lavos. For the final battles, my favorite party consists of Crono, Lucca and Robo in that order. Crono is just ridiculously powerful, Robo is strong and good healer, and Lucca just plain kicks ass. The first thing you'll want to do is take out the arms, one by one, then target the body. This battle's not too tough, since it's just here to whet your appetite... |
| When the Lavos Core pops out, your party will have an epiphany, and instantly figure out all about Lavos somehow. Get ready for the game's final battle! |  |
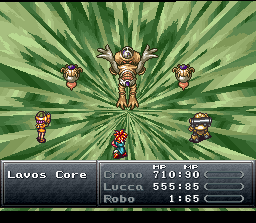 |
Here it is, Lavos' Core. This is the final battle of the game, so don't be shy about using up all your MegaElixirs if need be. The part you'll have to defeat is the little guy on the right, so take out the left bit first, then the central part. This will cause the right part to remove its defense, which is when you should attack. If you used my party recommendation, you can use this opportunity to use DoublevBomb, which is sweet. Eventually, the other two bits will be revived, and you'll have to repeat the process over again. Needless to say, this battle will consist of a lot of powerful attacks being thrown your way, so don't be stingy with the MegaElixirs and any other healing mechanism you have. |
| This is the End Beautiful friend, the End This is the End My only friend, the End |
 |
MegaElixir
30000 G
Magic Seal
Elixir
Vigil Hat
Nova Armor
MegaElixir
MegaElixir
Haste Helm
ZodiacCape
MegaElixir
Power Seal
Speed Tab
Speed Tab
Elixir
Speed Tab
MegaElixir
Speed Tab
White Rock
MegaElixir
Vigil Hat (Mega Mutant Bottom)
MuscleRing (Incognito)
Nova Armor (Goon)
Gold Erng (Synchrite)
Speed Tab (Panel)
Gold Stud (Flyclops)
MegaElixir (Ruminator)
Power Tab (Tubster)
Magic Tab (Alien)
Magic Ring (Blob)
Wall Ring (Giga Mutant Top)
Hit Ring (Giga Mutant Bottom)
MuscleRing (TerraMutant Top)
Power Seal (TerraMutant Bottom)
Haste Helm (Lavos Spawn Head)
Safe Helm (Lavos Spawn Shell)
MegaElixir (Zeal)
MegaElixir (Mammon Machine)
MegaElixir (Zeal Head)
Prism Helm (Zeal Left Hand)
PrismDress (Zeal Right Hand)