
 |
|
|
The Frog and the Wizard
 |
Return the Masamune to Frog after it's repaired, and Frog will have a lengthy flashback explaining his past. Afterward, he'll join your party, but refuse to equip the Masamune. |
| Now that you have Frog captive, you may as well drag him to the End of Time. Show him to Spekkio, and Spekkio will teach him to use magic. Offensively, Frog's magic sucks, but he does eventually learn some decent healing magic. | 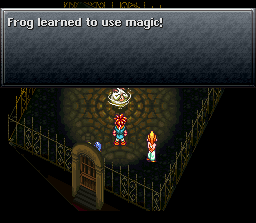 |
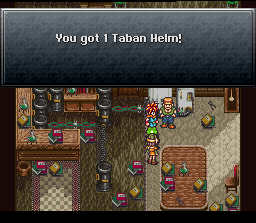 |
While you're running around time doing stuff, bring Lucca to her house and talk to Taban again. This time he'll give you the Taban Helm, which is a sweet helmet for Lucca to equip. |
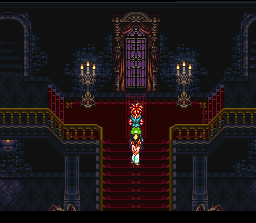
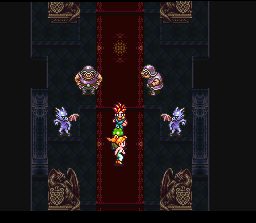
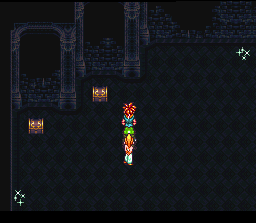
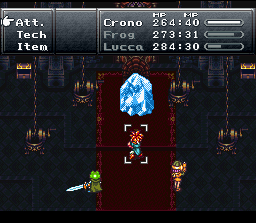
| Back to 600 AD. Just east of Fiona's Villa is the Magic Cave, which is your next destination. When you make it here, Frog will have another lengthy flashback, and proceed to chop the entire mountain in half with the Masamune. O...K... | 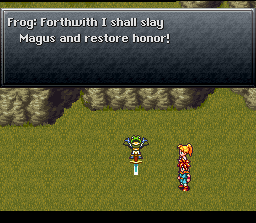 |
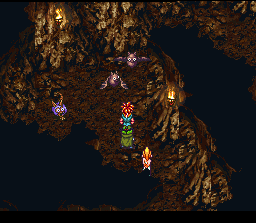 |
Anyway, now you should be able to enter the cave. It's a pretty short and painless cave, but keep in mind that you should use magic against the rat monsters you find here. Also, if you forgot to visit Spekkio with Frog, he'll continually bitch at you about it until you do. |
| Here you'll know you're in Magus' lair because there will be extra bats flying around, and it will all the sudden be night. | 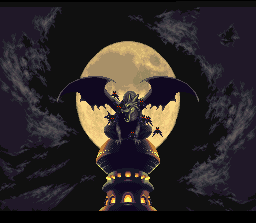 |
 |
There will be two paths to go down, a path on the left, and a path on the right. It really doesn't matter which order you take them. Go down one, turn around and go down the other. |
| After visiting both paths, you'll notice a sparkly here. Stepping on it won't let you save, but you will get to talk to Ozzie and fight off a bunch of monsters. How fun is that? | 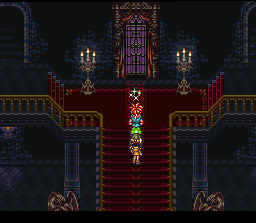 |
 |
After that, the two hallways will be filled with monsters. You'll have to go down them both again. I chose to go down the left hallway first. |
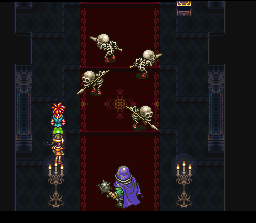
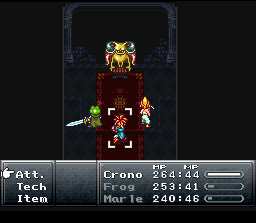
| When you reach the last room on the left hallway, talk to the girl in the middle, and everybody will turn into skeletons. They want you to relieve them of their misery, but since you don't know how to do that, kill them instead. | 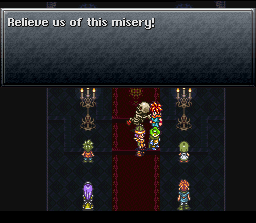 |
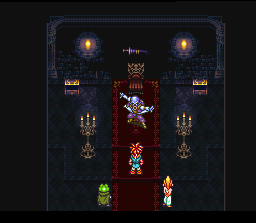 |
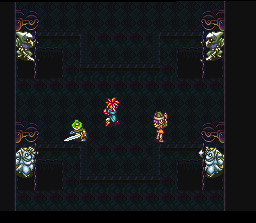
Now you'll have to fight the swordsman, Slash. Slash really isn't that hard, as long as you keep yourself healed. At a certain point, Slash will get pissed off and grab the sword off the wall, but he's still not too tough. |
| After beating Slash, don't forget to grab his sword. It's really helpful at this point in the game. | 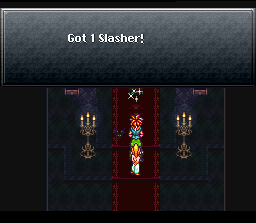 |
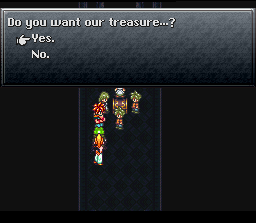 |
Time for the path on the right. When you see these little children, talk to this one and tell them you want their treasure. They turn out to be Shadows. Just cast any magic spell on them and they should die. |
| In this hallway you'll see characters that are important to your party members. Queen Leene, Crono's mom, and either Marle's dad or Lucca, depending on who you have on your party. I shouldn't have to tell you they're monsters in disguise, so talk to them if you want to fight, or just avoid them. | 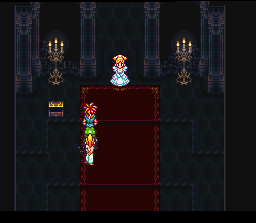 |
 |
Here you'll encounter... Flea? OK, this guy isn't Flea. The fact that he dies after one hit is a dead giveaway. He does, however, drain all the MP from the character that kills him, so he's still more annoying than he should be. |
| At this point, the real Flea utters a phrase that has unfortunately become a battle cry for the minions that visit RPGClassics. You'll then have to fight Flea. Flea is a bit tougher than Slash, as he inflicts status ailments on your party constantly. Heal the status ailments you accrue if you'd like, and unleash your most powerful attacks on him. Also don't try to think about he can successfully seduce Crono in the midst of battle even though Crono has full knowledge that he's a guy. |  |
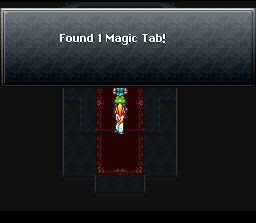 |
After Flea is defeated, a Magic Tab will be left behind. Don't forget to grab it. |
| After defeating Slash and Flea, the sparkly will be back. This time, it functions as a transporter. |  |
 |
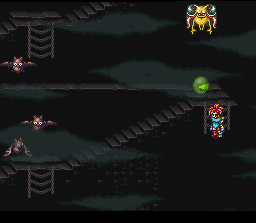
This hallway is basically just a gauntlet of enemies to defeat. They're not too tough as long as you remember to heal yourself. |
| In this room, Ozzie will try to chop you up with giant blades. The blades themselves are actually pretty easy to avoid. So, avoid them and move on. | 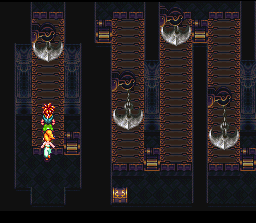 |
 |
This room is nice, because it's pretty easy to avoid battling. The only enemies that can touch you are the little green guys rolling around, so just climb down on the ladders before they can trigger a battle. |
| In this room, Ozzie will make pits appear below you when you step on certain parts of the floor. If you know where to walk, you can avoid the pits, but that's a big "if". | 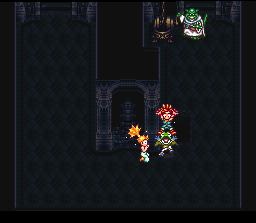 |
 |
Actually, falling in the pits isn't so bad, and you'll definitely want to do so at least once. After fighting off a group of weak skeletons, the room will be ripe for the pickin'. There are treasure chests in the upper-right and upper-left, and there's a Magic Tab in the lower-right corner of the room. There are also four sparklies, two of which will trigger battles with enemies that can't hurt you (free experience and Tech Points!), one that's a save point, and one that will transport you back up. This room is so nice, you may even want to purposely drop down here a couple times. |
| This room is similar to the other "outside" room, but you won't be able to avoid the Outlaws. You can try to time it so the battles with them don't include Roly Bombers, though. Oh, and the Jugglers start out very weak against Magic and very strong against physical attacks, but after casting a spell on them, they switch their defense. Use this fact to your advantage. | 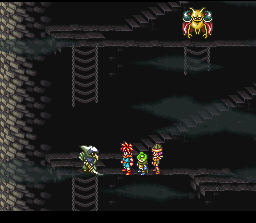 |
 |
Another room consisting solely of fighting a bunch of enemies. You should know what to do here. |
| This room is just another with a bunch of enemy fights, but the enemies appear when you walk between the statues. You can avoid conflict by just walking around the statues, rather than between them. | 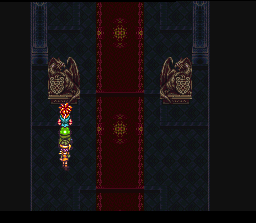 |
 |
Time to fight Ozzie. And boy is he simple. Don't target him, target the switches that surround him. He won't even be able to lay a finger on you. After he's defeated, two sparklies will appear. One's a save point, and the other a transporter. Save up and go on. |
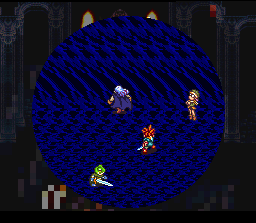
| After visiting a few bats, you'll make it to Magus. Magus can either be simple or difficult. He constantly changes his magic weakness, and he's naturally resistant to physical attacks. Pay attention to the element of the spell he just cast, and attack him with that same element. So, after he casts a lightning spell, hit him with lightning. If the spell he casts isn't available for you to hit him with (if he casts fire, but Lucca's not in your party, for example), just attack him and he'll cast another. The Masamune can temporarily lower his Magic Defense too. After a while, he'll abandon this method of attack, and just continually charge up for Dark Matter. At this point, always heal up fully before he casts Dark Matter, and let loose with your strongest attacks in the meantime. He'll die before you, I'm sure. | 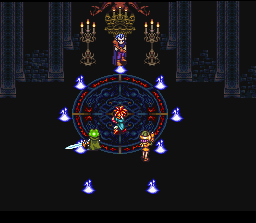 |
 |
Then a giant gate will open up, and everybody will be sucked up somewhere in time, blah, blah, blah... |
Taban Helm (From Taban in Lucca's House)
Mid Ether (Magus' Lair Chest)
Mid Ether (Magus' Lair Chest)
Shelter (Magus' Lair Chest)
Mid Ether (Magus' Lair Chest)
Slasher (After Defeating Slash)
Barrier (Magus' Lair Chest)
Magic Tab (After Defeating Flea)
Mist Robe (Magus' Lair Chest)
Dark Mail (Magus' Lair Chest)
DoomFinger (Magus' Lair Chest)
Mid Ether (Magus' Lair Chest)
Lapis (Magus' Lair Chest)
Barrier (Magus' Lair Chest)
Shelter (Magus' Lair Chest)
Magic Tab (Magus' Lair)
Speed Belt (Magus' Lair Chest)
Revive (Magus' Lair Chest)
Mist Robe (Magus' Lair Chest)
MagicScarf (Magus' Lair Chest)