
 |
|
|
 |
Misery Mire
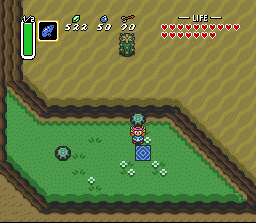 |
From the Light World, play the Flute and fly to the Western Desert. Lift the right Black rock for a warp to the Dark World. Go directly north and to the middle area. You should see on the ground the symbol of a Lightning Bolt. This also resembles the Ether spell. Use that and watch the entrance pop up from under the water. Enter the Misery Mire. |
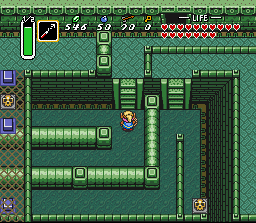
| Hookshot across the pit and go down the stairs. Be careful of the Wizzrobes. Kill all the monsters to open the door. The next room will be called the Main Room. Go up the northeast ladder (the one you can access at this time). Go through the door and push the block in the middle to the side. Go through the door and go straight up until you reach the chest with a Key inside. |
 |
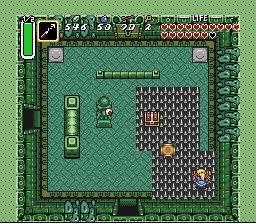 |
Go back to the room where you pushed the block to the side. Push it forward and go through the door on the left. With the Cape equipped, push the button under the skull in the middle of the spikes to reveal a chest with a Key. Also grab the key under the jar in the upper left corner. Unlock the upper door. |
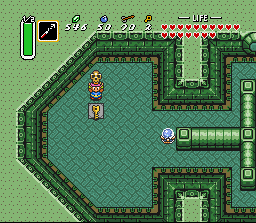
| Go through the upper door. Follow the bridge up and left. At the end of the bridge, go to the upper left side and switch the orb to Blue and grab the Key under the jar. Go back to the bridge and keep going down past the spike floor room. Grab the Map from the chest and exit to the left. |
 |
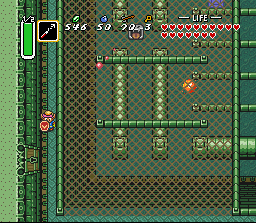 |
You should be back in the main room. Go up the upper left ladder and onto the wire floor. Press the button under the jar to reveal a chest with a Key. Go back down and unlock the lower left door. Kill the Buri to get the Key. Unlock the door to the left (making sure that the orb is blue). Light the 4 torches and go up to get the Compass. Go down all the way and up the stairs. |
| Push the two outside blocks in and the middle block up to open a hole to the torch. Do that for the 2 in that room, and the 2 in the next room. Then use the lantern to light all 4 torches to move the wall in the east room back. Go there and jump down the black hole. Grab the Big Key. Go left and take the warp. Remember what room you are in for later. |
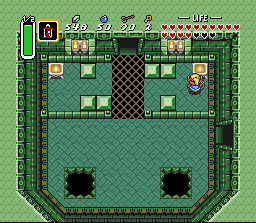 |
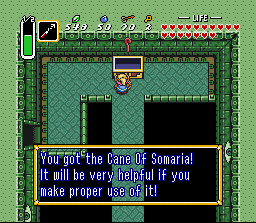 |
Go right, down, and right to the Main Room again. Take the door at the lower right part. Go through the next door on the right. Hookshot over to the block and run up to the Big Chest, containing the Cane of Somaria. Now head back to the room which I told you to remember (the room where you warped to). Unlock the big door and take the warp. Climb the stairs and unlock that door. Go down the ladder and down the stairs. |
| Lift the jar to the left to reveal a button. Use the Staff of Somaria to make a block to move onto the button to open the door. Go through the bottom door. Go left from there. Weave around the maze to the left but before entering the door, go up and switch the orb to Red. Go back and enter the door to the left. Bomb the upper wall and switch the orb to blue. Go back and enter the left door. Switch the orb up top to Red and go up the stairs. |
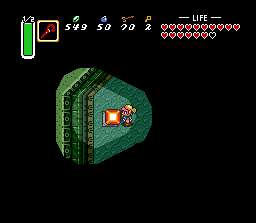 |
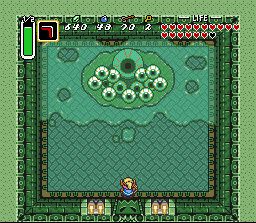 |
Go left and unlock the door to the boss room. Vitreous is pretty tough, but not impossible. Stand at one of the bottom corners and let the little eyes come to Link. Slash as fast as you can until all 9 die. Also, watch out for the big eye's lightning attack. Once the 9 little eyes are gone, the big one will come out and attack. Just keep slashing at it and it will soon die. Grab the Heart and the Crystal. Listen and you will learn the Zelda is in Turtle Rock. |
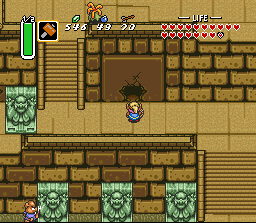
| This step is not over yet. Head to the Bomb Shop in the Dark World (where Link's House would be in the Light World) and buy a Super Bomb for 100 rupees. Now be careful with this. Do not jump from any cliffs, lift anything, or dash or you will set off the bomb. Make your way to the Pyramid of Darkness and bomb the wall with a crack in it. This is another Great Fairy fountain. Throw in the Bow for Silver Arrow and your Sword for the Golden Sword. |
 |
|
|