
 |
|
|
 |
Ganon's Tower
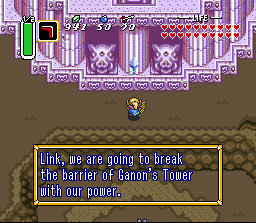 |
Now that you have everything (hopefully, you have. If not, go back and get what you have missed. Also, make sure that you have 4 Fairies in your bottles), go west from Turtle Rock to Ganon's Tower. Zelda's Crystal will emerge and with the power of the other maidens, will break the barrier to Ganon's Tower. Enter. |
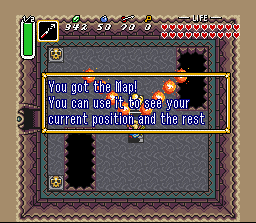
| Go down the stairs to the left. Dash into the torch to drop the Key. Grab it and go left. Smash the Moles all the way around and push the middle block to reveal a Star Plate. Go left. Hookshot your way down. Unlock the door to the right and grab the Map. Go back and switch the orb to Blue, the bomb it to Red while on the other side. |
 |
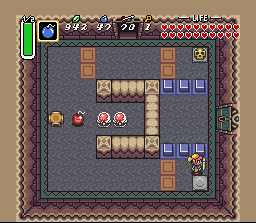 |
Grab the Key at the lower right side. Bomb the outside of the orbs to prevent a double switch. Unlock the door and continue. Switch the orb to Red and take the Warp. Make your way left and push the lone block. Hookshot over to the chest and grab the Key. Unlock the bottom door. |
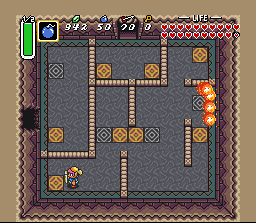
| Take the left warp and make your way to the lower left warp (as seen in the pic). Walk right and take the next 2 warps. Take the door on the right. Go up the path. Remove the upper jar and go up. Light the torch with the Fire Rod to show the glass floor. Hookshot over to the jar and quickly walk the path to the door. Bomb the lower right crack and fall down the hole. |
 |
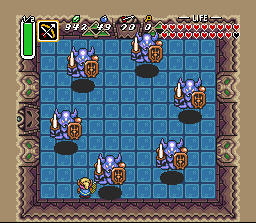 |
You will face the Armos Knights again. This time it is easier. All it takes is one shot from the Silver Arrows to kill it. Once defeated, take the upper door to grab the Big Key. Return and go left and up the stairs. Push the block and grab the big chest containing the Red Mail. Head back to the first floor and up the stairs to the 2nd floor. |
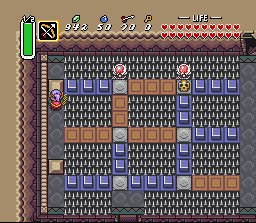
| Shoot the 2 Goryias with a Silver Arrow. Make your way left and push the upper block to open the door. Shoot the 2 Goryias in the next 2 rooms to continue. Unlock the big door. Go down the ladder and change the upper orb to blue. Kill the Goryias and press the button under the jar. Enter the door on the right and run across the bridge and up the stairs. |
 |
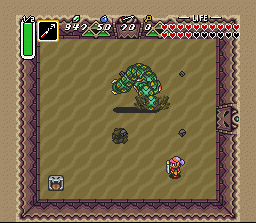 |
Kill the monsters in every room to go on. Eventually, you will come to a room with Lanmolas. Kill them the same way as last time. Continue on up and up the stairs. Use Ether to show the hidden floor. Kill the 3 Wizzrobes to go on. Run across the bridge and up. Kill the 4 Wizzrobes and run across the next bridge. Enter the door on the right. Light the 4 torches and quickly enter the right door. Go up the stairs while avoiding lasers. |
| Starting from the upper right torch, light them quickly with the Lantern to open the door before the floor falls. Kill the Helmasaurs to get a Key. Open the door. Time a bomb just right and throw it to the moving sand. If timed right, it will blow up the wall. Enter the hole it blew up. Grab the chest in the middle to get the Key. Unlock the door. |
 |
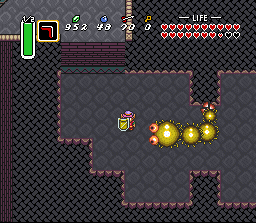 |
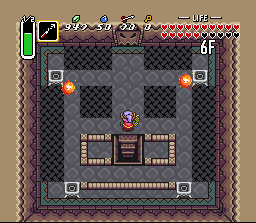
Jump into the arena and make quick work of the Moldorm. 2 Spin attacks will kill it. Hookshot over to the chest it reveals and go left through the door. Go up the stairs and open the Big Door at the end of the Hallway. |
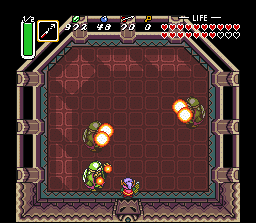
| You will meet Agahnim again. This time, he splits into 3 parts (ghosts). The strategy is the same, and this time, no lightning attacks. Reflect magic back to him a few times and he will die for good. The spirit of Ganon will appear and Fly out. The Flute plays the the bird flies Link and follows Ganon to the Pyramid, where he has mad a nice hole on top. Make sure your HP and MP is full before dropping down. |
 |
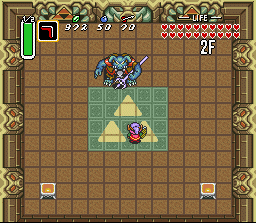 |
After a long speach, Ganon will attack. He will first just throw his trident. Keep slashing him. He will then surround himself with fire birds and send them at Link. When he jumps to remove the outer area, get the Fire Rod ready. When the Lights go out, light the torches, slash Ganon, and shoot him with a Silver Arrow. Keep doing that until he dies, relighting the torches when needed. Enjoy the ending as you finally find the Triforce. |
|
|