The
Demon World
| Head back into the cavern that led yo to Granvania. Head to the Silver Door you couldn't open earlier. Now, it opens. Head inside. | 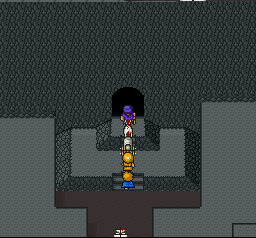 |
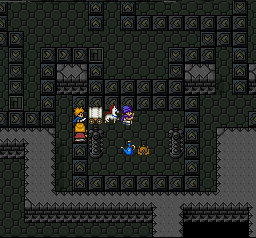
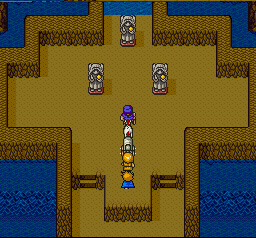 | You'll see these 3 statues. Put the Ring of Fire on the left statue, the Ring of Life on the middle statue, and the Ring of Water on the right statue. |
| Walk up towards the now open portal. You'll head through it. | 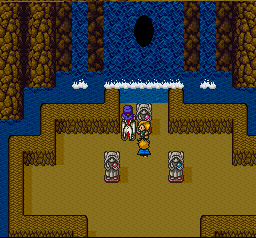 |
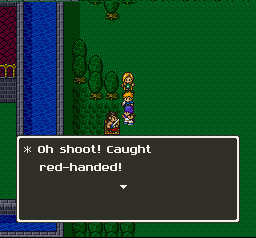
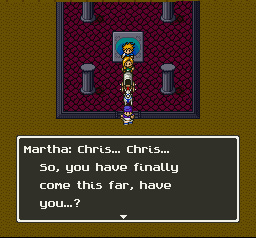 | Upon arriving in the Demon World, Martha knows you aren't turning back. |
| She gives you the only thing she can to help your quest- the Sage's Stone. Take the Stone and leave. | 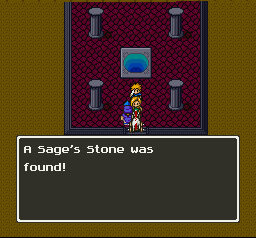 |
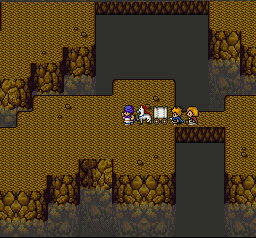
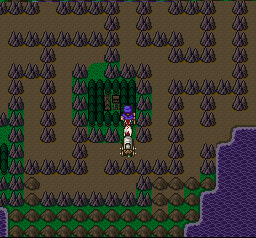 | Head east across the bridge and through the small mountain maze to reach this town. Head on in. |
| Welcome to the city of Jahanna. Thanks to Martha, this city can still exist. Search around to find a Small Medal, Defense Seed, and an Elven Medicine. | 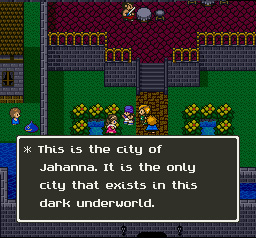 |
 | The last of Kandar's Henchmen can be found here guarding a Sands of Time. Kill him, and take the chest. Make sure to stock up on new armor and weapons here before you leave. |
| When you're ready, head north to the Evil Mountain and enter. Head north and into the dungeon to begin the final trek. | 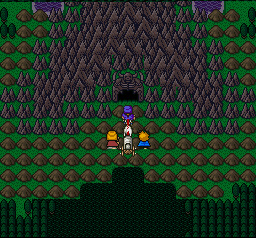 |
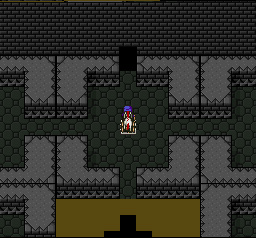
 | Head north, avoiding the spikes as you go and go up the stairs. Or cast Stepguard and just walk over the spikes. |
| The pots on this floor are Urnites- avoid them if you wish. Head north and take the northwestern path at the T-intsection and go up the stairs. |  |
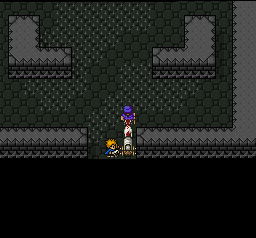
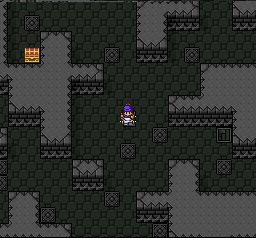
 | Head all the way to the southwest and go up the stairs. Grab the chest for a Robe of Darkness then go back downstairs and take the northern path this time. Head up the stairs. |
| Head all the way south and go up the stairs again. |  |
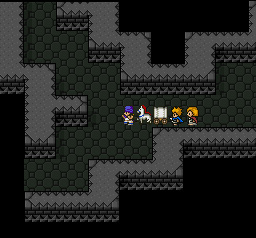
 | Head west then north. Ignore the cavern for now and head northeast and down the stairs. Open the chest for a Small Medal. Go back up the stairs and enter the cave this time. |
| Head west through the hall and go up the stairs. | 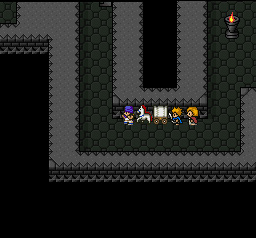 |
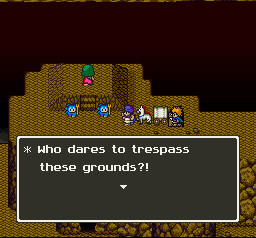 | You'll see Martha and demons guarding her. Kill the 2 Dark Shamans and talk to Martha. |
| She's very happy to see you, and she promises that she'll seal Mildrath's power so you can defeat him. | 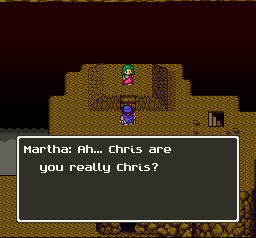 |
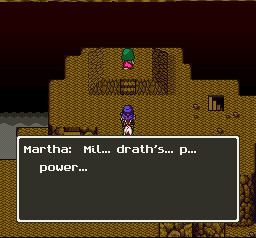 | As she begins praying, Mildrath summons lightning to strike Martha. |
| It seems Mildrath has become much more powerful than she and everyone else expected. You'll have to do this on your own. | 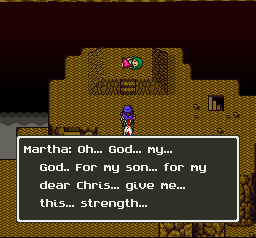 |
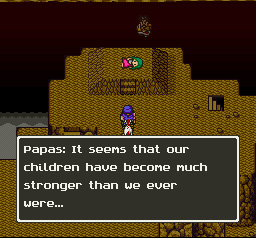 | Sadly, Martha passes away. Papas's spirit returns to say that you are much more powerful than they ever were, and you will be able to suceed and destroy Mildrath no matter what. After their departure, head southwest and grab the chest for a Multi-edged Sword. head back north and go intot he first cavern. |
| You'll want to first go down the stairs for the Echoing Hat and the Small Medal. Head back upstairs after that. | 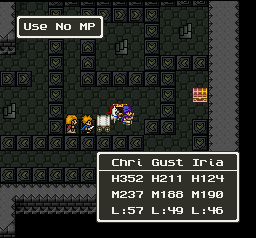 |
 | Grab the Holy Chamberpot and the Sun Crown after riding the floor to them. Now exit this cavern. |
| Use the Holy Chamberpot in the southern cavern to reveal a staircase. head down the stairs. | 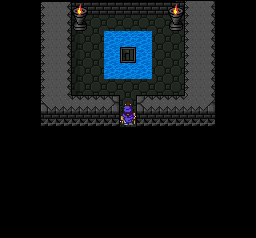 |
 | Grab the 3 chests on this floor for a Mimic, King Metal Helm, and 3300 Gold. Make sure not to step on the strange tiles, or you'll fall down to the next level and will have to go back upstairs. Make your way to the northwest and go down the stairs. |
| Head northwest then east. Go north through the door. | 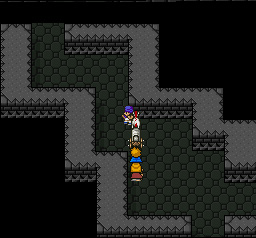 |
 | You'll need to get the middle room up to the top. Stepping on the switches moves the nearby rooms into the blank spaces. Basically, move the rooms in the way out of the way then go through the door. |
| Head north over ther passage and into the cavern. | 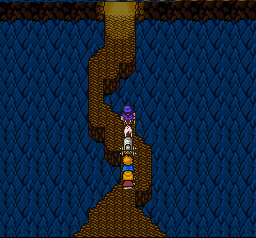 |
 | Head north and open the chest. 2 Hellbattlers charge out and attack you. Defeat them, and you'll get 1 Gold. |
| Examine the chest again for the Orihalcon Fang. Now go north through the shattered door... |  |
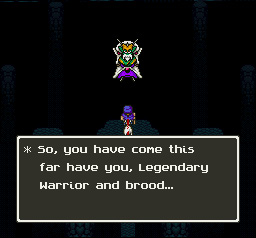 | Mildrath is impressed you've made it this far, but he's confident you'll be unable to do anything to him. He's gathered power over the millenia and can't be stopped. Yeah, yeah. |
| Mildrath: Ok, this first battle is a joke. Cast Increase and Bikill. Mildrath may summon some Attackbots, but with bikill, they'll probably die in 1 shot each. Mildrath doesn't have much hp either, so he'll fall in no time. | 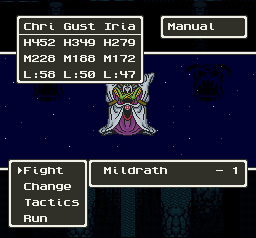 |
 | Of course, he's not done yet. He says how you still can't beat him and shows you his true form. |
| Not the pretties thing ever. Mildrath isn't pleased you won at first, so he's confident this new, larger form can stop you. | 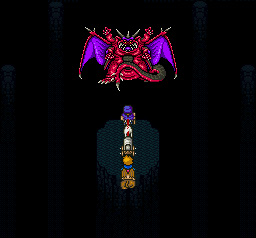 |
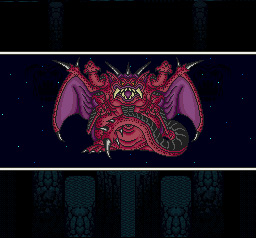 | Mildrath: This battle is much harder- Mildrath loves to use Freezing Rays every couple of rounds disabling all your bonuses. Barrier is a must unless you want everyone to take 130 damage with his breath attacks. You'll probably do a lot of switching so that you can cast Bikill on the Hero and the Son (who I recommend using) and then having someone with HealUs or HealUsAll come in. Overall, you should be able to kill Mildrath if you keep to that proceedure. After beating him, sit back and enjoy the ending. Also, don't hit Reset until you reach The End... |