
 |
|
|
 |
The Forest Medallion
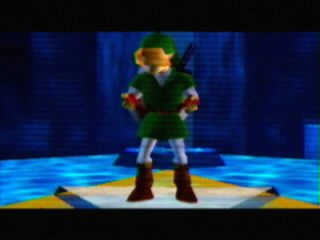 |
After Ganondorf takes the Triforce, Link awakens in the Chamber of Sages. He looks around to see where he is. He spots a man named Rauru. Rauru is the Sage of Light, and explains what has happened in 7 short years. Yes, it has been 7 years, and Link is now grown up. He says that Link must fufill his destiny as the Hero of Time. He then gives Link the Light Medallion and sends Link back to the Temple of Time. |
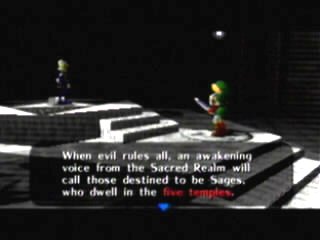
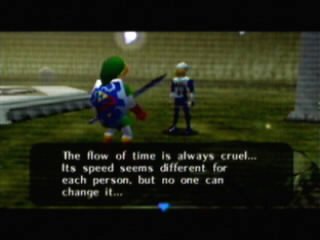
| Once back, Link starts to walk out, but then notices someone behind him. He is Sheik of the Sheikahs. He tells of the other 5 medallions' locations. One in a Deep Forest. One on a High Mountain. One under a Vast Lake. One within the House of the Dead. And one inside the Goddess of the Sand. Sheik says that Link must first go to the Forest Temple and awaken the Sage who Link already knows. Link however, cannot enter the Temple right now and that he must go to Kakariko Village and get what he needs. |
 |
 |
Go to Kakariko Village and you will notice a few changes. But, for now, head to the Windmill and show the Ocarina to the man there. He will teach Link the Song of Storms (this is optional for now, but will be needed later, so get it while your here). Now head to the Graveyard. |
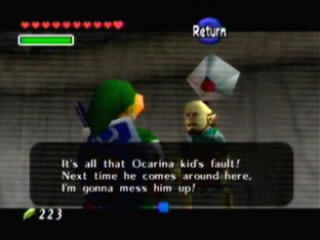
| Go into Dampe's shead and he will tell of a tool that he took to the grave with him. In the Graveyard, you will notice a new marked grave (marked with flowers). Pull on the stone to reveal a hole. Jump down and meet the Ghost of Dampe. He says that he is fast and wants to race. All you have to do is follow him, but he will throw fire at Link. Navi will be around him, so just try to follow. It takes about a minute to complete. It may take a few tries, but at the end, Dampe will reward Link with a Hookshot. Now, you are prepared for the Forest Temple. |
 |
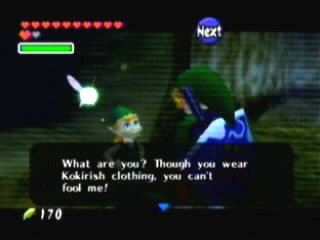 |
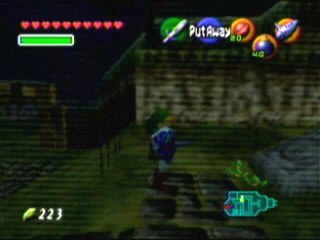
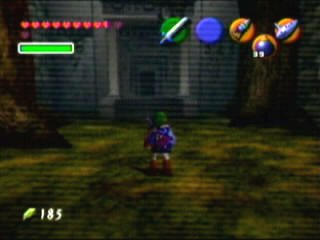
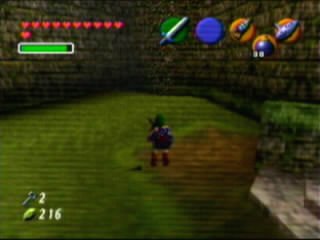
When you try to exit, there are strange blocks in the way that Navi says look like the symbol on the Door of Time. Solution? Play the Song of Time and it will vanish. Now go to Kokiri Forest. You will notice that it is now infested with monsters. Forget it for now and head to the Sacred Forest Meadow. A little ways in, you will run into Mido again. He will not let anybody in because he promised Saria. Well, play Saria's Song and he will let you pass. Make your way to the Sacred Forest Meadow. |
| Once in, you will notice a huge difference
(especially if you expect nothing). Armored Guards now patrol the area. This can easily be avoided if you have gotten the Scarecrow's Song and went to Lake Hylia to get Pierre to help you. If you have it, play it when Navi turns green and flies over to the top. Hookshot up and go across the easy way, or else you will have a tough time. At the end, there is a tough guard. He will hit his club on the ground in an attempt to throw Link back. If you are hit, you have to start over. It takes 3 hits to kill it, so go back and forth while attacking it. |
 |
 |
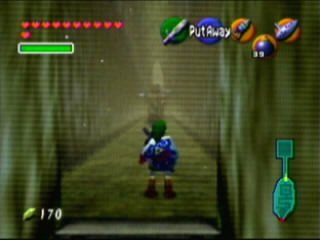
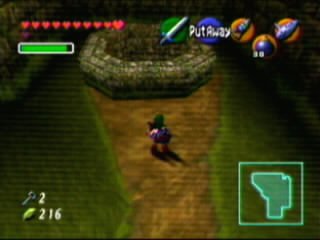
When you defeated the guard you can enter the last part. Link will enter and visit the stump that Saria used to sit on. Just then, Sheik appears and talks to Link a bit. He teaches Link the Minuet of Forest, which will warp Link to where that Triforce stand is in the Sacred Forest Meadow. Sheik then disappears. Now, take and use the Hookshot on the branch just above the entrance and then enter the Forest Temple. |
| First things first, kill the Wolfos that attack by
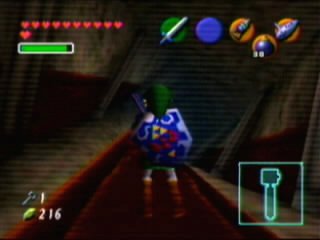
the door. Then look to the right and climb the vines to the top. Jump onto the top of the tree and Hookshot over to the treasure chest where you will recieve the a Key (you will see MANY more of these). Now enter the door. You will be in a hallway with a Big Skulltula. Just take and hit it with the Hookshot to kill it (that was easy). Open the door. |
 |
 |
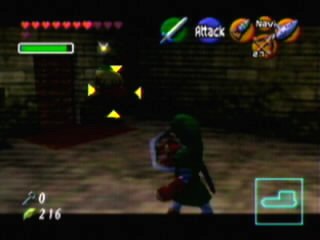
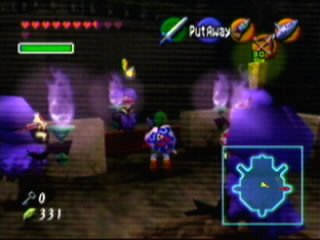
As soon as you enter, you will see 4 torches and each of them being stolen by Poes. Just then the elevator goes down. Go right down the middle and take that door. You will meet a Blue Bubble. Block it with your shield and then attack it when the flame is gone. Then enter the door. You will now have to fight 2 Stalfos. These are pretty tough, and quick. Target one and when it goes for a jump attack, jump aside and do one of your own. Backflips work well on this. Master your jumping skills before tackling these. Your reward for defeating both is a Key. |
| Make your way back to the center. Take the Northwest Passage (it is blocked by a Time Block). Play the Song of Time to remove the Time Block. Kill the Big Deku Baba and head right. Hookshot the first Skulltulas and make your way up (there is one that you cannot get, so be careful). Once at top, go through the door. Kill the Blue Bubble and recieve the Map. Go through the door. Hookshot over to the target and press the Red Button on the balcony. This will lower the water in the well. |
 |
 |
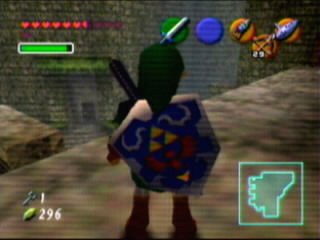
Jump down the well. Go across to the other side and grab the Key. Climb up the vines on the other side. Now you will be back where you were (look at the last pic). Go back to the main room. You should have 3 Keys by now. Head to the West Area up the stairs and unlock the door. Kill the Big Skulltula and go through the door. |
| Now this is the part I really hate (don't ask why). Climb the ladders and go until you come across a Blue Block. Pull it until it lines up with the adjecent hallway, then go around and push it down that hall. Go around and push the block into a hole, which will make it short enough for you to climb. Do not climb it just yet. Go back to where you found the block and look for a ladder. Climb it and go around and you will see a Red Block. Push it to the end and go back down and climb the Blue Block back up. Push the Red Block to the end and climb it. Go right and up, and kill the Blue Bubbles. |
 |
 |
Unlock the door and you will be in a twisted hallway. Walk to the end and you will be in a room with a pillar in the middle. Navi warns Link of monsters in here. She is talking about the Wallmaster, which comes down from the ceiling and grabs Link and takes him to the beginning of the Temple. Jump to the pillar and over to the locked door. Unlock it and head down the stairs (remember the pictures). Open the door and fight 1 Stalfoe. Once that one is dead, a floor will come down and another two will emerge. Kill them and the Fairy Bow is yours. |
| Head back to where you came down the stairs. Be tricky and shoot the picture with the Poe in it. When all 3 are shot, go down to the bottom and fight it. When it disappears, block it and let it attack. When it reappears, slash it quickly. A few slashes should kill it and relight the Red Torch. Grab the Key and head back up the stairs and to the twisted hallway. Go to the room with the Blue Bubbles and shoot the Eye above the door. This will untwist the hallway. Now go back and jump down to the floor and open the Blue Chest, and the Boss Key are belong to you. |
 |
 |
Jump down the hole (keep an eye on the Wall Master). Kill the Blue Bubbles and exit the room. You will now be in the upper areas of the West Courtyard. Take a right and another one. You will meet a Floormaster (one that does not come from the ceiling). You cannot touch it when it turns green. Kill the big hand, and it will turn into 3 little hands. Quickly do a spin attack to kill them or you will regret it. Grab the Key and exit (you should have 2 Keys). Take a right and open the door. You will then be in the room where you moved the Blue and Red Blocks. |
| Go to the top, kill the Blue Bubbles, and then shoot the eye again to twist the hallway. Go to where you fought the Stalfos and exit the other door. You will now see a Blue Poe Picture. Do the same thing and kill it the same way to get the Compass and relight the Blue Torch. Climb the stairs and unlock the door. You will be in a room with more Wall Masters. Jump over to the right and down the hall with the Green Bubbles. Unlock the door and you will be in a room with rotating pillars, a torch, and a frozen eye. Either shoot the arrow through the fire to melt the ice, or use Din's Fire. |
 |
 |
By shooting the eye, the hallway will twist around. Go back to the room past the hallway and jump down the hole. You will now be in a room with a falling ceiling. Run to the button on the right side before the ceiling falls on Link. There are holes that you can run to to avoid the ceiling falling on you. The button will open the door. Run over and open the door. |
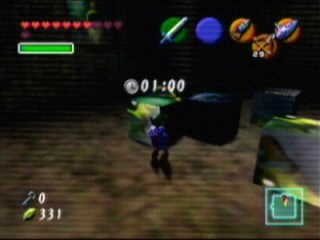
| You will now be in a room with a picture of a Green Poe. Shoot it and 5 blocks will fall. You have 1 minute to put them together to make a picture of 4 blocks of the Green Poe. Do it, and the Green Poe will appear. Kill it the same way and the Green Torch will light. Go through the door and past the hallway back to the center room with something crying. Go to see it and it will be the last of the Poes that stole the Torches. |
 |
 |
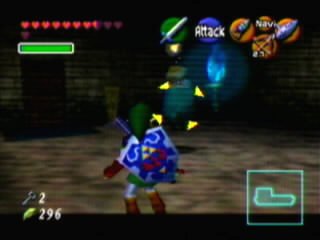
She will split into 4 images and circle Link. You
have to shoot the real one. To tell which one is real, look for the one who spins once she appears. Do it a few times and the Purple Torch will light and the elevator will reappear. Go down the elevator into the final room. |
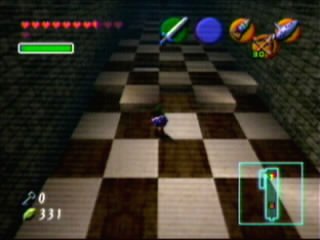
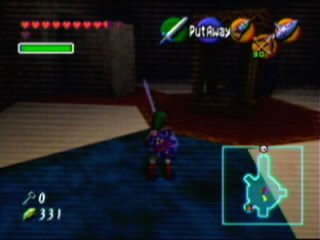
| This room is a bit tricky. You have to push on one of the two side blocks to rotate the inner room doors so they match briefly with the outer room doors. Sound's complicated? Push the one on the West side going North once, enter the southwest door and grab the chest, and push it again twice in the same direction. Enter the northwest room and push the button. Now, push the block going south and enter the East room and press the block. Push the blocks again to line up the doors north and south. Go south, push the button, then go north and unlock the Boss Door. |
 |
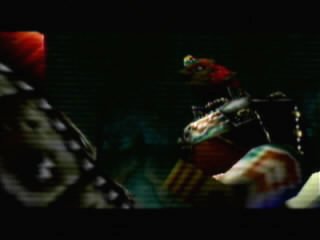 |
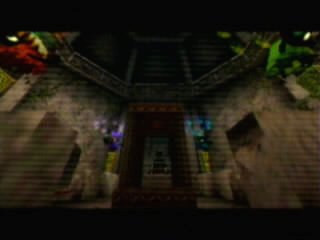
Go up the stairs and into the middle. Nothing. Try to escape and bars will prevent that. Link turns around and is face to face with Ganondorf... or is he? It is actually his Phantom. Phantom Ganon rides into a picture and disappears. I hope you have some fairies. PG will enter in one picture and exit two pics. You have to shoot the real Phantom that comes out of the picture (look for both pics and for the brighter one of the two). Shoot him just as he comes out, or he will shoot Link with electricity. Do it 3 times and Phantom Ganon will dismount his horse. Get out the Master Sword! |
| This is tough. Phantom Ganon will shoot magic at Link. If you remember in A Link to a Past (SNES), you had to shoot the magic back with the Master Sword. Well, time it right and deflect it back to Phantom Ganon. Phantom Ganon will probably hit it back, so you have to hit it back. It will keep going, gaining speed each time until one gets hit. Once he is hit, run in and do a few jump attacks (if you have the Biggoron Sword, this will be very easy). Continue and he will die quickly. Ganondorf's voice will boom and he will send the Phatom away. Take the Heart and take the Warp out. |
 |
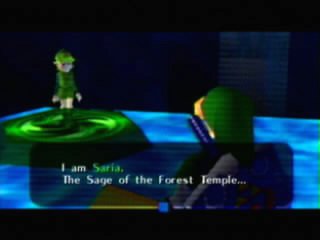 |
You will arrive back at the Chamber of Sages. You will see Saria appear from the Green Platform and gives Link the Forest Medallion. |
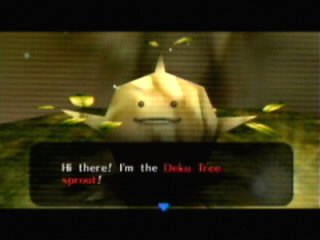
| Link will be warped right outside the dead Great Deku Tree. He notices something sticking out, and is startled when something pops out. It is the Deku Tree Sprout. He explains why the Kokiri never grow up, but why Link did, because he is actually Hylian. He tells the story about an Hylian Mother and her baby boy. She entered the Forest during the war and was near dead. She gave the baby to the Great Deku Tree to raise him as a Kokiri... until the day would come. Now, Link MUST save Hyrule from darkness. |
 |