
 |
|
|
 |
Rudo
New Force Members: Lyle
New Items: Healing Seed, Holy Staff
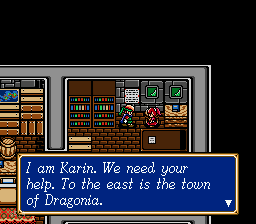 |
You're in the unfriendly town of Rudo. Yippee. Talk to the girl to your right that's blocking your way, then talk to the girl to the right and up against the north wall. She'll introduce herself as Karin and tell you a bunch of stuff. Exit the building by going south, then travelling west down the hall. In the town, head west as far as possible until you see some adults roaming around in front of a tower. Enter the tower, then go up the stairs repeatedly to the top level. Talk to Lyle and he will join the force. |
| Exit the tower and enter the building to the east of it (just behind the dragon statue). Go down the long hallway and around to the right until you reach stairs going downward. Go down them, then up and talk to the dog, Brit. He will move out of the way, so continue onward through the door and talk to the girl inside. Agree to listen to her, then exit south by going up the stairs, then out of the building entirely. | 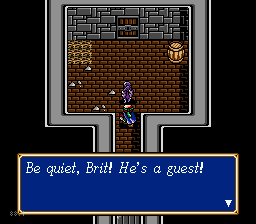 |
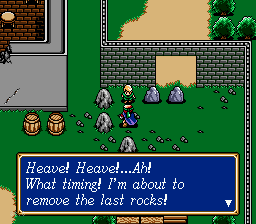 |
Finally, head as far east as you can and climb the stairs near the town's exit. Enter the building and search the treasure chests for a Healing Seed and a Holy Staff. Finally, exit, head east, and talk to the boy next to the two boulders. He'll move them and you can exit the town for Battle 18. |
Battle 18: To Dragonia
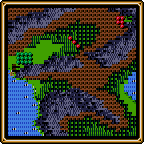 |
Battle Party: Enemy Party: 


Conditions for Winning: Defeat Durahan or Reach Dragonia |
Dragonia
New Force Members: Bleu
New Items: Broad Sword, Halberd, Shower of Cure
| If you haven't already, once the battle has ended, enter Dragonia. There won't be much in the town, but you can find an item shop on the left side. More importantly, you can find a treasure chest containing a Broad Sword in the northeast corner of town. Two houses west of here, you will find a chest containing a Halberd as well. Inside of this same room, descend the stairs in the top-left corner, then continue to the right and upward to go up those stairs. Enter the building and talk to the flying creature. When he moves, talk to him again. Finally, talk to Karin once she appears, then a scene will occur. Get the treasure in the top-left corner, a Shower of Cure, then return to Dragonia using the path that led you to the distant shed in the first place. | 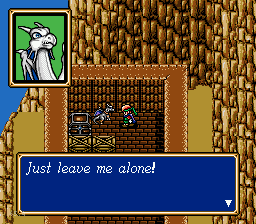 |
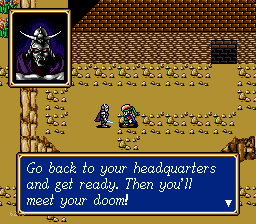 |
Another scene will take place. Talk to Bleu once more and he will join the Shining Force. Karin will run off as well, so exit the building. Kane will be standing nearby, but you don't have to talk to him. To continue, head west of him and enter your headquarters. Then exit again and you'll enjoy Battle 19. |
Battle 19: Dragonia
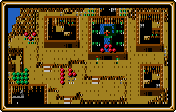 |
Battle Party: Enemy Party: 


 Conditions for Winning: Defeat Cain |
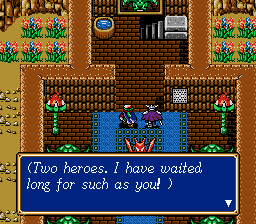 |
Watch the short scene, then travel to the east until you reach the shrine containing the large, red dragon statue. Cain/Kane will be in the bottom-left corner, so talk to him and you'll automatically open the double-doors that you couldn't before. Go down the stairs and up through the door until you're just behind Kane for another scene. When finished, exit the shrine, then Dragonia entirely before heading southwest back to Rudo. |
| You won't be able to leave until you talk to Karin, so return to the house in the middle of the village and do so. She'll tell you to talk to Krin, so go to the house just to the left of Karin's and down the stairs to talk to Krin once more. Tell her yes, then answer as you please for her second question. Once finished, return to Karin once more and talk to her and you'll finally be able to exit the town for Battle 20. | 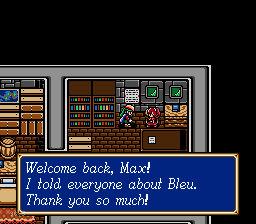 |
Battle 20: To Demon Castle
 |
Battle Party: Enemy Party: 


Conditions for Winning: Reach Demon Castle or Defeat all Enemies |
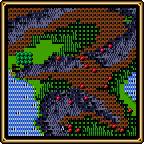
Continue further down with your flying characters over the mountains. Have Domingo cast Freeze on the High Priest from a far enough distance and let the rest of your fliers attack the Master Mages in a scattered formation. If any of your characters become badly injured, heal them quickly, and if your healers cannot keep up with the rest of your party members, make the fliers return to the healers for a round. If your patient, you can move the entire party a few spaces at a time, but doing so sucks, so you probably don't want to. As you continue southeast, you'll encounter only a few enemies at a time and can easily take them out with your flying characters without much worry--so do so. You should manage to defeat everything without receiving too much damage.
| Your characters will be weak from the previous battle, so you may wish to return to the village for them to be healed using Egress. Once finished, if you haven't already, enter Demon Castle for Battle 21. | 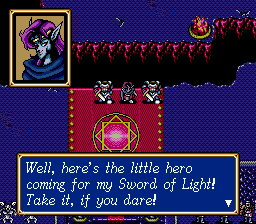 |
Battle 21: Demon Castle
 |
Battle Party: Enemy Party: 


Conditions for Winning: Defeat Mashaela |
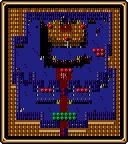
Lyle should position himself just next to the Master Mages, but far enough away so that he can hit one and they can't retaliate with any magic. The High Priest will heal, but the Master Mages won't do anything, so shoot one until the High Priest runs out of MP, then shoot the rest from this distance. Then, have Lyle attack the High Priest until it dies, and if you feel safe, you can surround the Master Mages at this point. Once your entire party gets close enough, the Belials will approach and cast Bolt 1, so be prepared (use the scatter formation and surround each one with your flying party members, healing often).
For the last few enemies, have your party members near the ladder, but not actually on it yet. Move Lyle up the ladder and to the side near the bottom ledge and have him shoot at the Durahan on the left side of Mishaela. The Durahan should completely ignore him and both will try to go down the ladder. Hit them hard with Freeze 2 and Blaze 2, then follow it up with as many attacks as you can do. They should fall and you'll now have to face Mishaela. Keep your healers away from the range of her Bolt spell and have your fliers surround her, attacking as much as possible. Lyle should also remain a few spaces away and should attack from a distance as well as any other characters that can fit. If you receive too much damage, consider using a Shower of Cure or the Aura spell to recover your party members, and beforehand, Boost or the use of the Power Ring. If you don't do enough damage to her before her attack, she'll recover her HP, so be sure you hit her hard and fast. She should fall eventually, and if not, there's always Egress.
Demon Castle
New Force Members:
New Items: Sword of Light, Power Potion, Healing Seed, Evil Ring, White Ring, Black Ring, Shower of Cure
| You can find quite a bit of treasure here after the battle's over, including a Power Potion, a Healing Seed, the Evil Ring, the White Ring, the Black Ring, and a Shower of Cure. Be sure to find all of these before opening the chest to the right of where Mishaela stood or else you won't be able to obtain any of them. Once finished, open that chest to discover the Sword of Light. The chapter will end. | 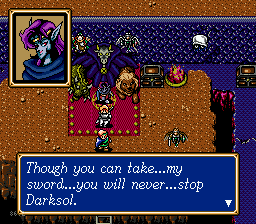 |
| Walkthrough Home |
|
|